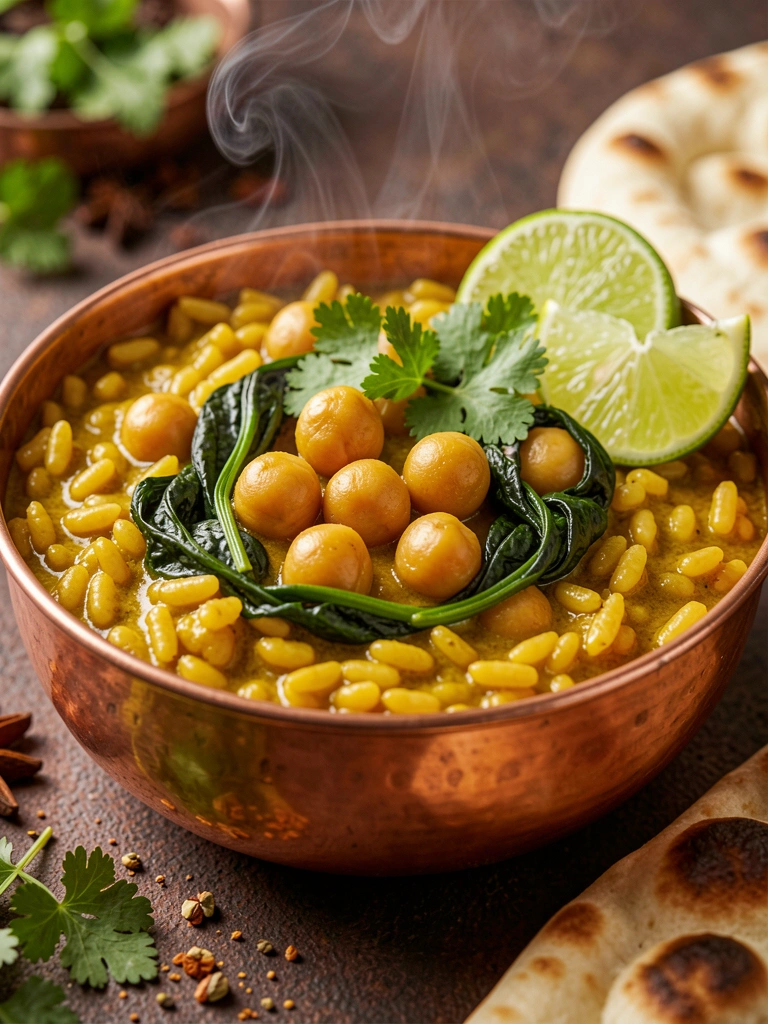
Impress your date with these 20 elegant orzo salmon dinner recipes. Each one combines tender salmon with perfectly cooked orzo for a sophisticated meal that's simple to make at home. You'll love how fresh flavors like lemon, herbs, and veggies elevate weeknight romance.
These dishes are ready in under 45 minutes, perfect for busy evenings. From creamy Tuscan styles to light Mediterranean bowls, there's something for every taste. Get set to create magic in your kitchen.
20 Elegant Orzo Salmon Dinner Recipes for Date Night
Ready to wow that special someone? These recipes blend flaky salmon with nutty orzo in stunning presentations. Each is date-night worthy, with easy steps and gourmet flair.
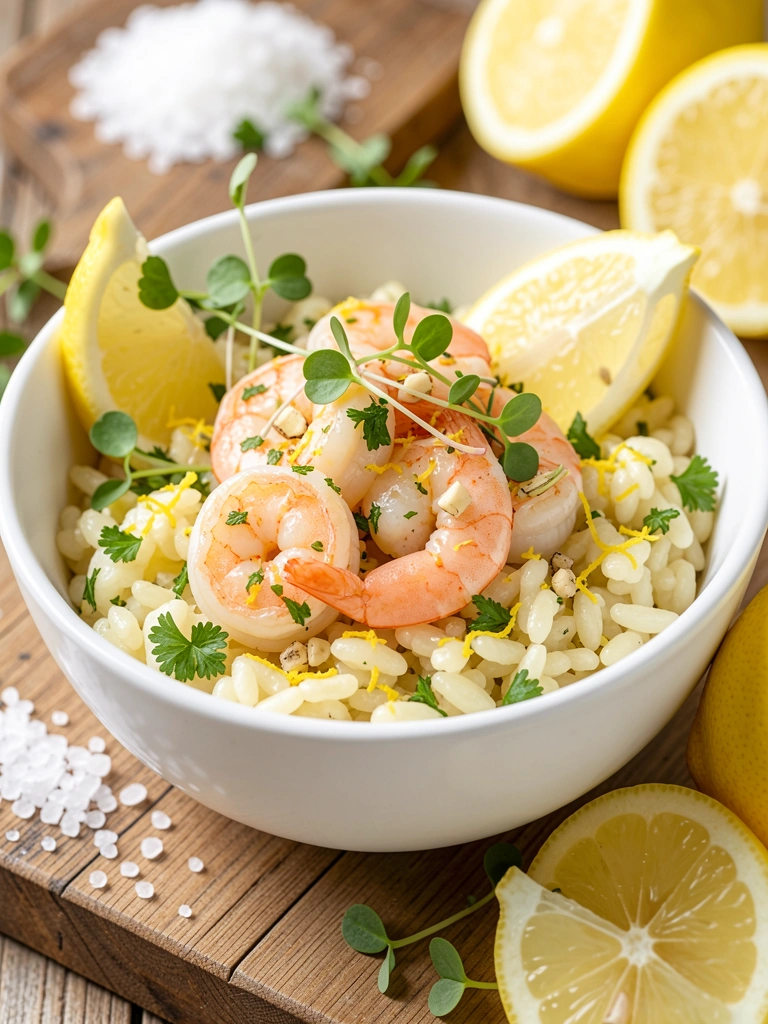
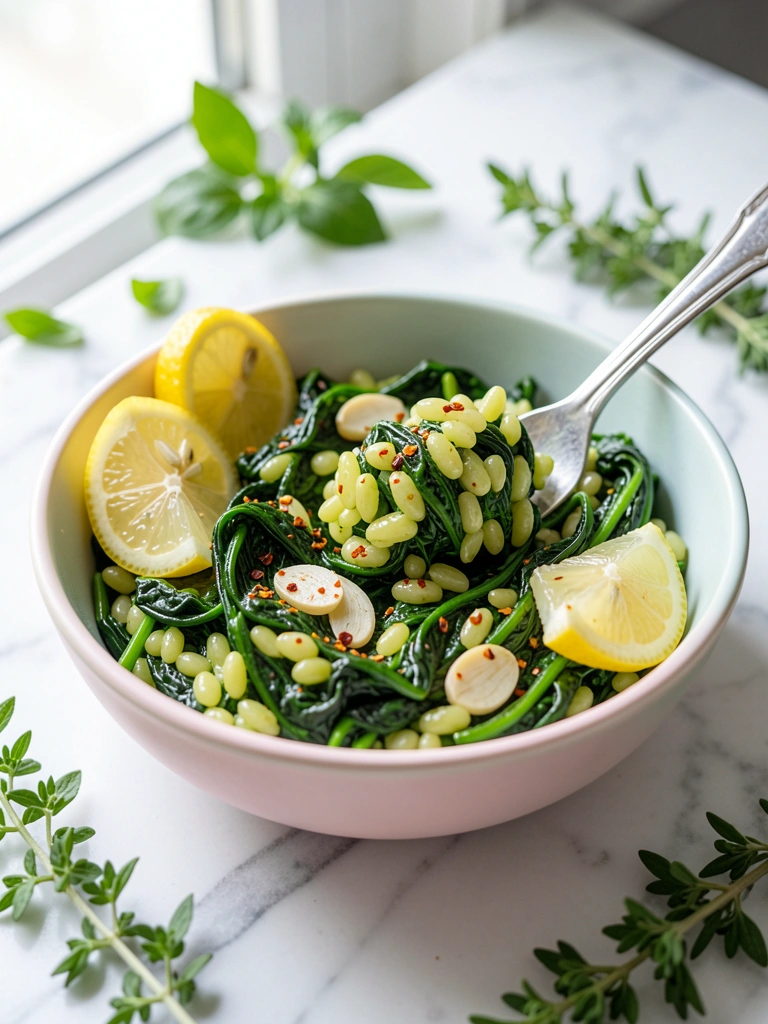
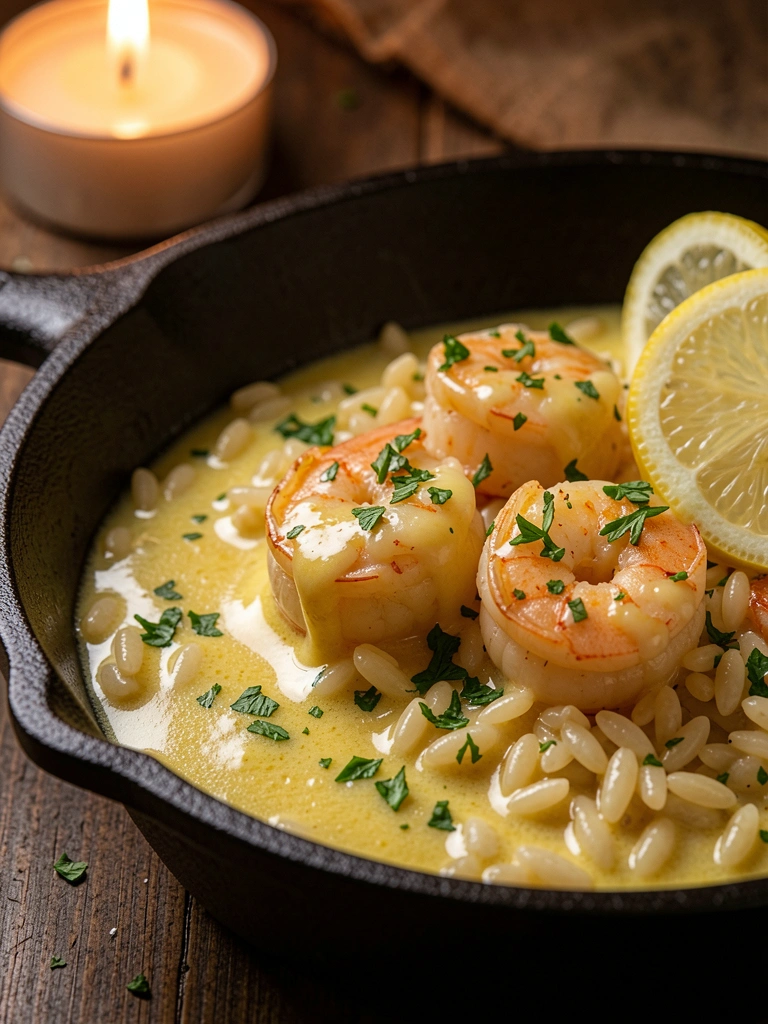
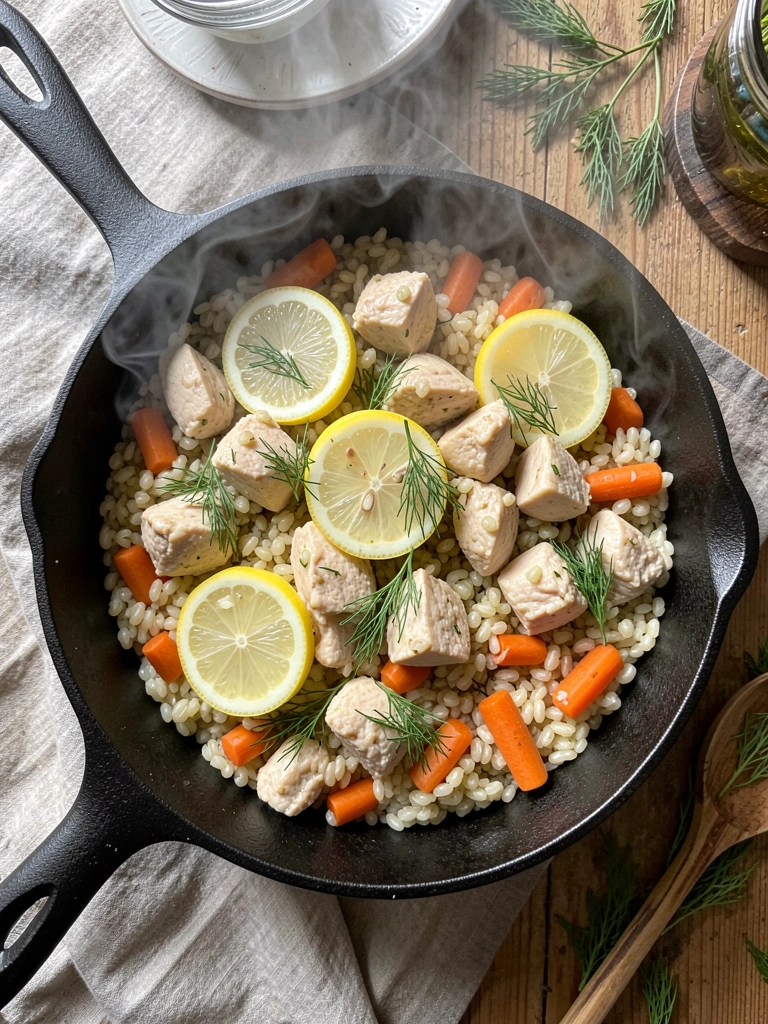
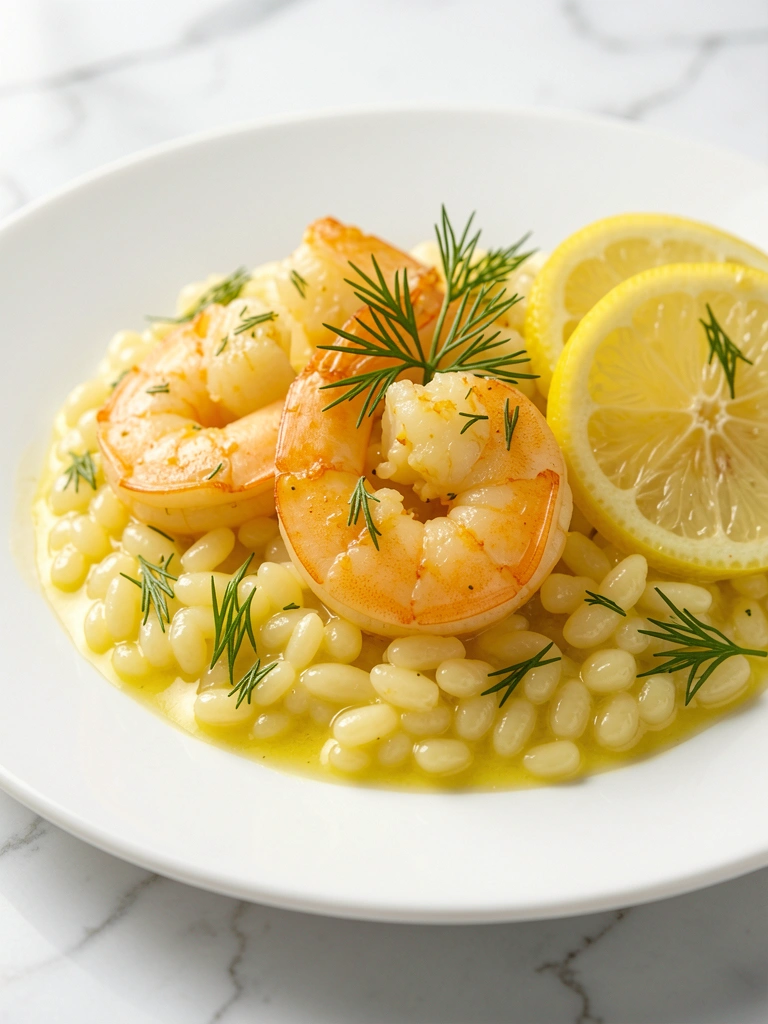
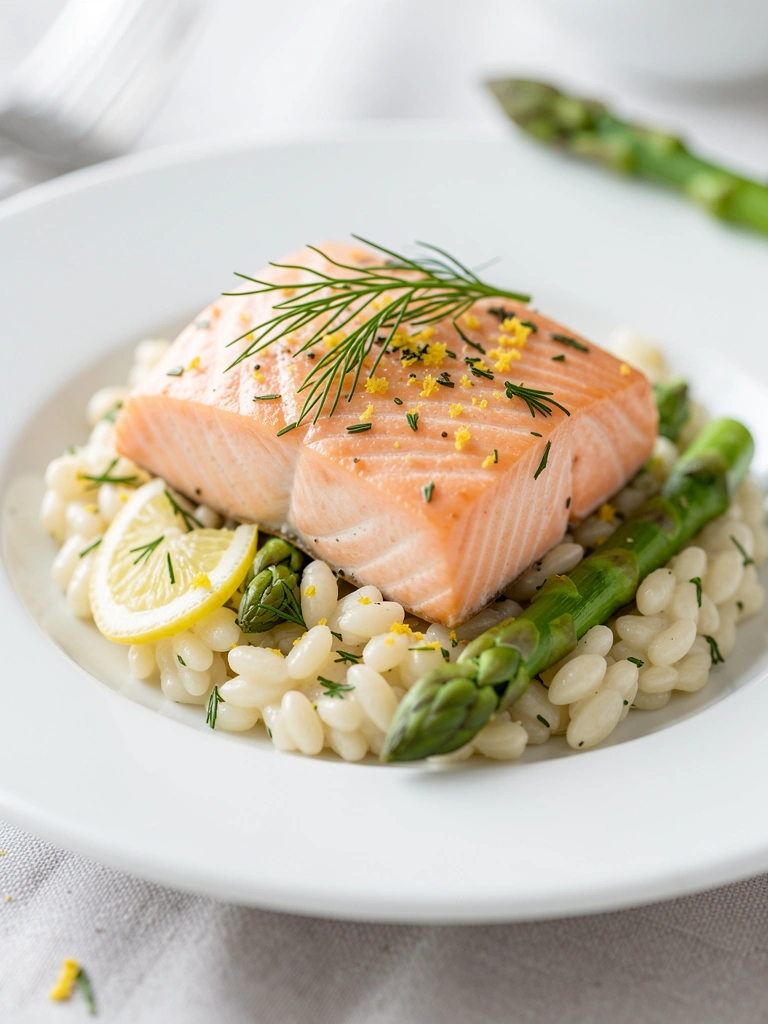
1. Lemon Garlic Orzo Salmon
Bright lemon and savory garlic infuse this dish with zesty freshness, while creamy orzo provides a comforting base. The salmon's crispy skin contrasts perfectly with tender pasta, making it a light yet luxurious date night choice.
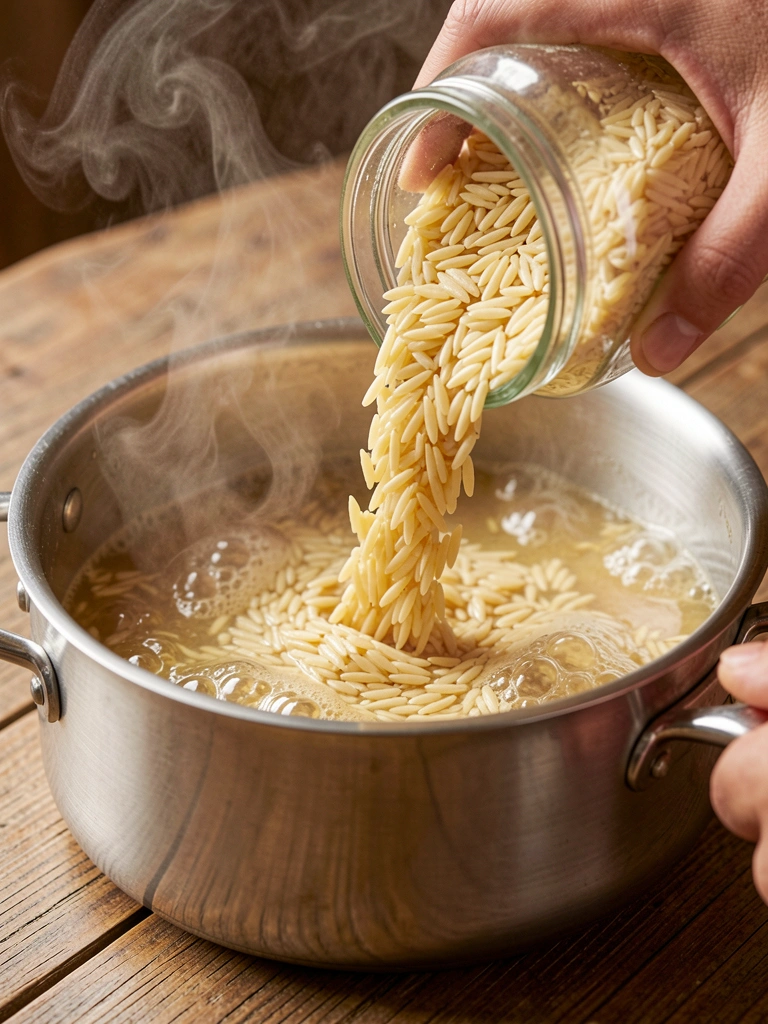
Ingredients
- 4 salmon fillets (6 oz each), skin-on
- 1 cup orzo pasta
- 2 lemons, juiced and zested
- 4 garlic cloves, minced
- 2 tbsp olive oil
- 2 cups chicken broth
- 1/4 cup fresh parsley, chopped
- Salt and pepper to taste
- 1/2 cup grated Parmesan (optional)
Step-by-Step Instructions
Prep the salmon
Pat salmon dry, season with salt, pepper, and lemon zest. Heat 1 tbsp olive oil in a cast iron skillet over medium-high. Sear skin-side down 4-5 minutes until crispy, flip, cook 3 minutes more to 145°F internal. Set aside.
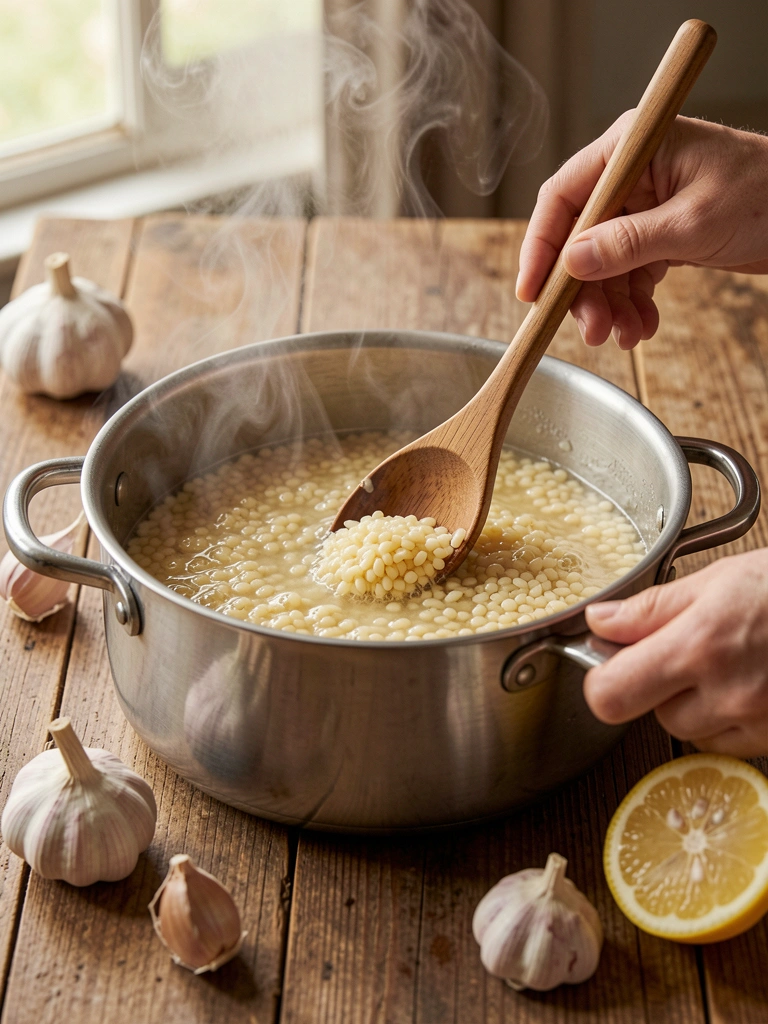
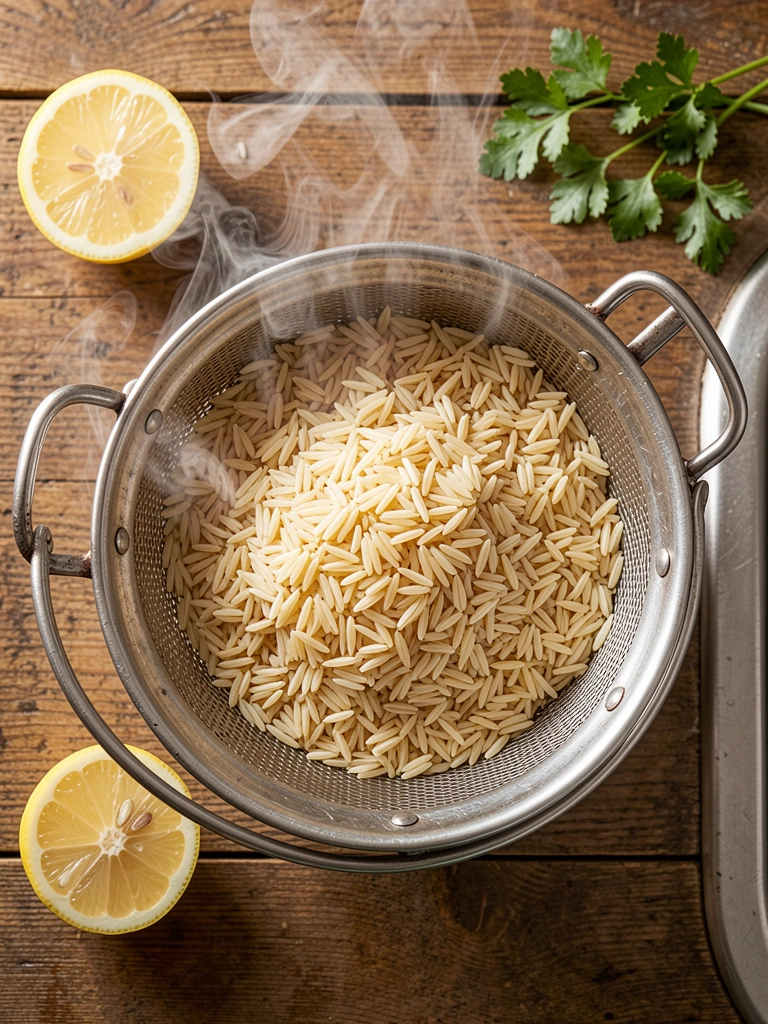
Cook the orzo
In same skillet, add remaining oil and garlic; sauté 1 minute until fragrant. Stir in orzo to toast 2 minutes. Pour in broth and lemon juice, bring to boil, then simmer covered 10 minutes until al dente and liquid absorbed.
Combine and serve
Stir parsley and Parmesan into orzo. Plate orzo, top with salmon. Garnish with lemon wedges. Total time: 30 minutes.
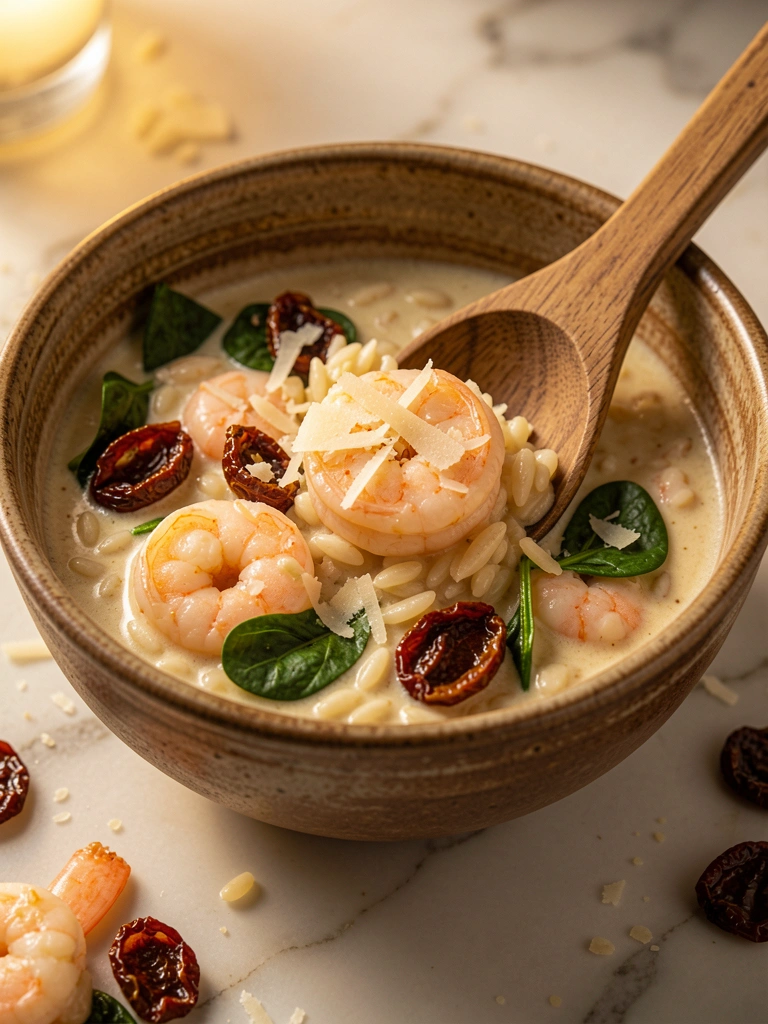
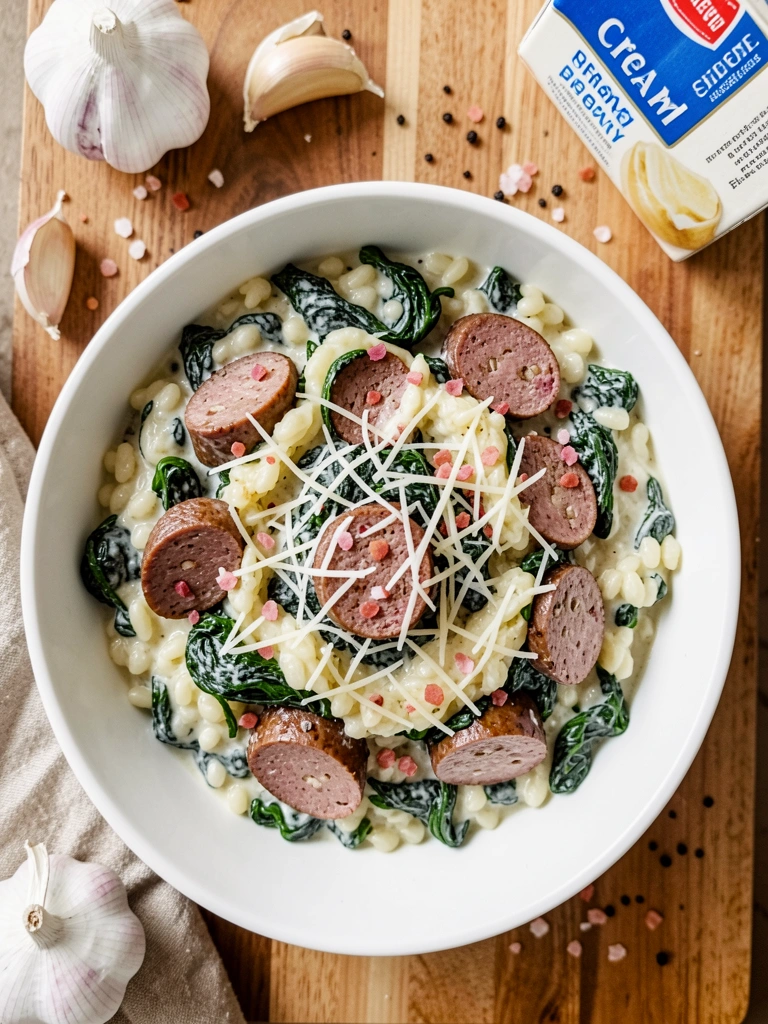
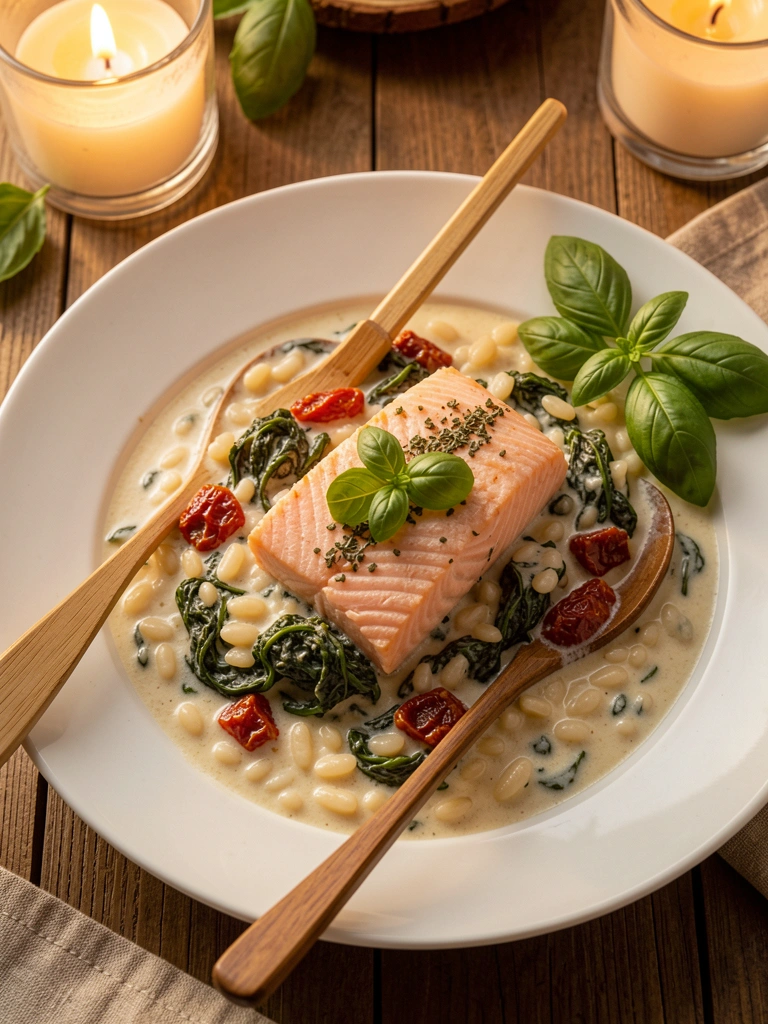
2. Creamy Tuscan Orzo Salmon
Sun-dried tomatoes and spinach in a velvety cream sauce pair beautifully with rich salmon, creating an Italian-inspired comfort dish. It's hearty yet refined, with bursts of tangy flavor in every bite.
Ingredients
- 4 salmon fillets (6 oz each)
- 1 cup orzo
- 1 cup heavy cream
- 1/2 cup sun-dried tomatoes, chopped
- 2 cups fresh spinach
- 3 garlic cloves, minced
- 1 small onion, diced
- 2 tbsp olive oil
- 1/2 cup Parmesan
- Salt, pepper, Italian seasoning
Step-by-Step Instructions
Sear the salmon
Season salmon with salt, pepper, Italian seasoning. Heat oil in skillet over medium-high; cook salmon 4 minutes per side until flaky. Remove.
Build the sauce
Sauté onion and garlic 3 minutes. Add orzo, toast 2 minutes. Stir in cream, tomatoes, 1 cup water; simmer 12 minutes until creamy.
Finish together
Stir in spinach and Parmesan until wilted. Nestle salmon back in to warm 2 minutes. Serve hot. Total time: 35 minutes.
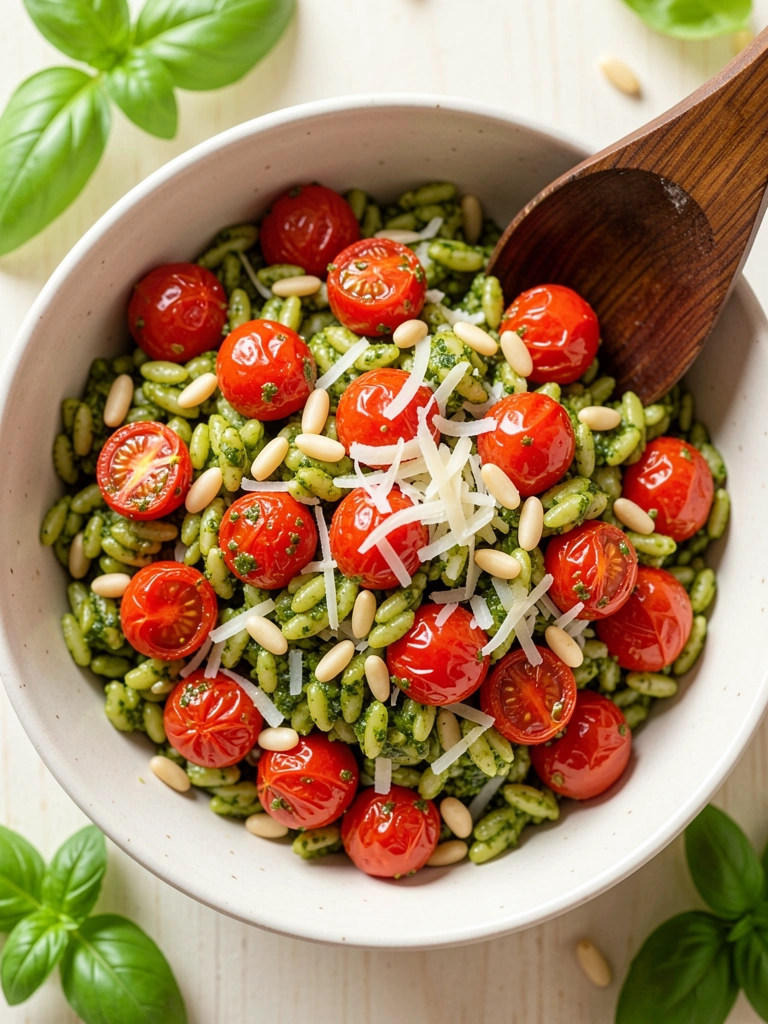
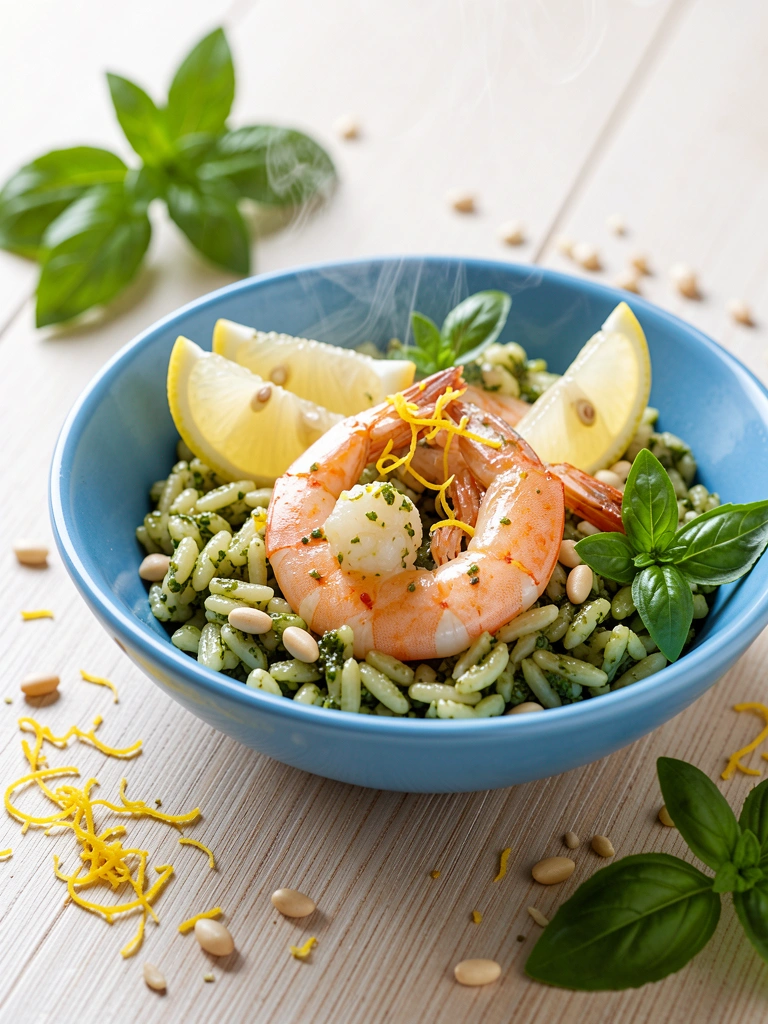
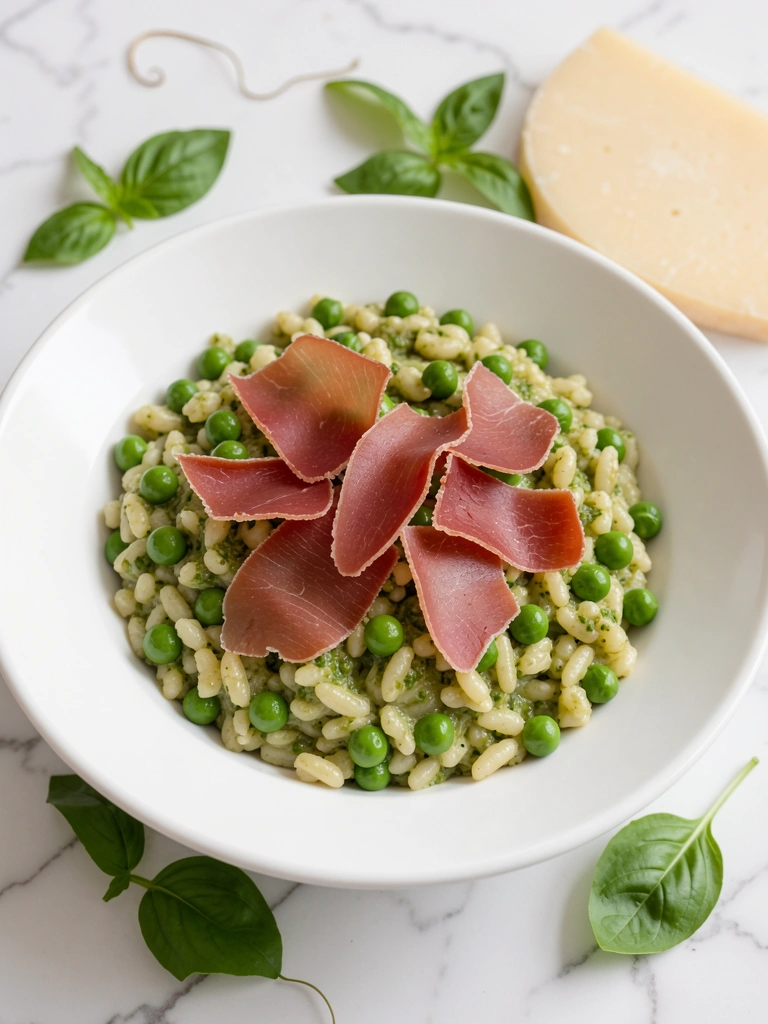
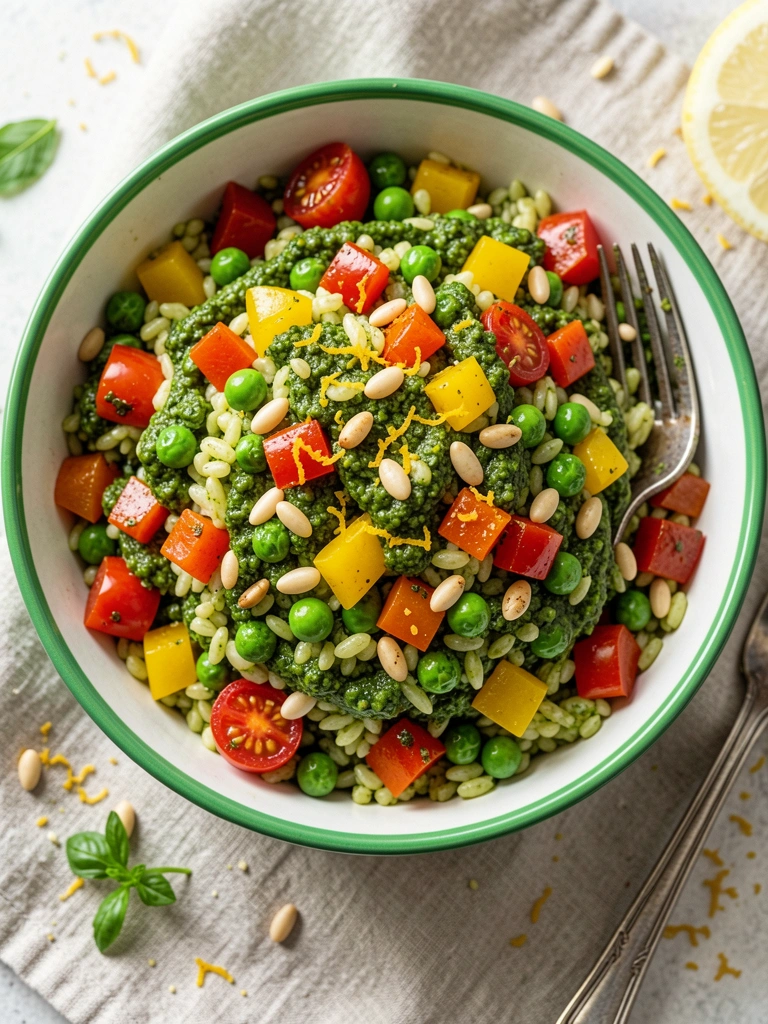
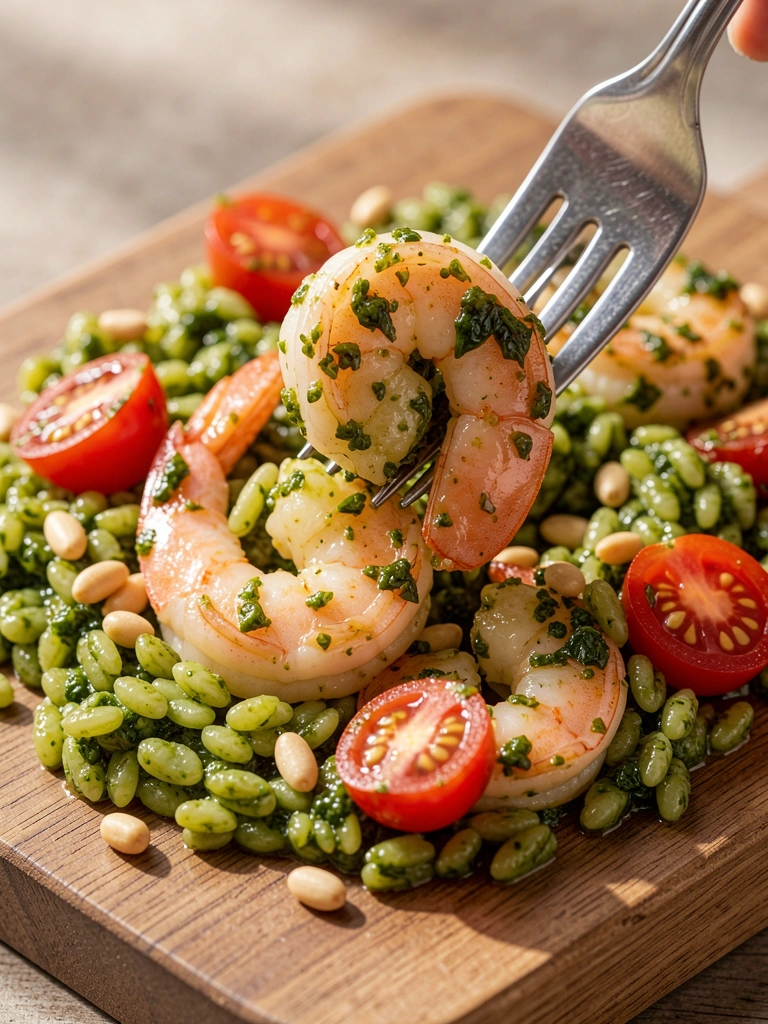
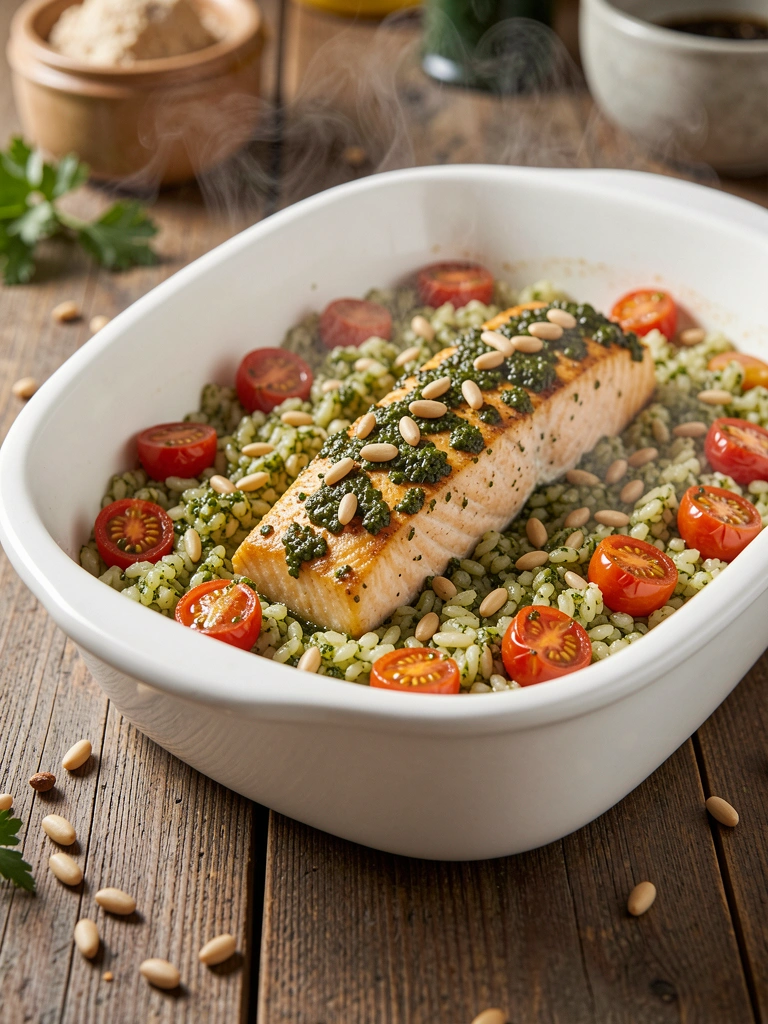
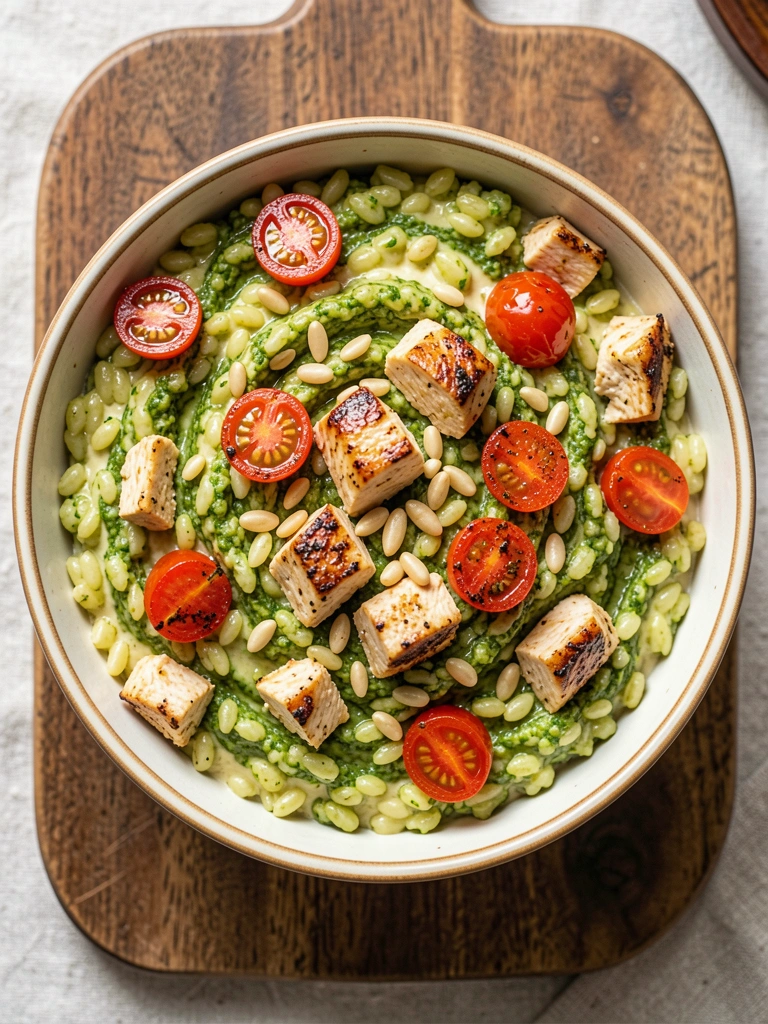
3. Pesto Orzo Salmon Bake
Vibrant basil pesto brings herbaceous brightness to baked orzo and salmon. Cherry tomatoes add juicy pops, while toasty pine nuts provide crunch—ideal for a cozy, oven-fresh date night.
Ingredients
- 4 salmon fillets (6 oz each)
- 1 cup orzo
- 1/2 cup pesto (store-bought or homemade)
- 1 pint cherry tomatoes, halved
- 1/4 cup pine nuts
- 2 cups vegetable broth
- 1 lemon, juiced
- 2 tbsp olive oil
- Fresh basil for garnish
- Salt and pepper
Step-by-Step Instructions
Prep for baking
Preheat oven to 400°F. Toss orzo, tomatoes, pesto, broth, lemon juice, oil in baking dish. Season salmon, place on top.
Bake everything
Cover with foil, bake 20 minutes. Uncover, sprinkle pine nuts, bake 10 more minutes until salmon flakes and orzo is tender.
Rest and serve
Let sit 5 minutes. Garnish with basil. Total time: 40 minutes.
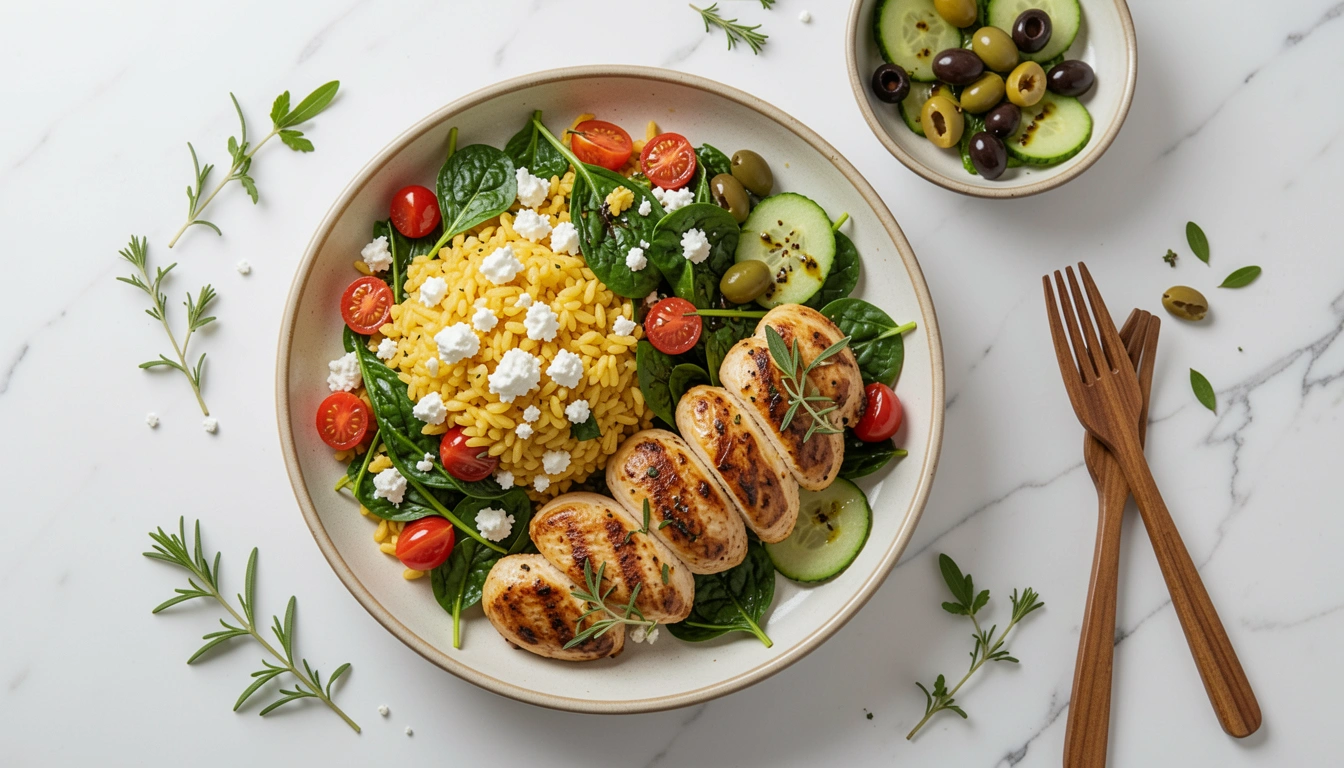
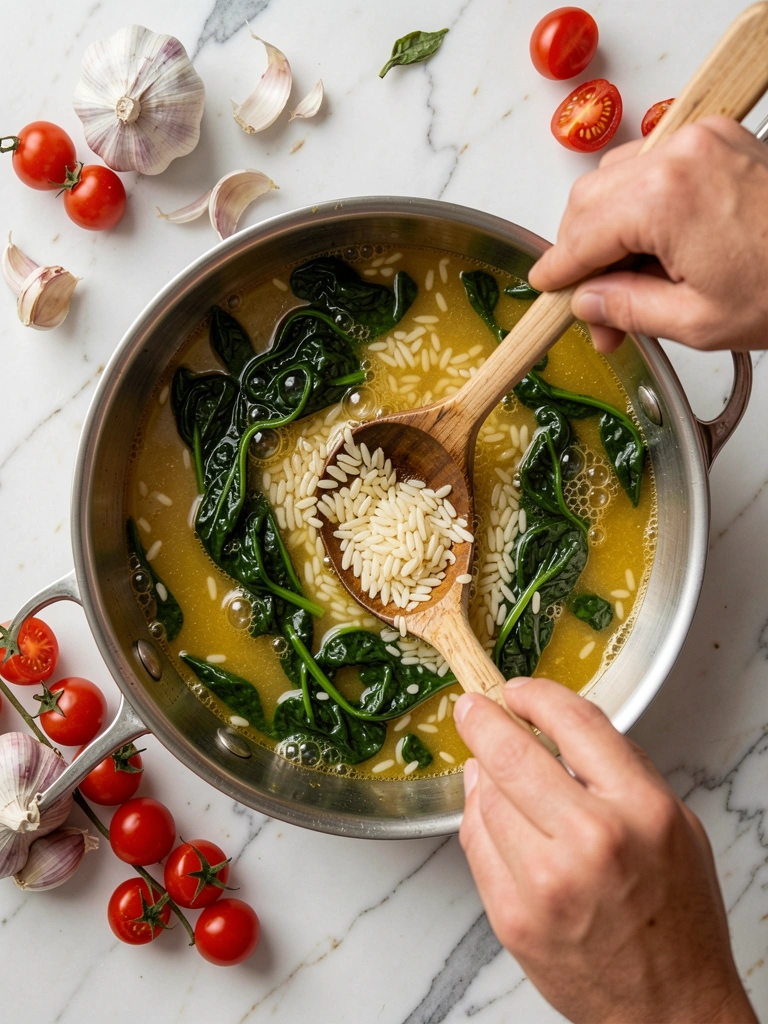
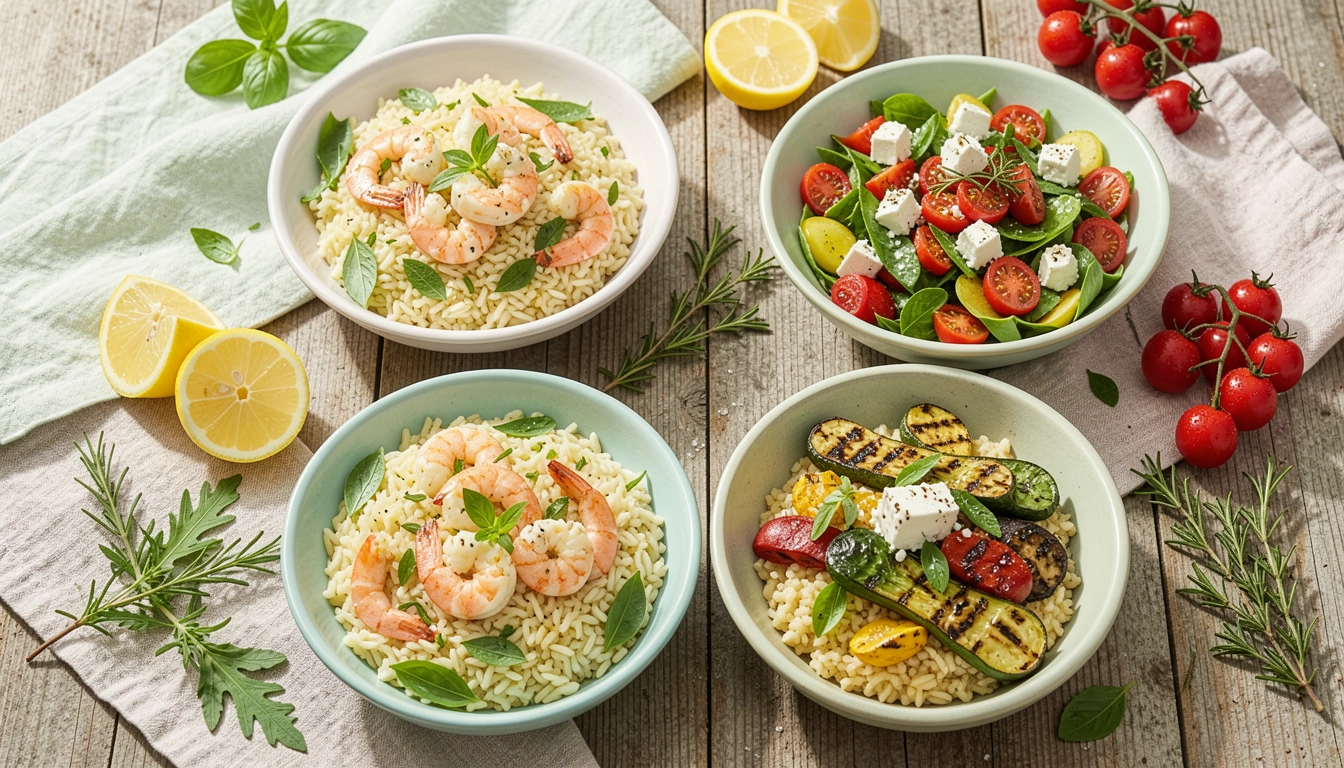
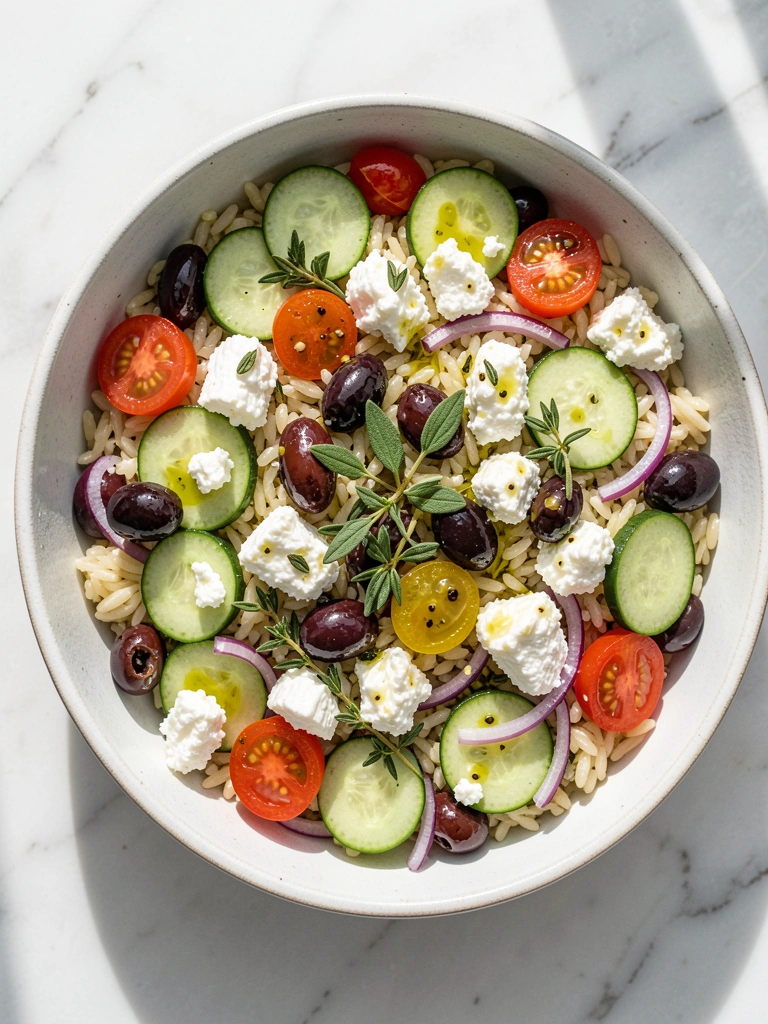
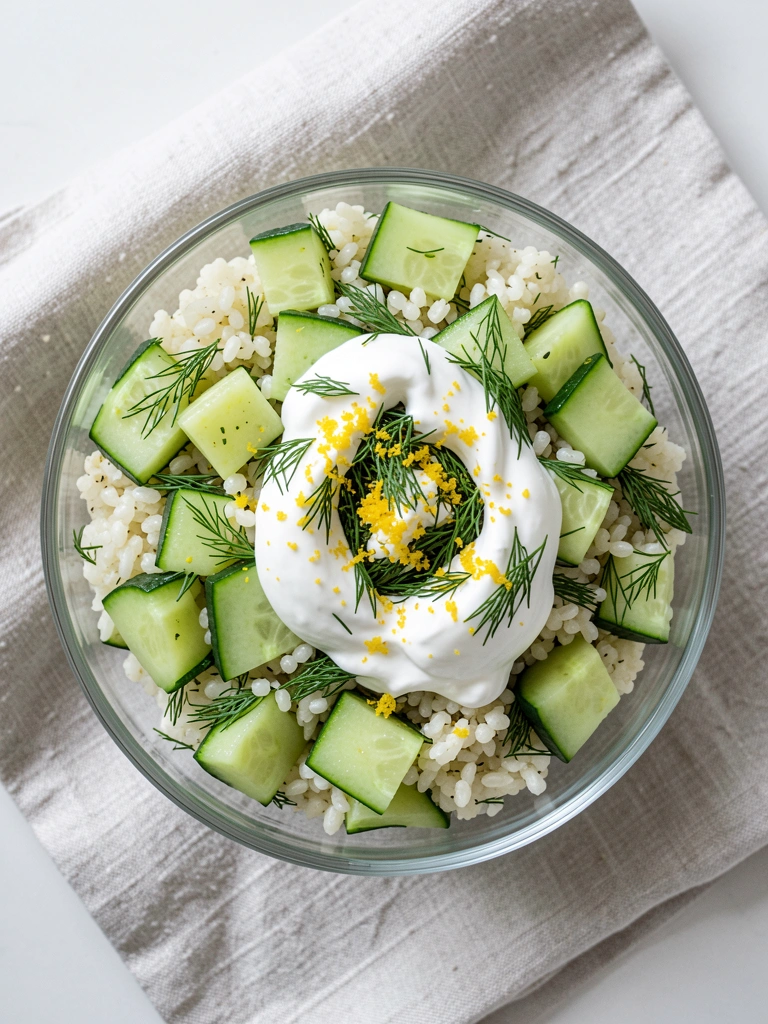
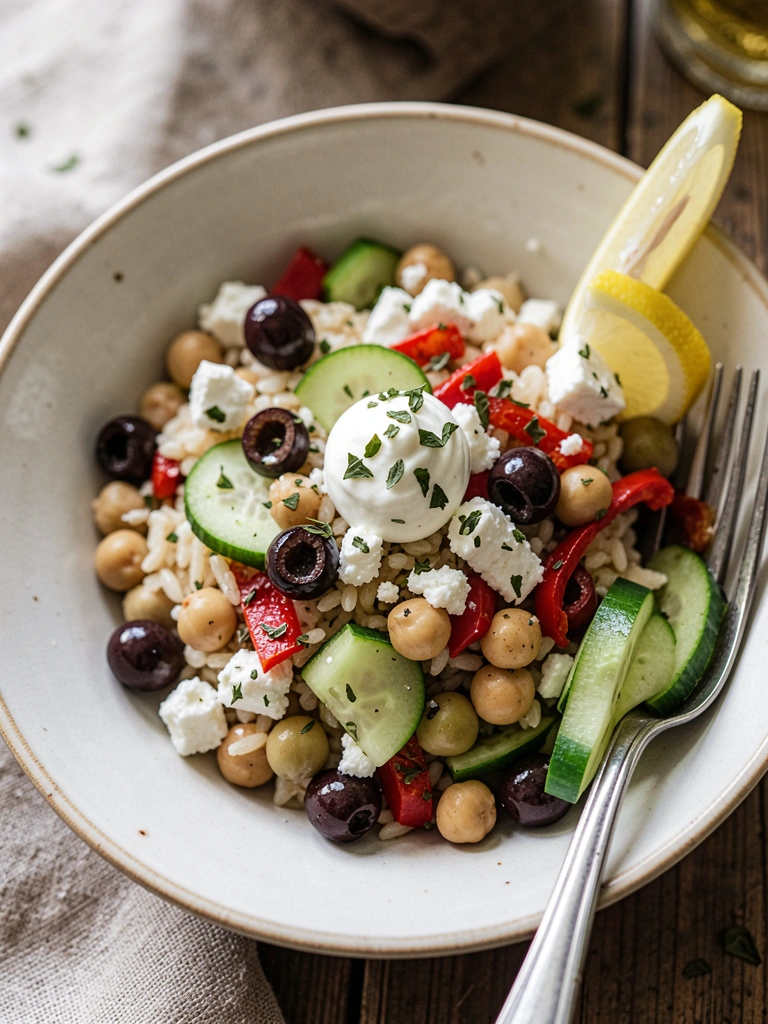
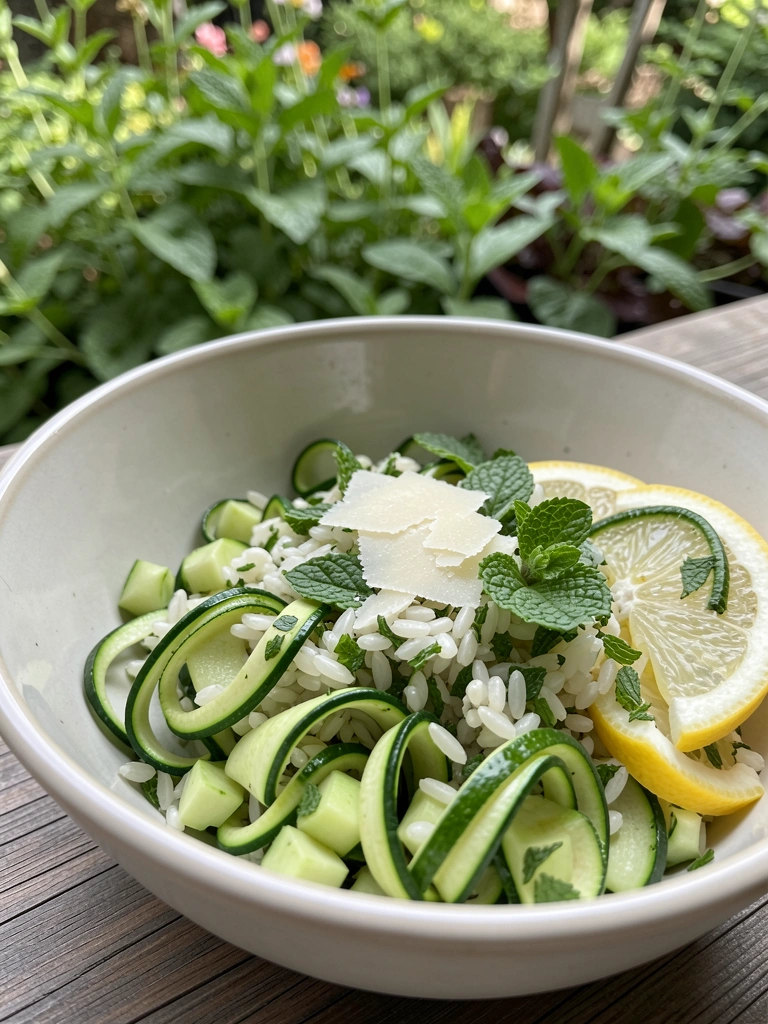
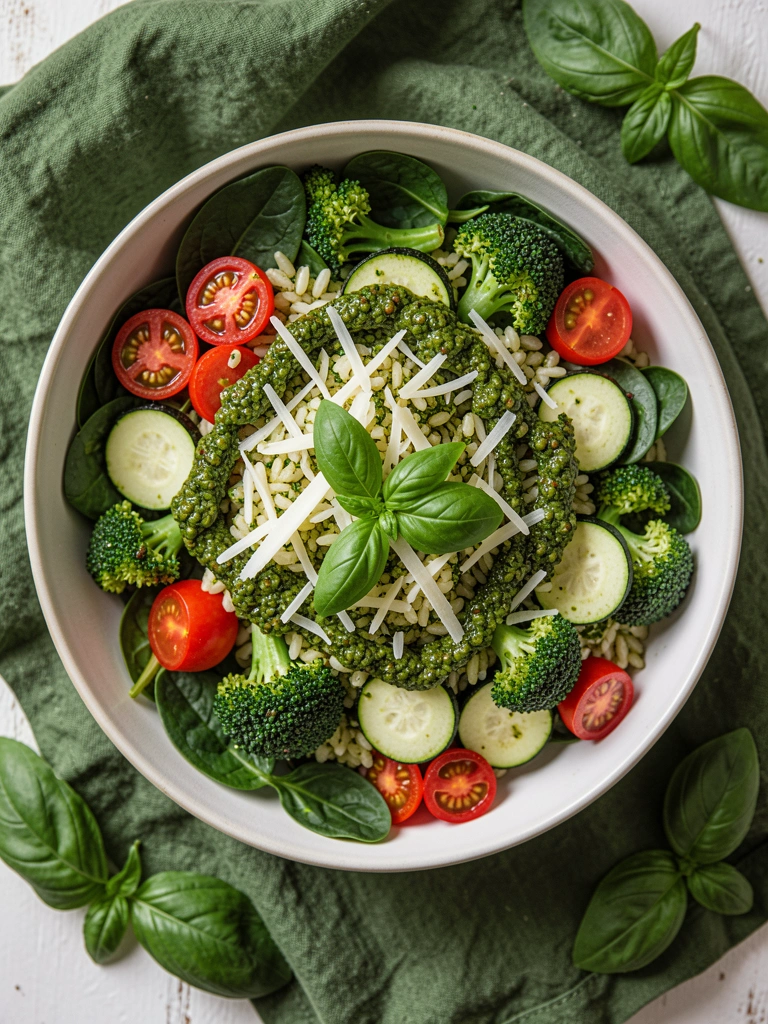
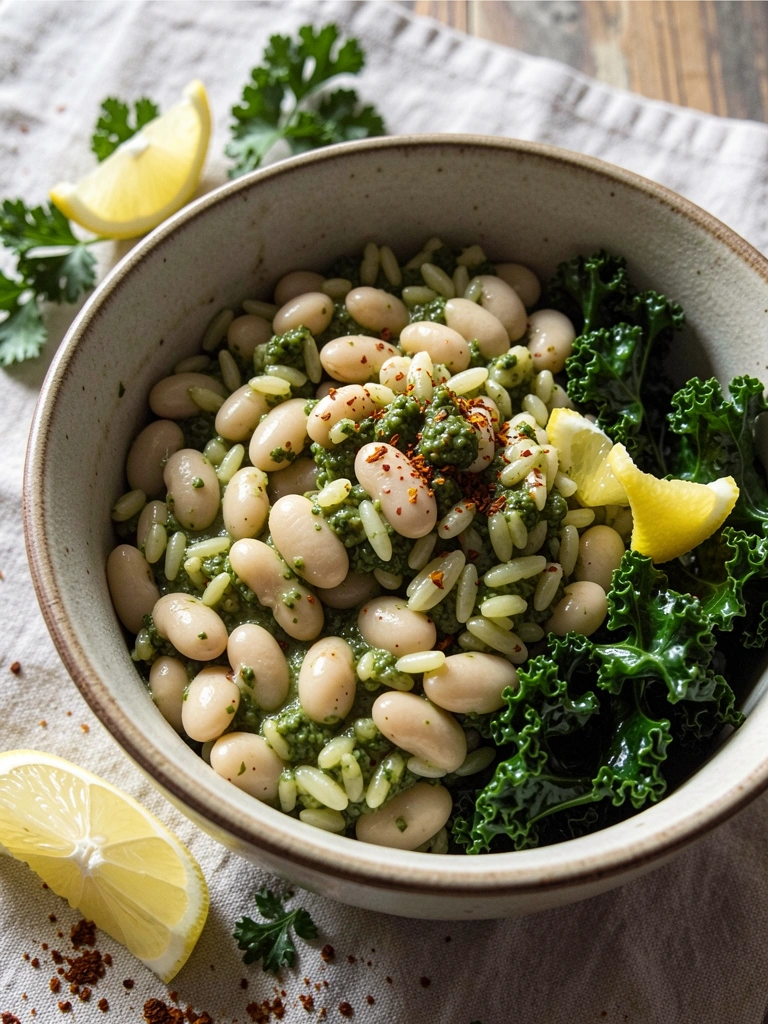
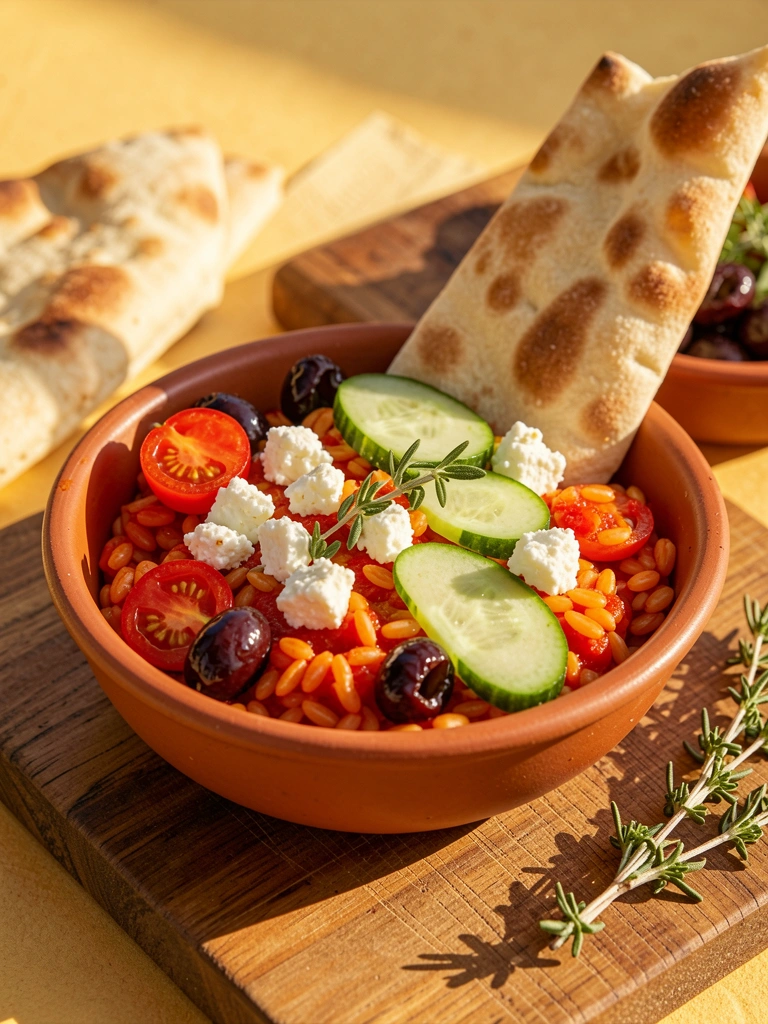
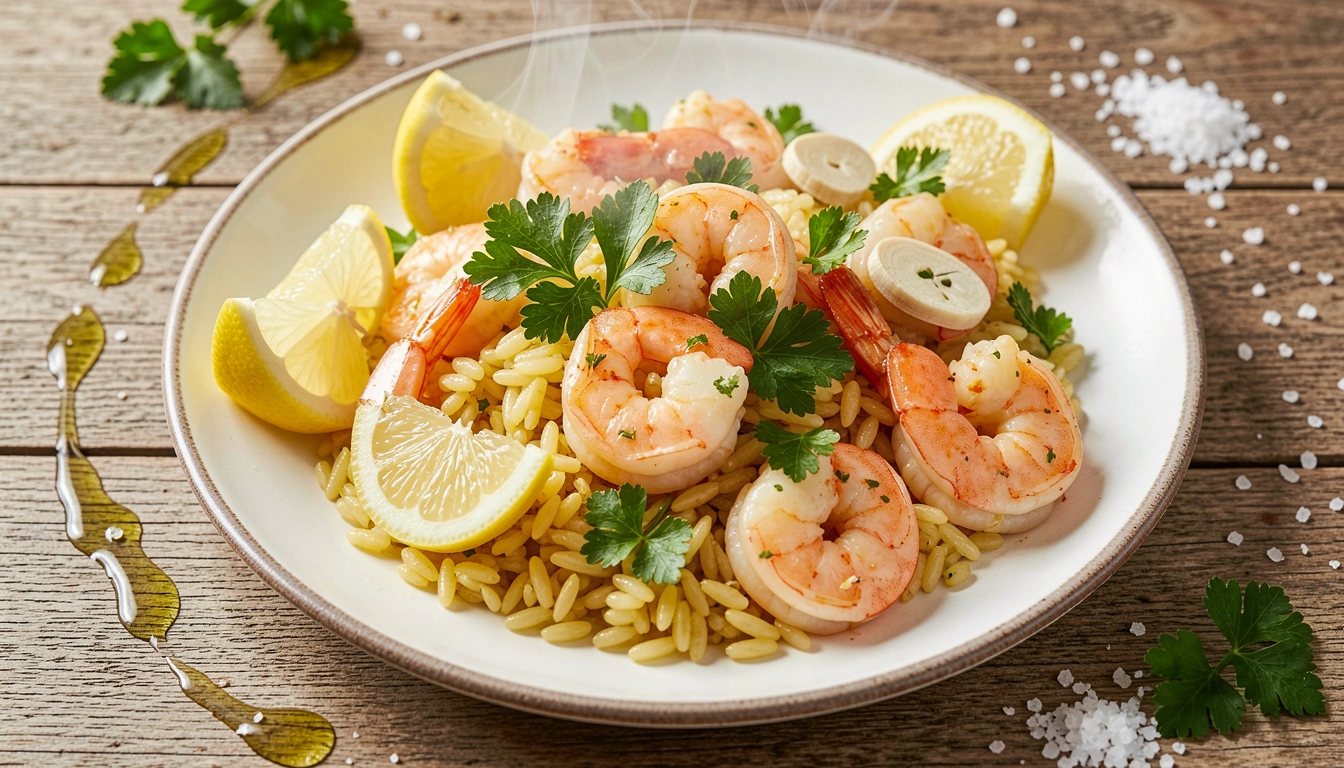
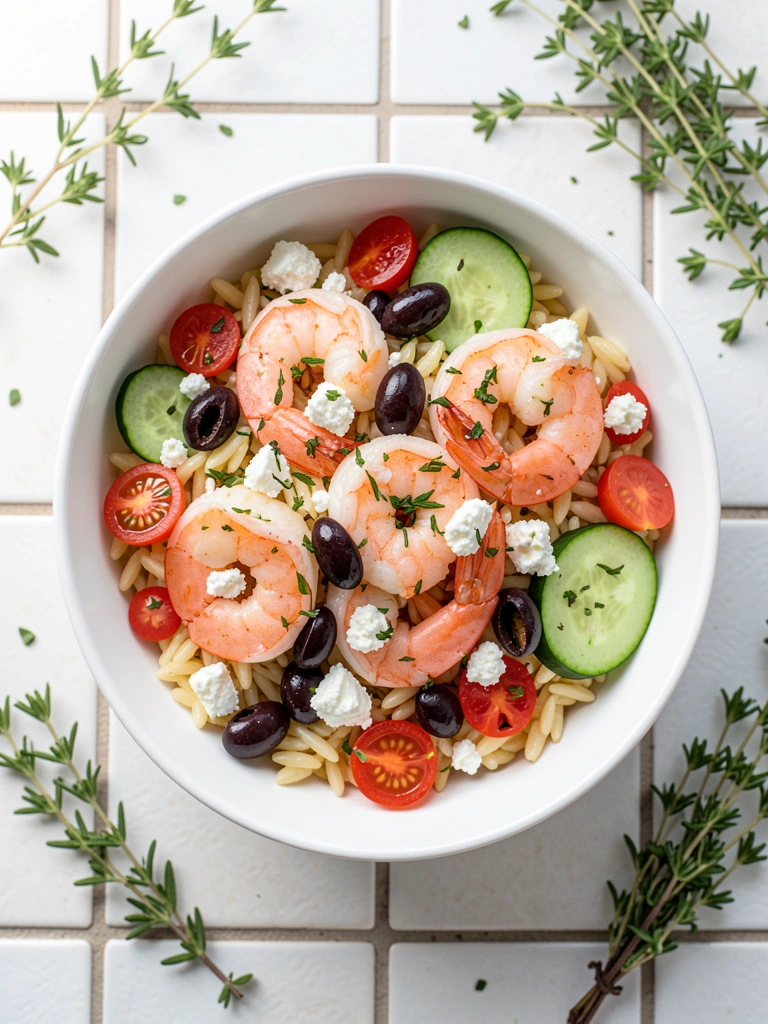
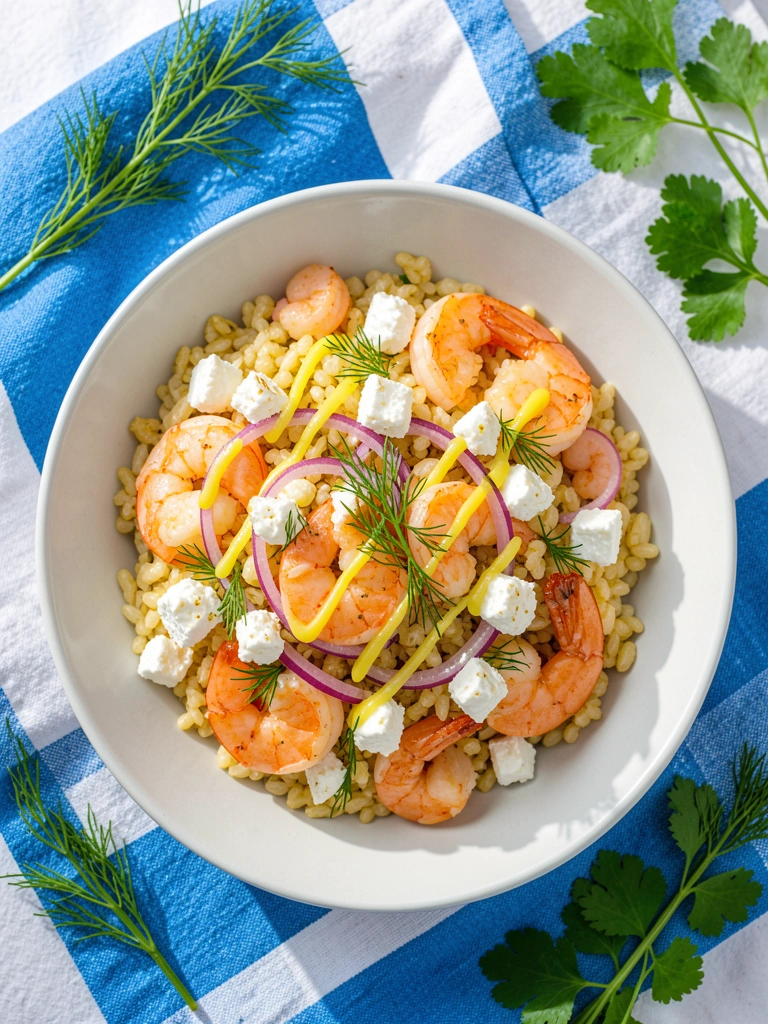
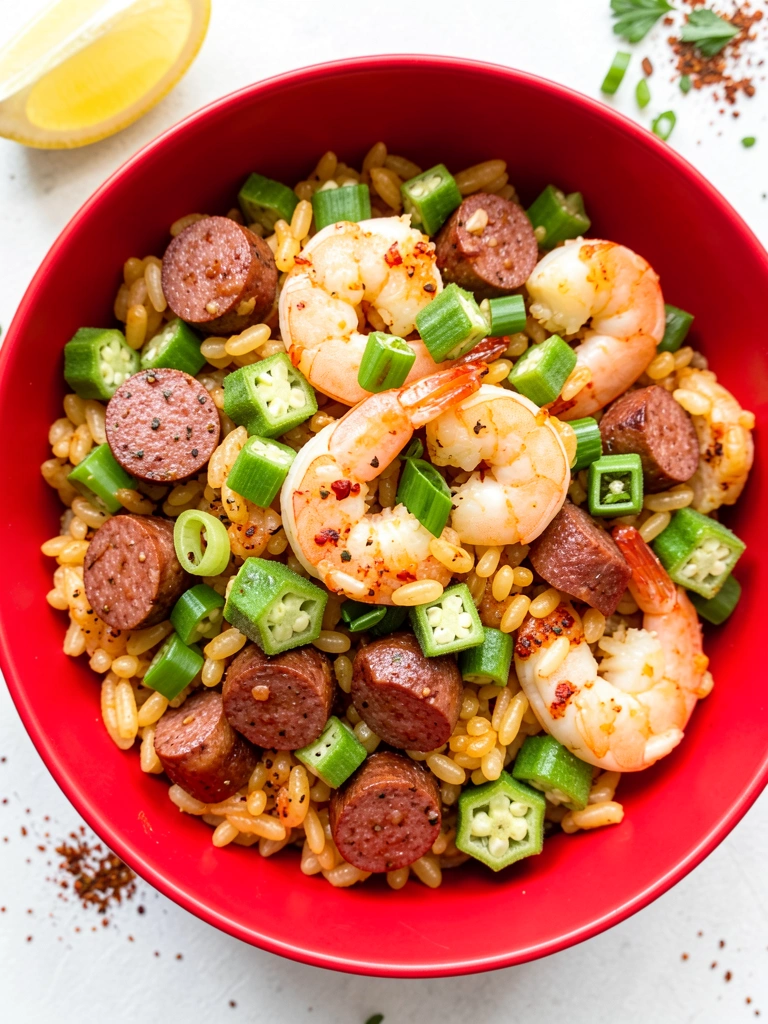
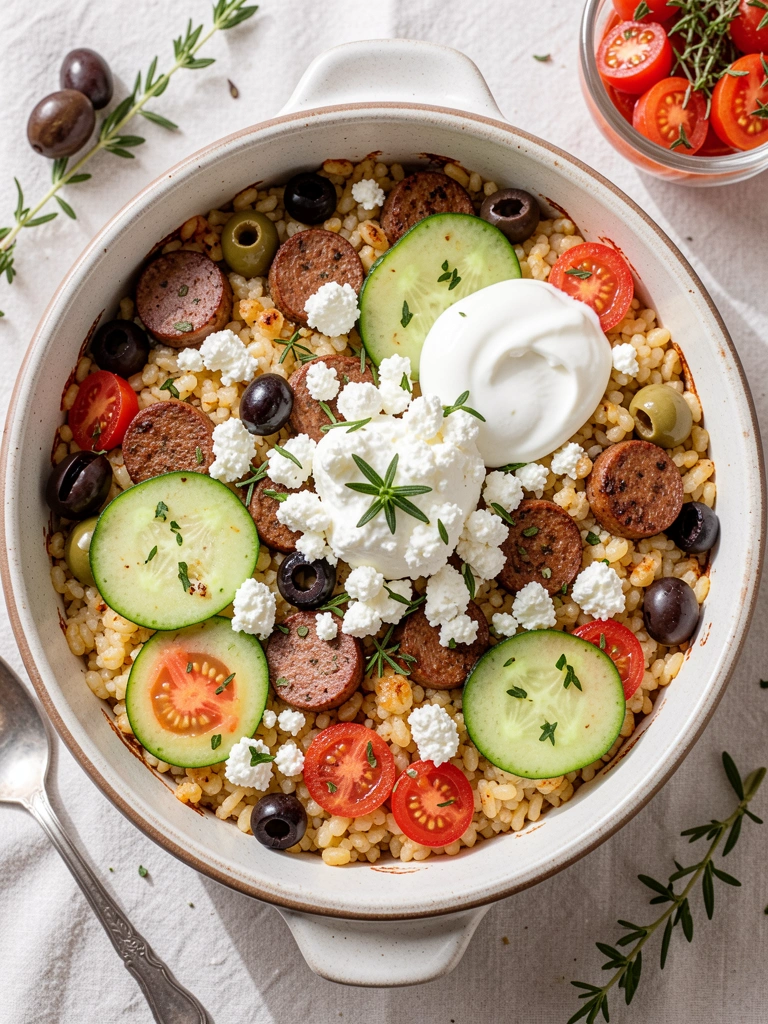
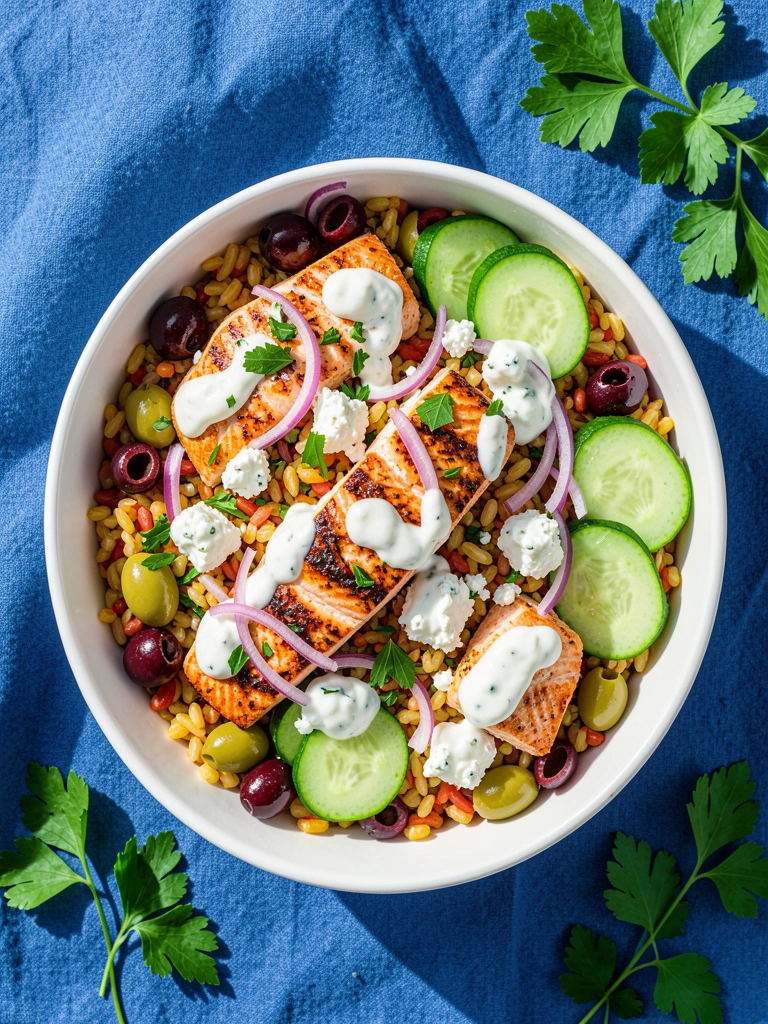
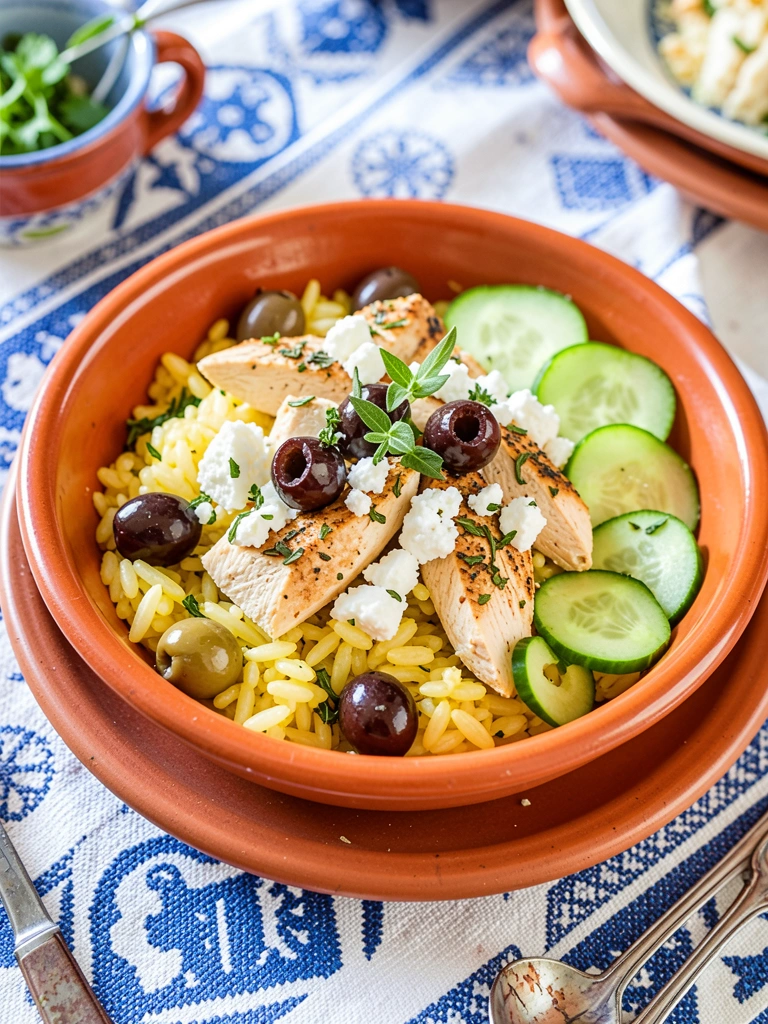
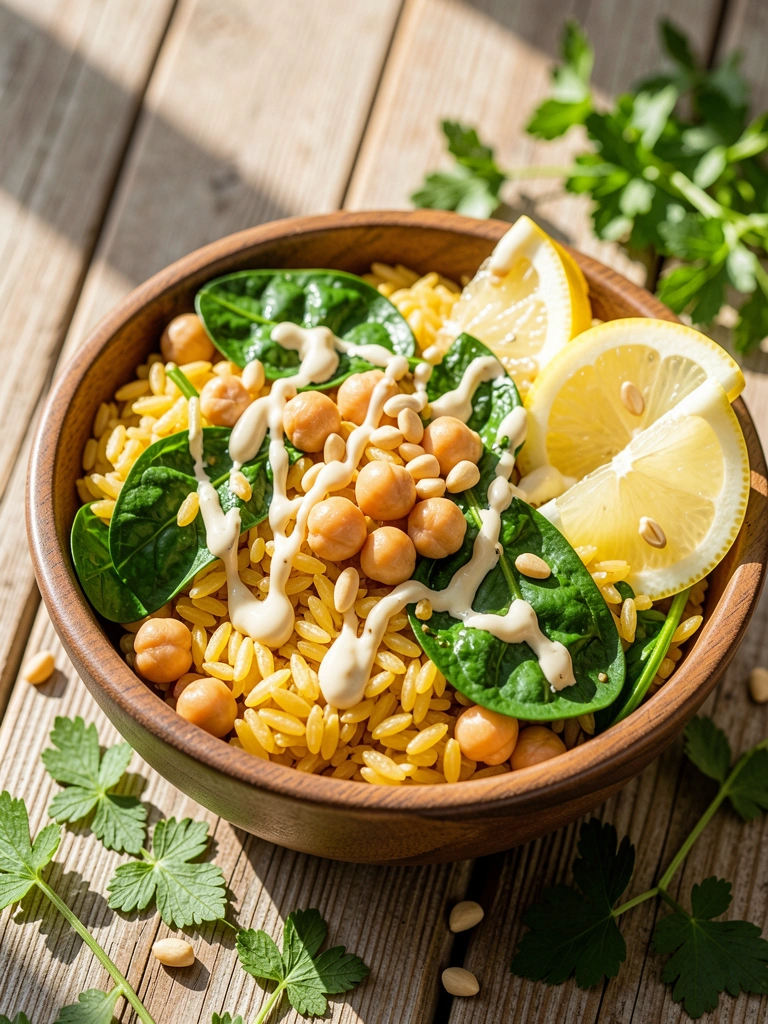
4. Mediterranean Orzo Salmon Bowl
Olives, feta, and cucumber deliver classic Mediterranean vibrancy against flaky salmon and lemony orzo. This bowl is fresh, crunchy, and effortlessly chic for sharing.
Ingredients
- 4 salmon fillets (6 oz each)
- 1 cup orzo
- 1/2 cup Kalamata olives, sliced
- 1/2 cup feta, crumbled
- 1 cucumber, diced
- 1/4 red onion, thinly sliced
- 2 tbsp olive oil
- Juice of 1 lemon
- 2 cups broth
- Fresh dill
Step-by-Step Instructions
Cook salmon
Grill or pan-sear salmon 4-5 minutes per side. Flake into chunks.
Make orzo base
Boil orzo in broth 9-10 minutes until tender. Drain, toss with oil, lemon, olives, cucumber, onion.
Assemble bowls
Divide orzo into bowls, top with salmon and feta. Sprinkle dill. Total time: 25 minutes.
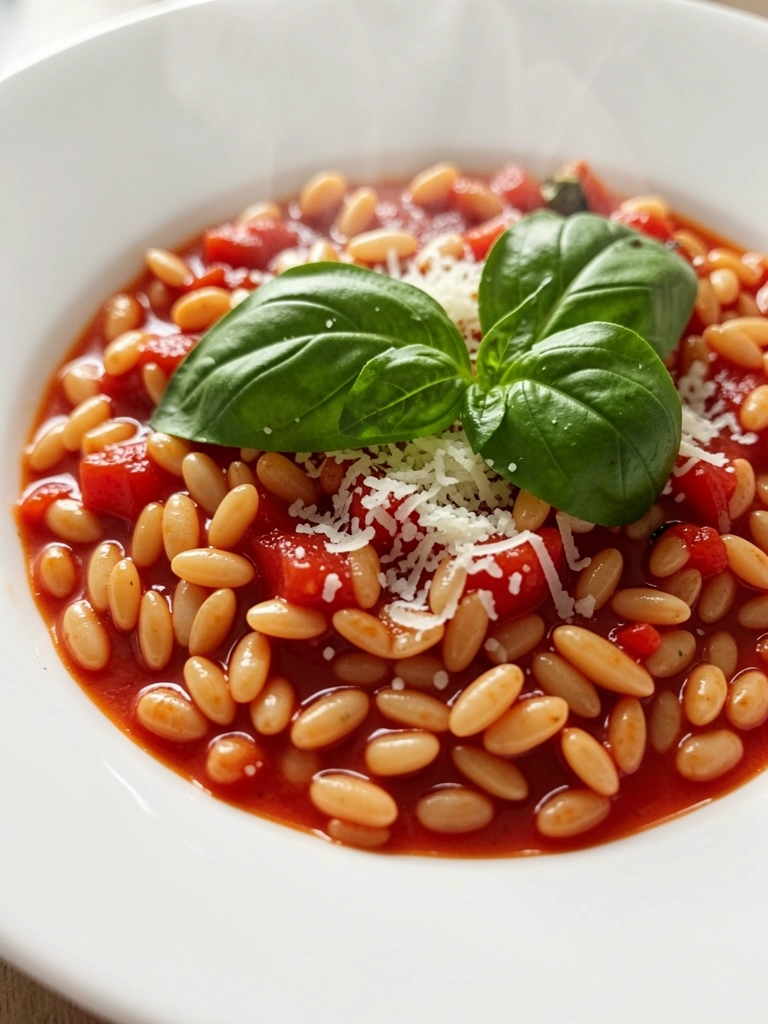
5. Sun-Dried Tomato Orzo Salmon
Tangy sun-dried tomatoes and basil create a bold, summery sauce that clings to orzo and salmon. It's saucy, flavorful, and feels like a high-end bistro meal.
Ingredients
- 4 salmon fillets (6 oz each)
- 1 cup orzo
- 1/2 cup sun-dried tomatoes in oil, chopped
- 1/4 cup basil pesto
- 3 garlic cloves, minced
- 1 cup chicken broth
- 1/2 cup heavy cream
- 2 tbsp olive oil
- Parmesan for garnish
Step-by-Step Instructions
Cook salmon first
Season salmon, sear in oil 4 minutes per side. Set aside.
Simmer orzo
In skillet, sauté garlic 1 minute. Add orzo, toast, then broth, tomatoes, pesto. Simmer 10 minutes.
Add creaminess
Stir in cream, simmer 3 minutes. Return salmon to heat through. Garnish with Parmesan. Total time: 30 minutes.
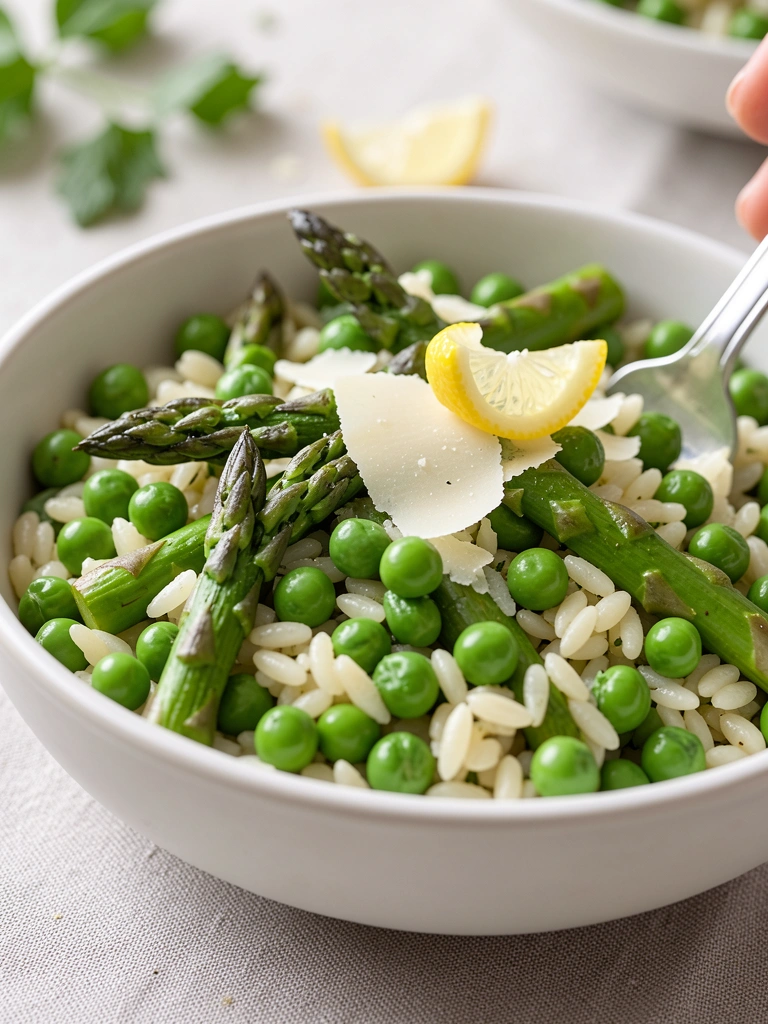
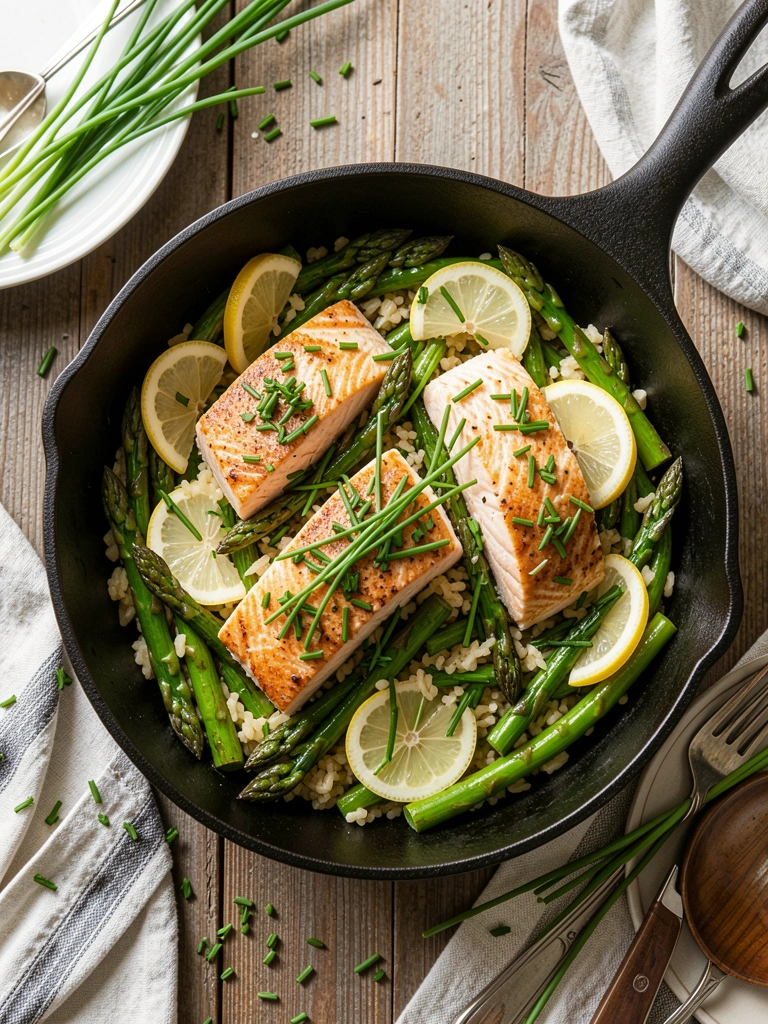
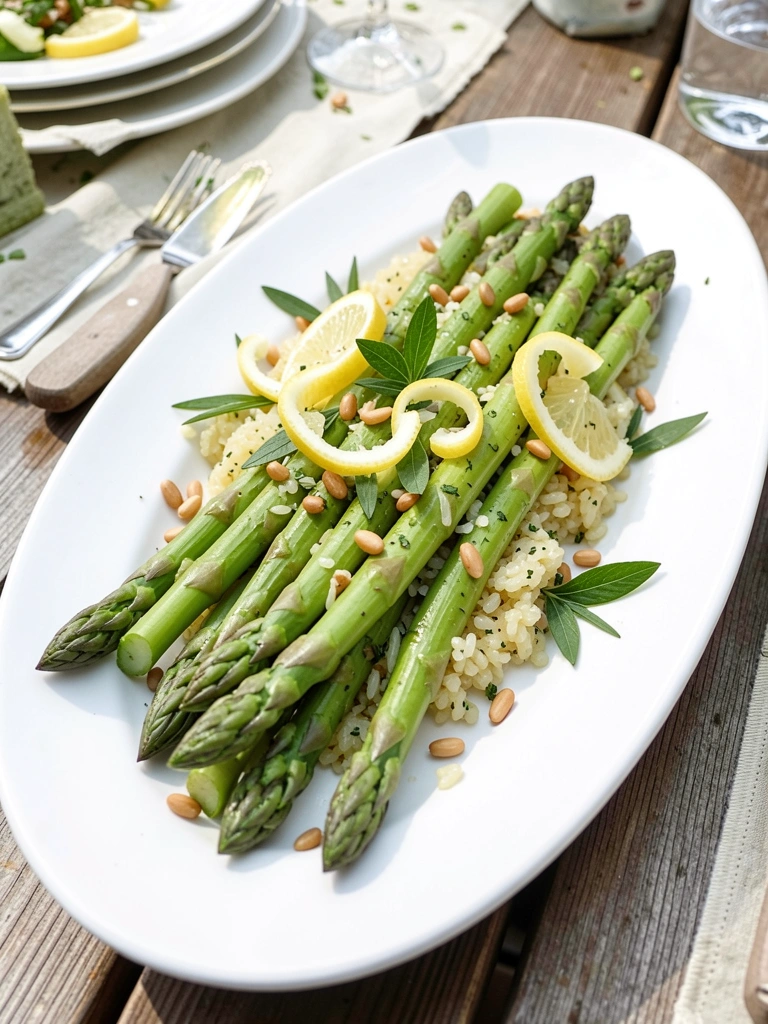
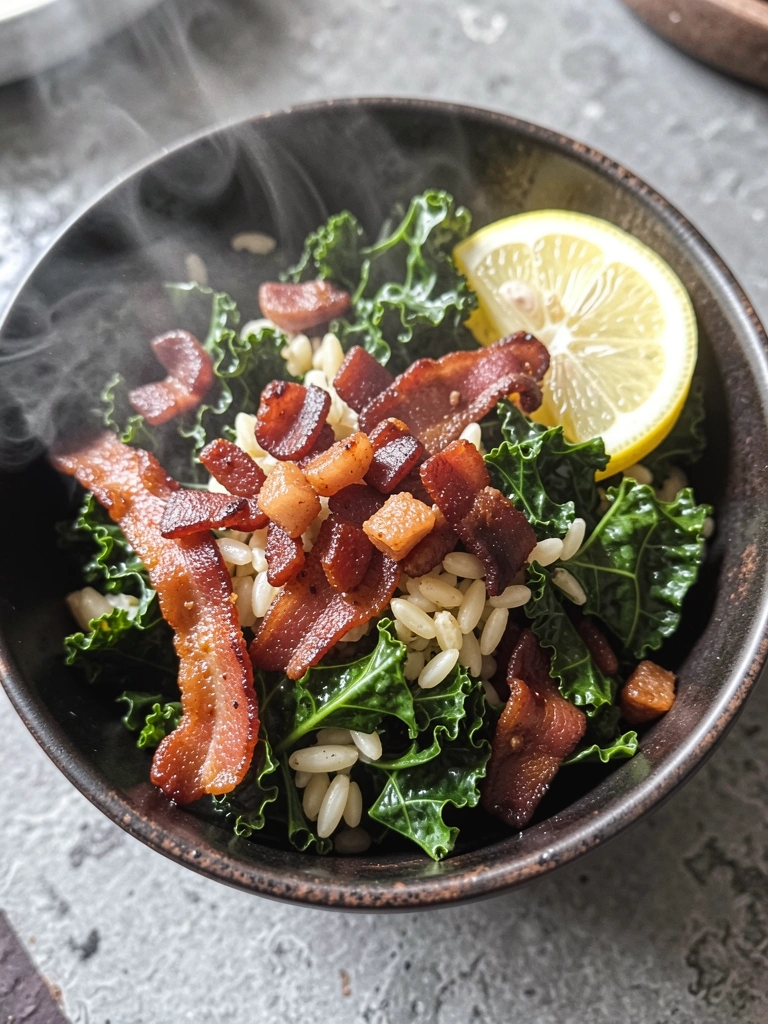
6. Asparagus Orzo Salmon Skillet
Crisp asparagus snaps with nutty orzo and buttery salmon in this easy one-pan wonder. Light and springy, it's elegant with minimal cleanup.
Ingredients
- 4 salmon fillets (6 oz each)
- 1 cup orzo
- 1 bunch asparagus, trimmed and cut into 2-inch pieces
- 2 tbsp butter
- 2 garlic cloves, minced
- 2 cups broth
- Juice of 1 lemon
- 1/4 cup Parmesan
- Salt and pepper
Step-by-Step Instructions
Start with veggies
Melt butter in large skillet, sauté asparagus and garlic 4 minutes.
Cook orzo
Add orzo, stir 2 minutes. Pour broth, simmer covered 10 minutes.
Add salmon
Nestle salmon in, cover, cook 8 minutes until flaky. Stir in lemon and cheese. Total time: 28 minutes.
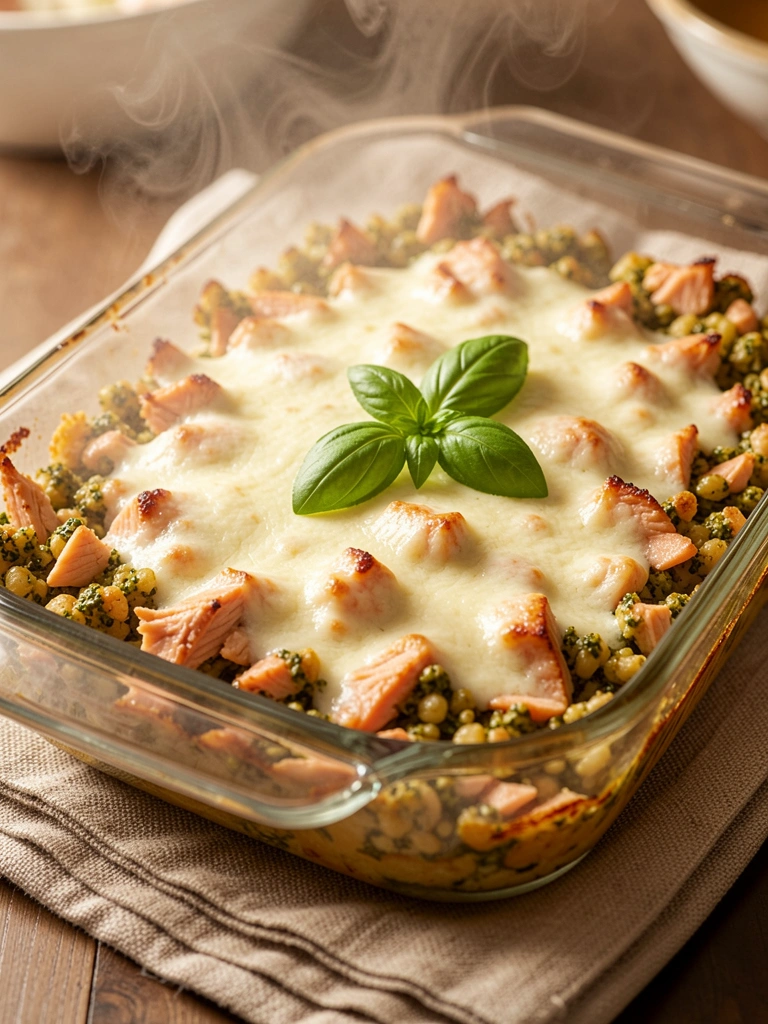
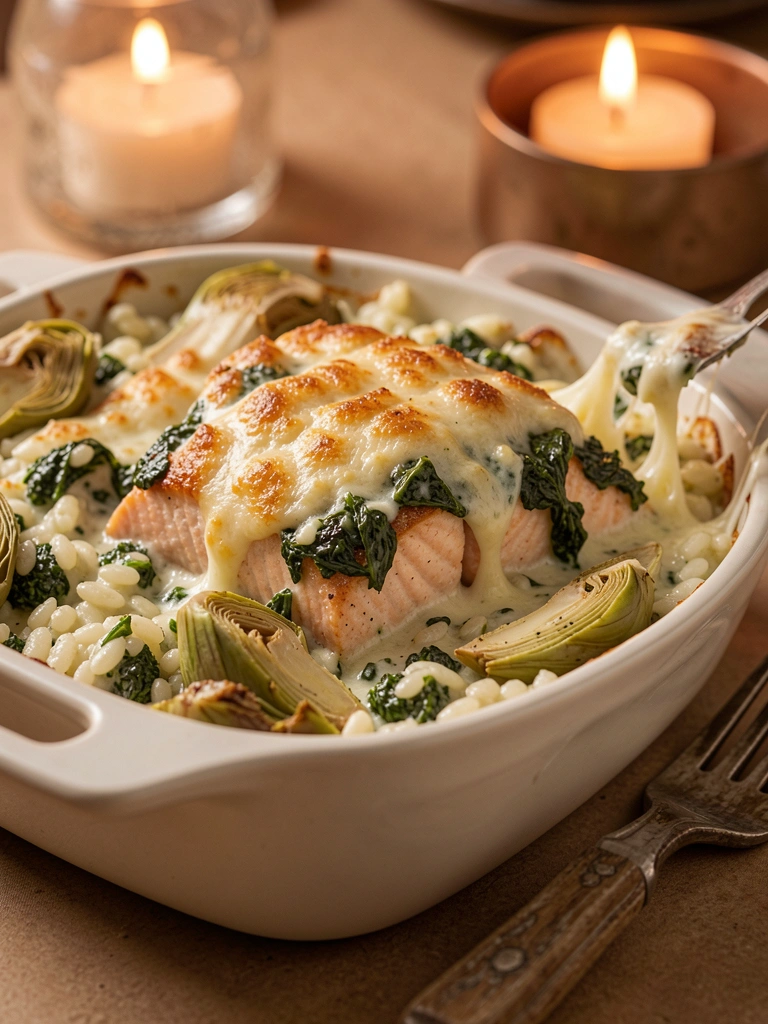
7. Spinach Artichoke Orzo Salmon
Dip-inspired flavors of spinach and artichoke make this creamy orzo bake irresistible with salmon. Cheesy, comforting, and surprisingly sophisticated.
Ingredients
- 4 salmon fillets (6 oz each)
- 1 cup orzo
- 1 can (14 oz) artichoke hearts, quartered
- 2 cups spinach
- 1 cup cream cheese
- 1/2 cup milk
- 1/2 cup mozzarella
- 2 garlic cloves
- 1 tbsp olive oil
Step-by-Step Instructions
Prep bake
Preheat 375°F. Sauté garlic and artichokes in oil 3 minutes. Mix with orzo, spinach, cream cheese, milk.
Assemble
Spread in dish, top with salmon and mozzarella. Bake 25 minutes until bubbly.
Serve warm
Let rest 5 minutes. Total time: 35 minutes.
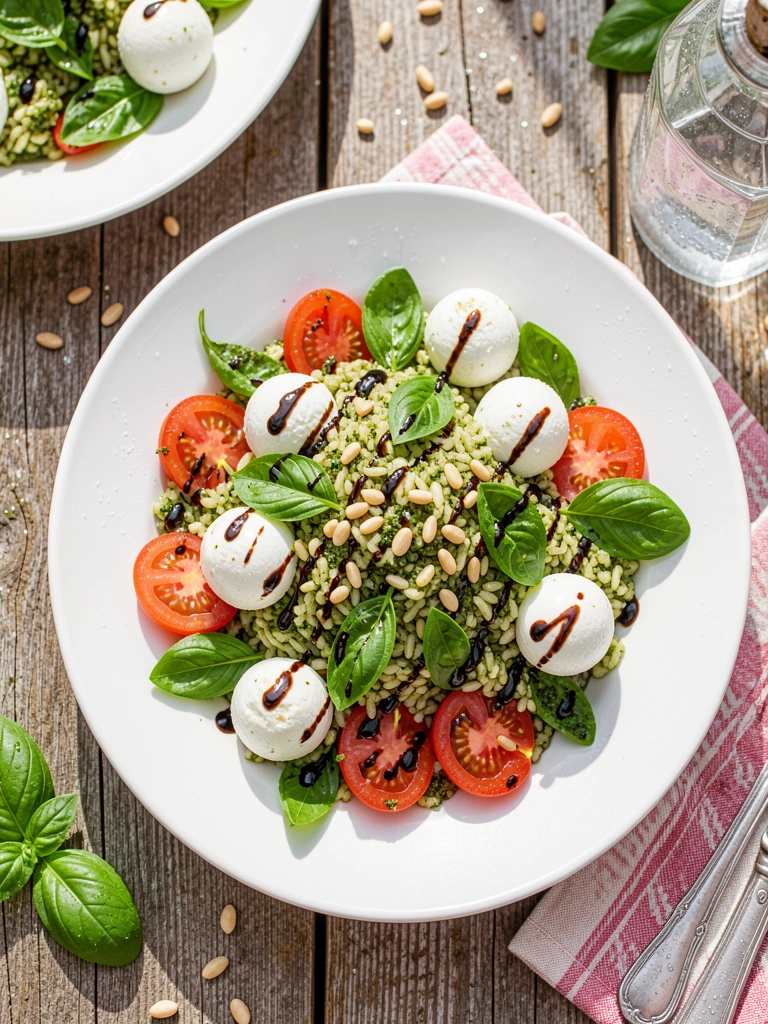
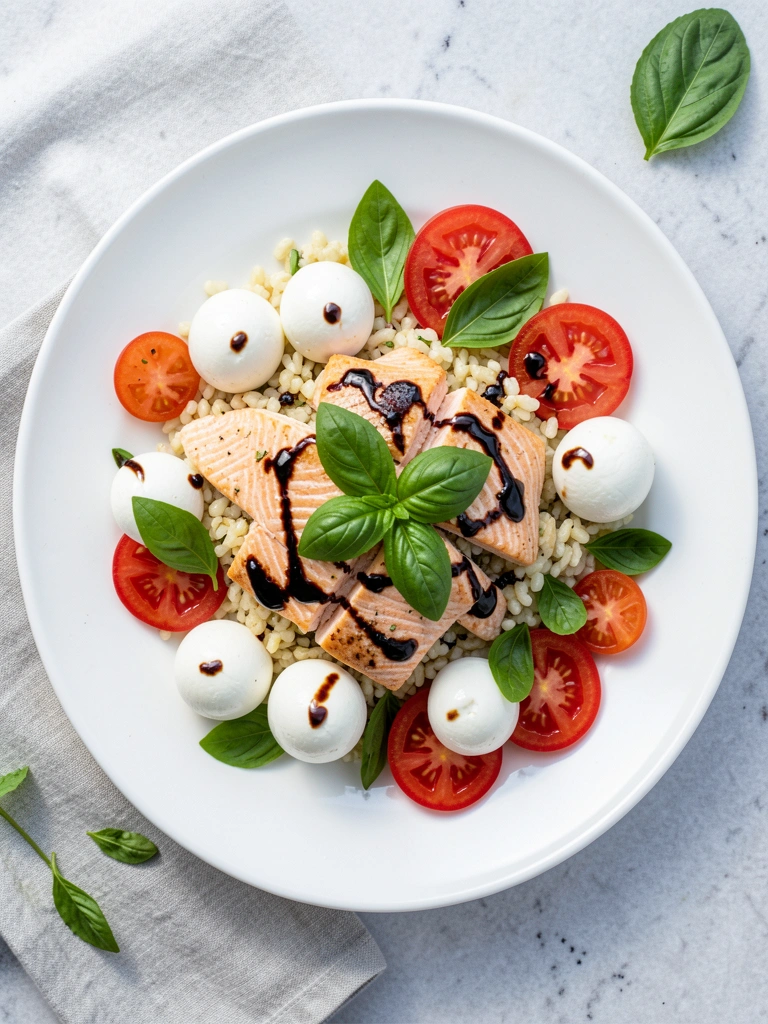
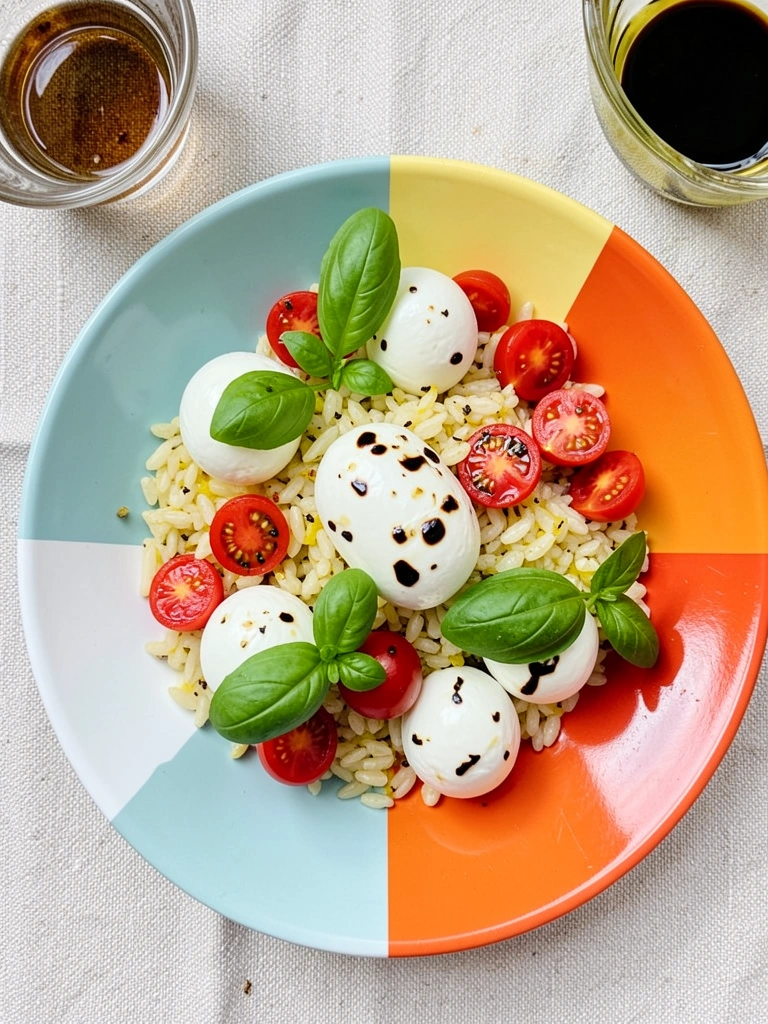
8. Caprese Orzo Salmon
Classic Caprese elements—tomato, mozzarella, basil—meet warm orzo and salmon for a salad-like dish that's fresh and romantic.
Ingredients
- 4 salmon fillets (6 oz each)
- 1 cup orzo
- 1 pint cherry tomatoes, halved
- 8 oz fresh mozzarella balls
- 1/4 cup basil, torn
- 2 tbsp balsamic glaze
- 2 tbsp olive oil
- Juice of 1 lemon
- Salt and pepper
Step-by-Step Instructions
Cook salmon and orzo
Bake salmon at 400°F for 12 minutes. Boil orzo 9 minutes, drain.
Toss salad
Mix orzo with oil, lemon, tomatoes, mozzarella, basil. Drizzle balsamic.
Plate
Top with flaked salmon. Total time: 25 minutes.
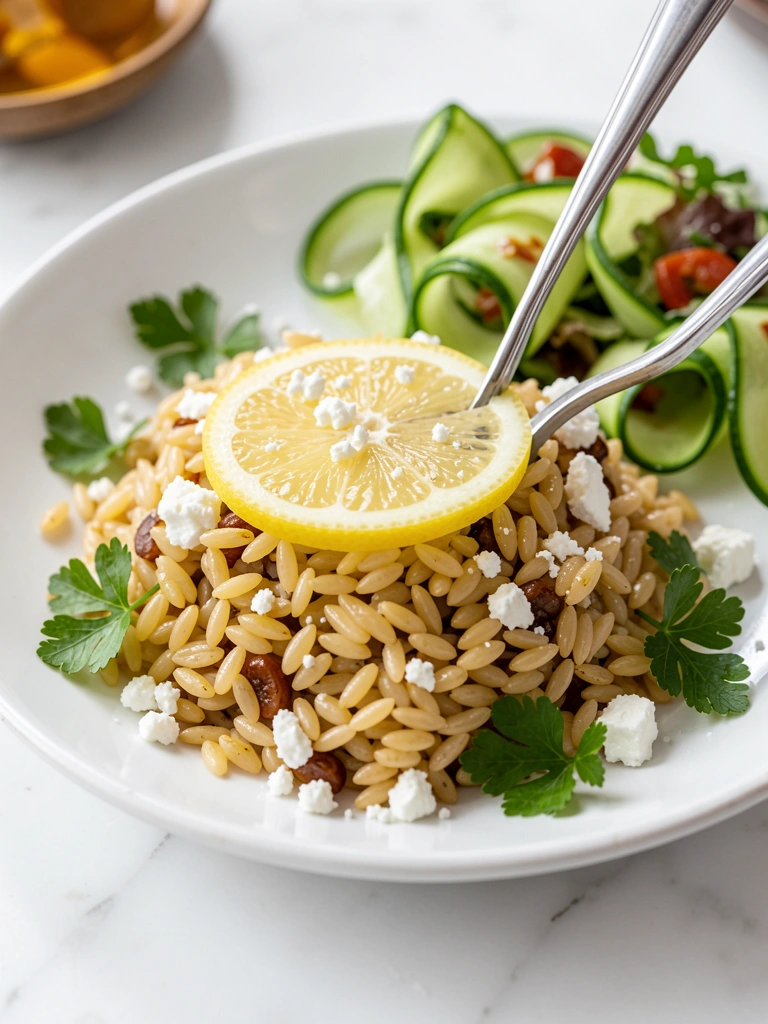
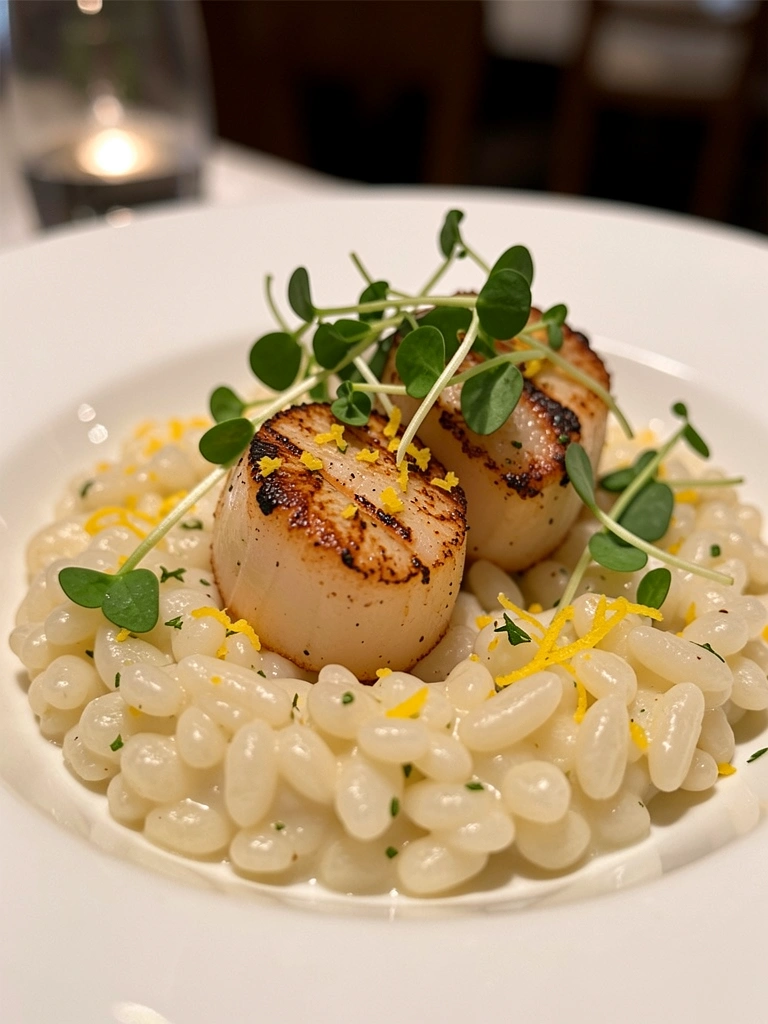
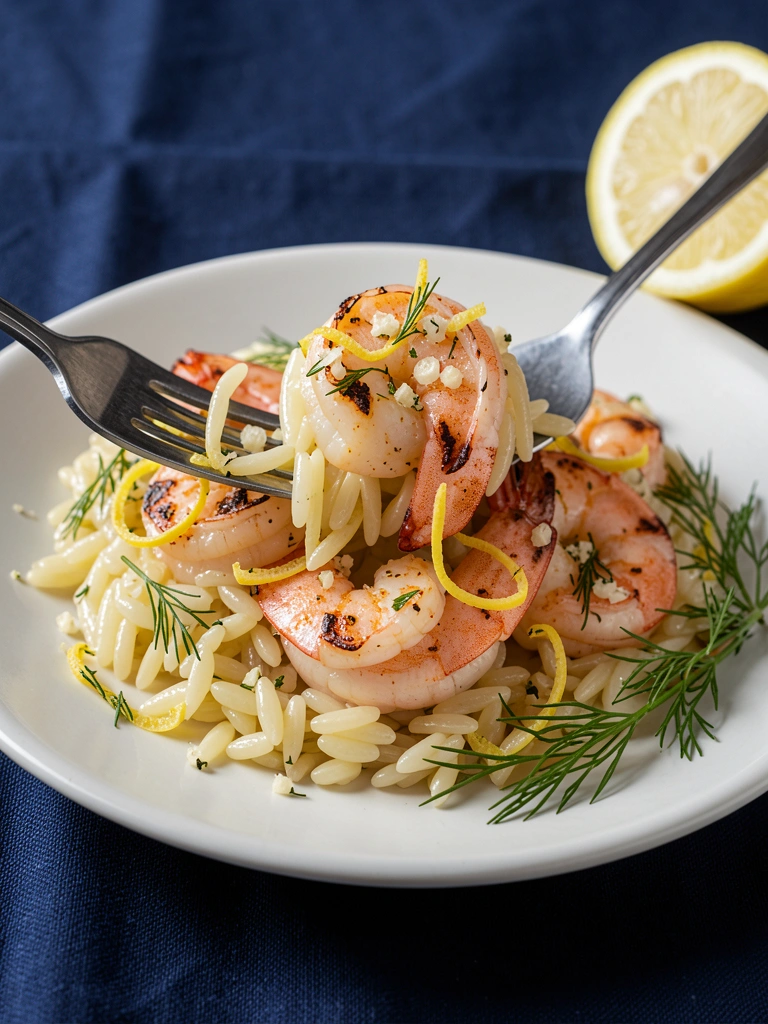
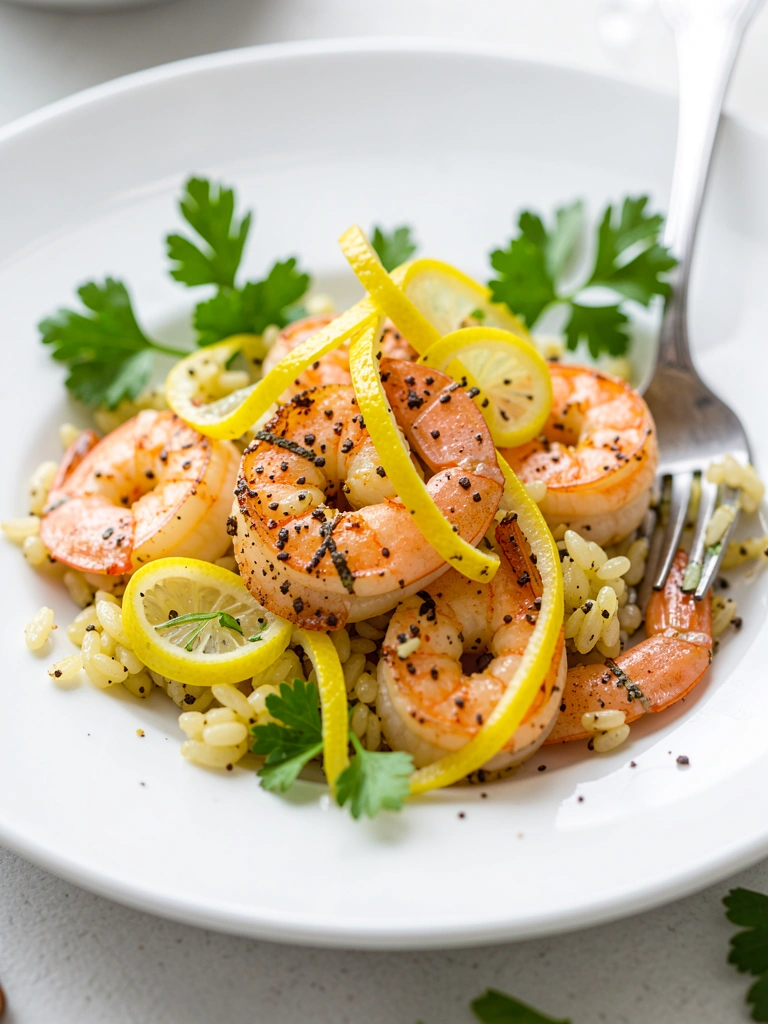
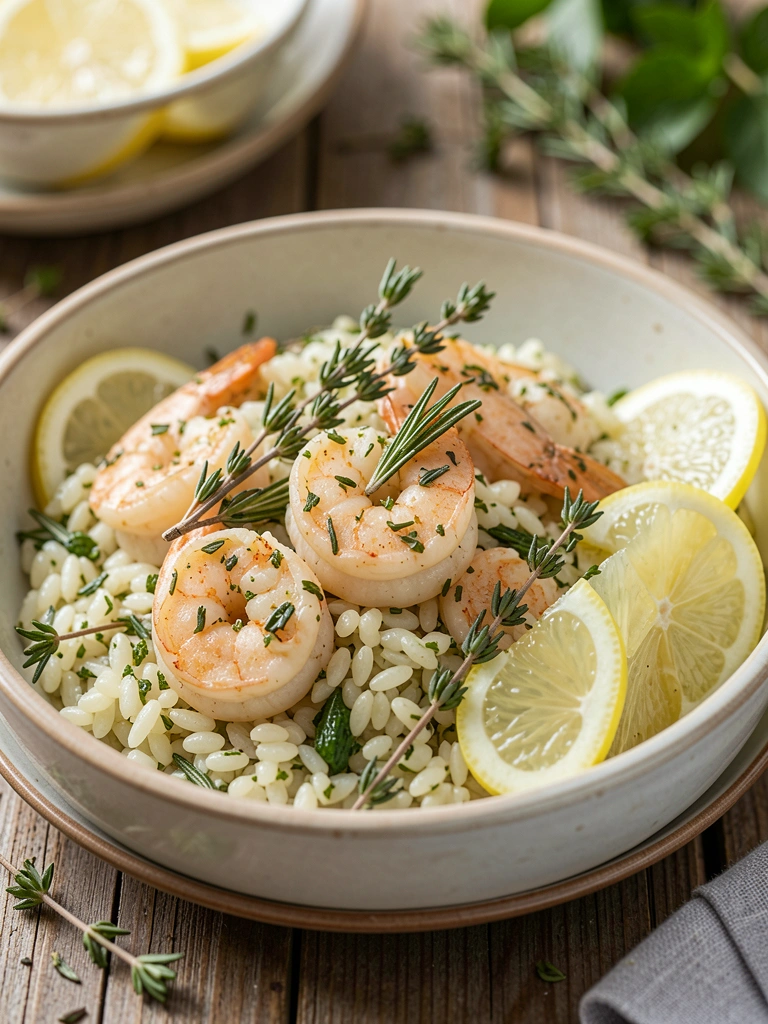
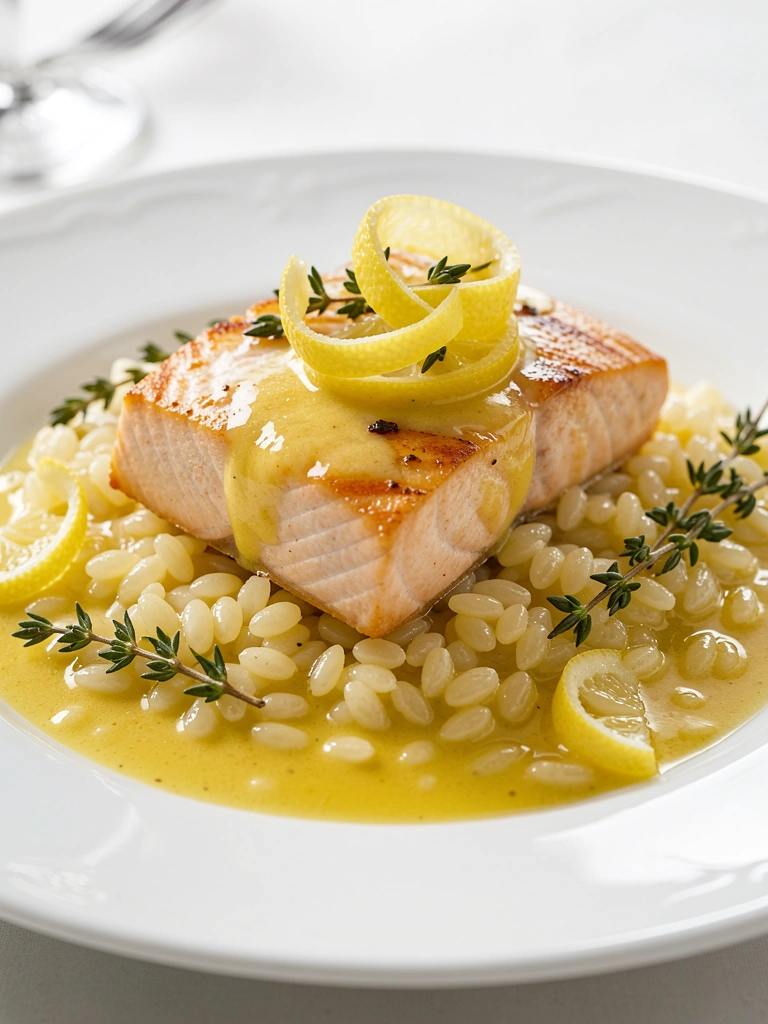
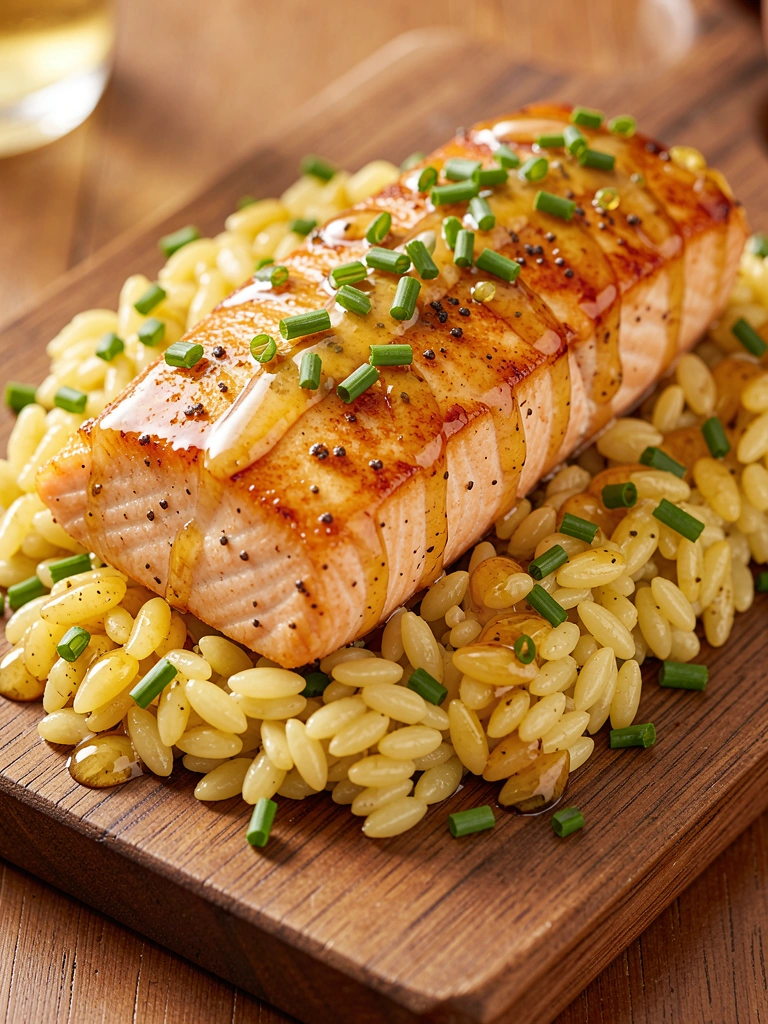
9. Lemon Butter Orzo Salmon
Silky lemon butter sauce elevates simple orzo and salmon to restaurant quality. Buttery richness with citrus tang is pure indulgence.
Ingredients
- 4 salmon fillets (6 oz each)
- 1 cup orzo
- 4 tbsp butter
- Juice and zest of 2 lemons
- 2 garlic cloves, minced
- 2 cups broth
- 2 tbsp fresh thyme
- Salt and pepper
Step-by-Step Instructions
Boil orzo
Cook orzo in broth 9-10 minutes. Drain, reserve 1/2 cup liquid.
Make sauce
Melt butter, sauté garlic 1 minute. Add lemon juice/zest, reserved liquid; simmer 3 minutes.
Sear and combine
Cook salmon 4 minutes per side. Pour sauce over orzo and salmon. Garnish thyme. Total time: 25 minutes.
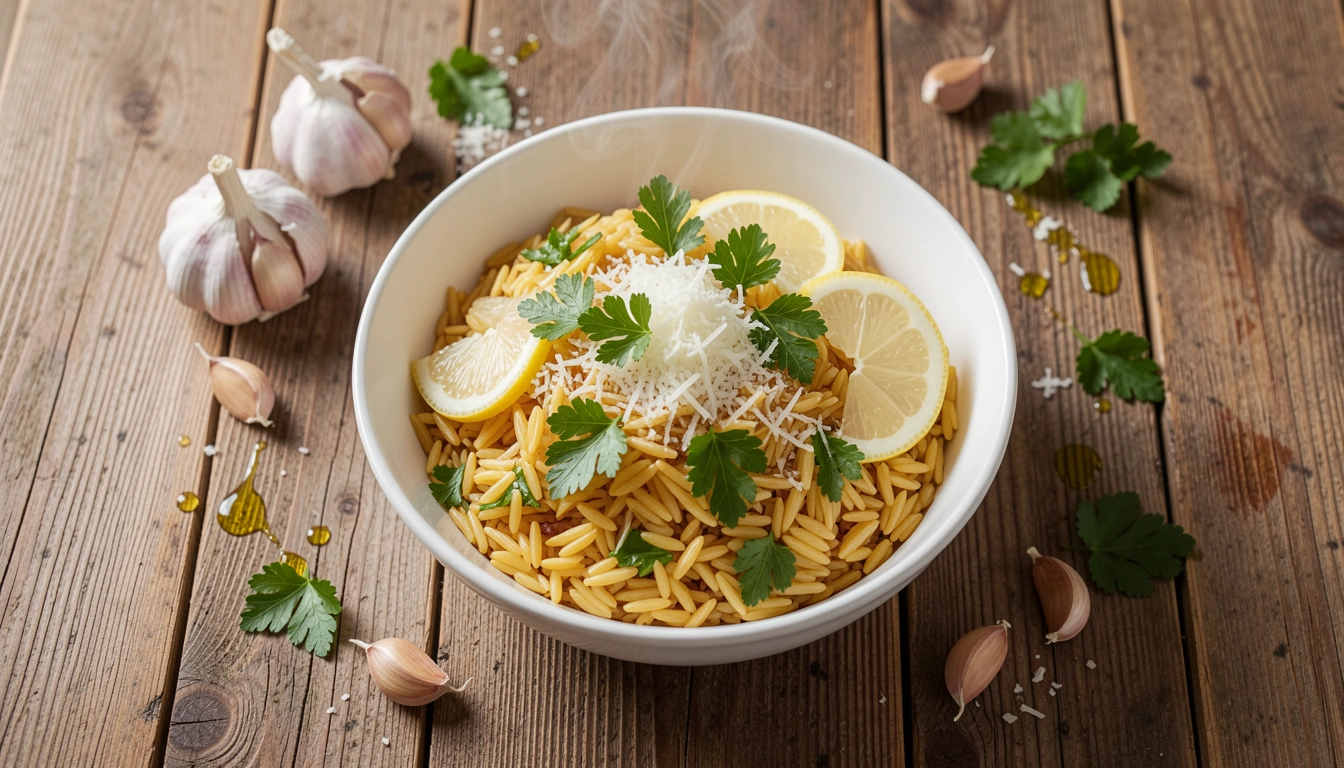
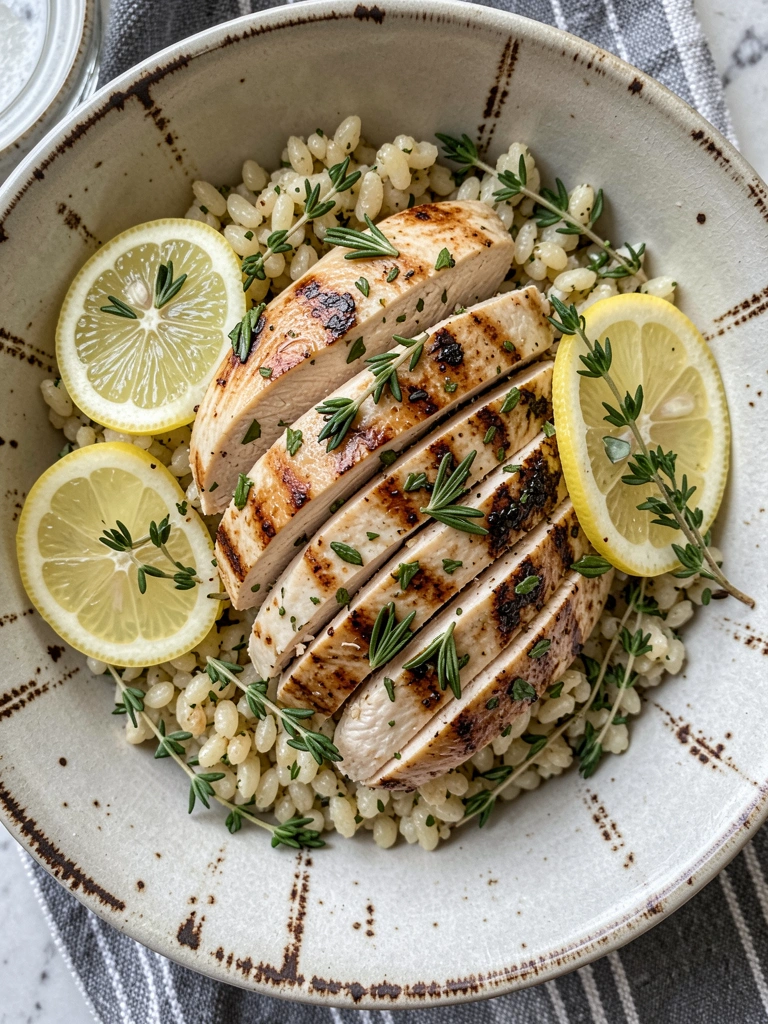
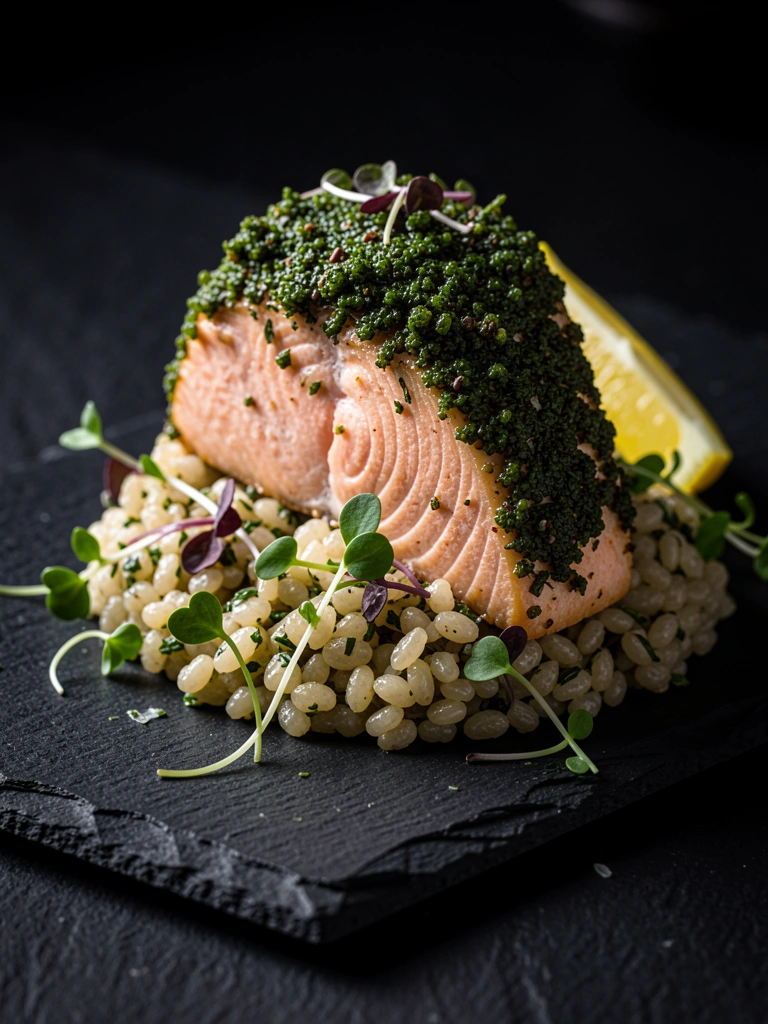
10. Herb-Crusted Orzo Salmon
A crunchy herb crust on salmon contrasts creamy orzo studded with the same fresh herbs. Earthy, aromatic, and visually stunning.
Ingredients
- 4 salmon fillets (6 oz each)
- 1 cup orzo
- 1/2 cup panko breadcrumbs
- 1/4 cup mixed herbs (parsley, dill, chives), chopped
- 2 tbsp Dijon mustard
- 2 tbsp olive oil
- 2 cups broth
- Lemon juice
Step-by-Step Instructions
Crust salmon
Mix panko and half herbs. Brush salmon with mustard, press crust on top. Bake at 425°F 12-15 minutes.
Cook orzo
Sauté remaining herbs in oil, add orzo, broth; simmer 10 minutes.
Serve
Plate orzo, top with salmon. Squeeze lemon. Total time: 30 minutes.
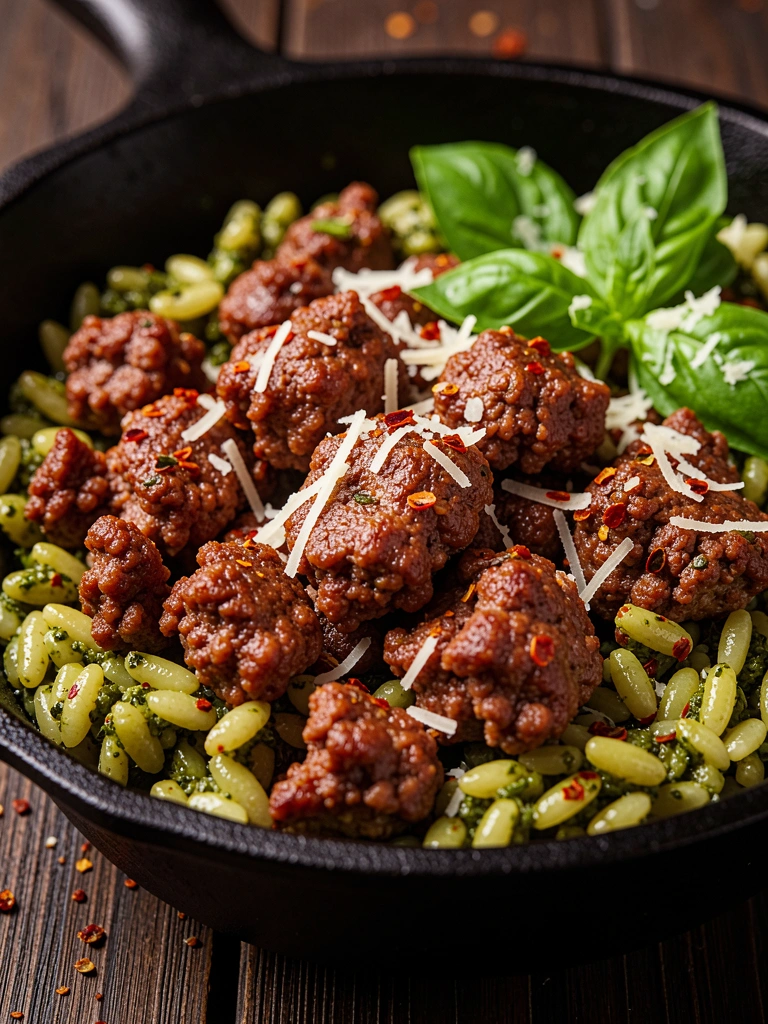
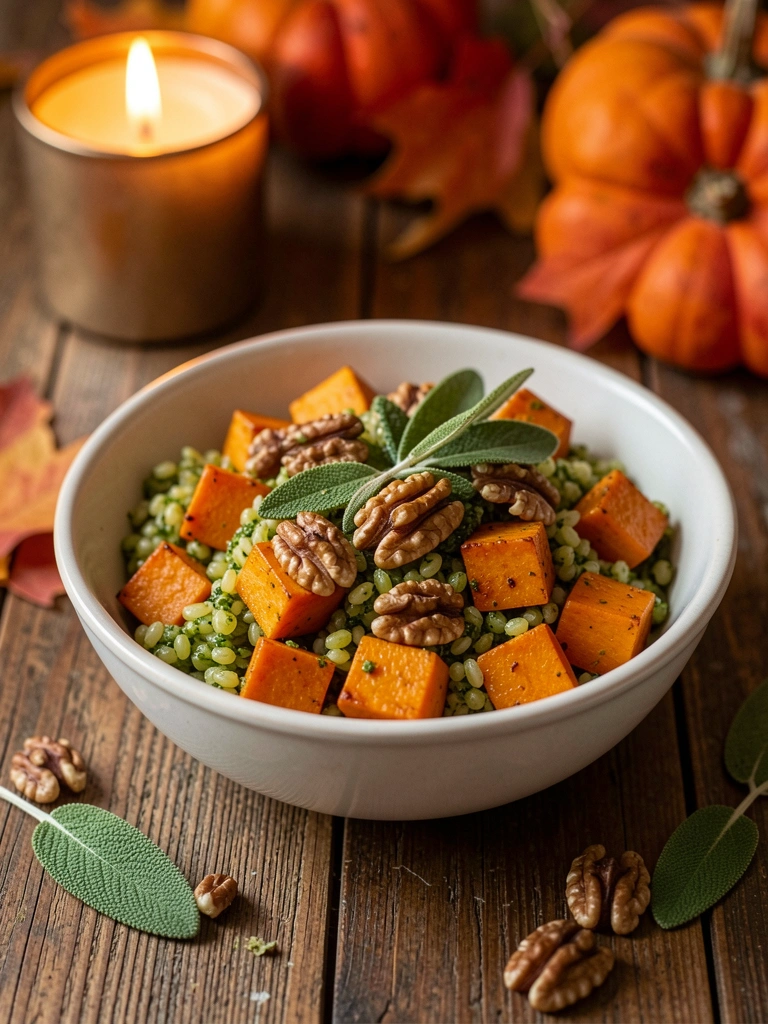
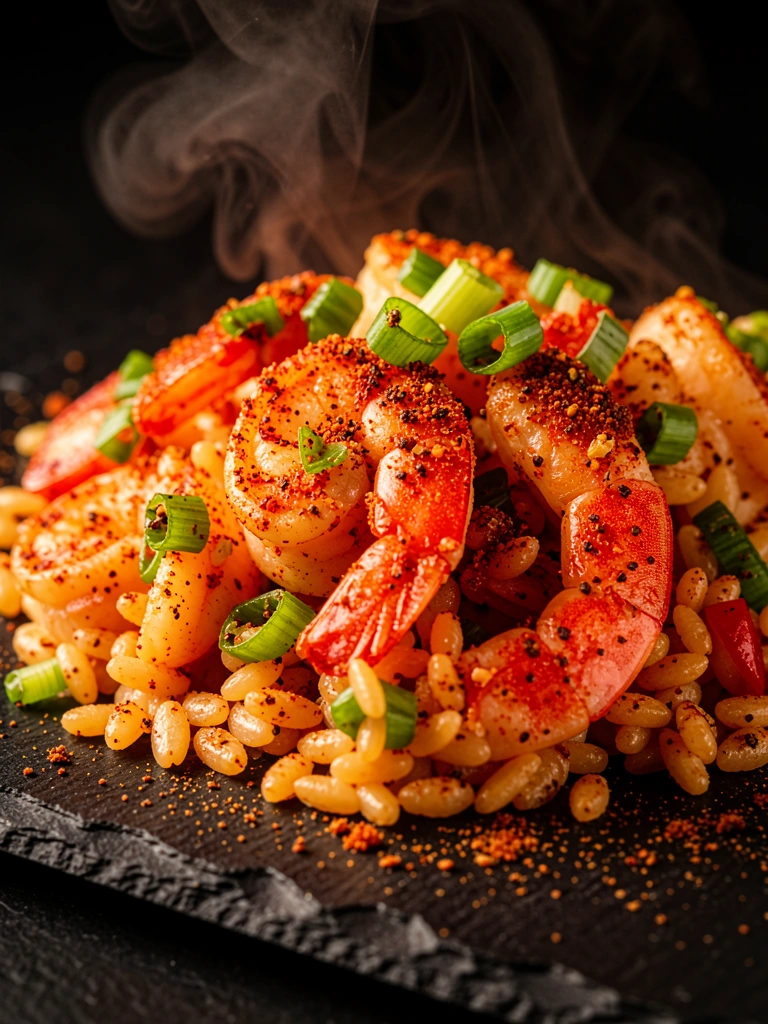
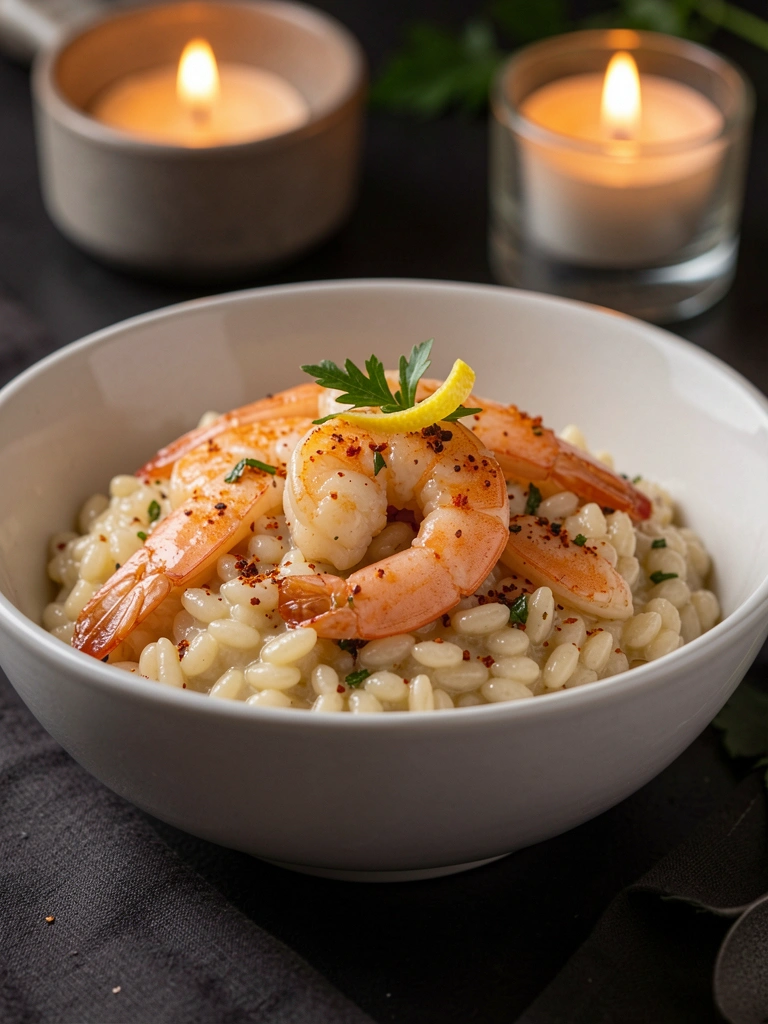
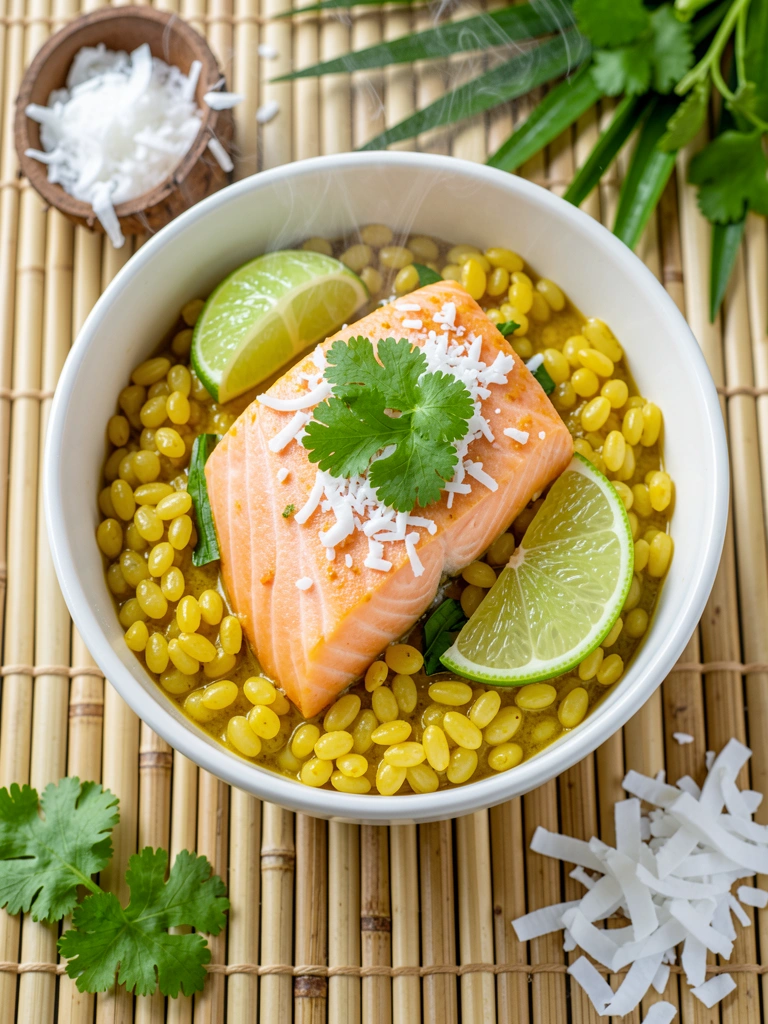
11. Coconut Curry Orzo Salmon
Mild coconut curry infuses orzo with exotic warmth, balanced by flaky salmon. A fusion twist that's creamy and mildly spicy.
Ingredients
- 4 salmon fillets (6 oz each)
- 1 cup orzo
- 1 can (14 oz) coconut milk
- 2 tbsp red curry paste
- 1 red bell pepper, sliced
- 2 tbsp fish sauce
- 1 lime, juiced
- Fresh cilantro
- 1 tbsp oil
Step-by-Step Instructions
Sear salmon
Cook salmon in oil 4 minutes per side. Set aside.
Simmer curry
Sauté curry paste 1 minute, add orzo, coconut milk, pepper, fish sauce. Simmer 12 minutes.
Finish
Flake salmon into orzo, stir lime. Garnish cilantro. Total time: 30 minutes.
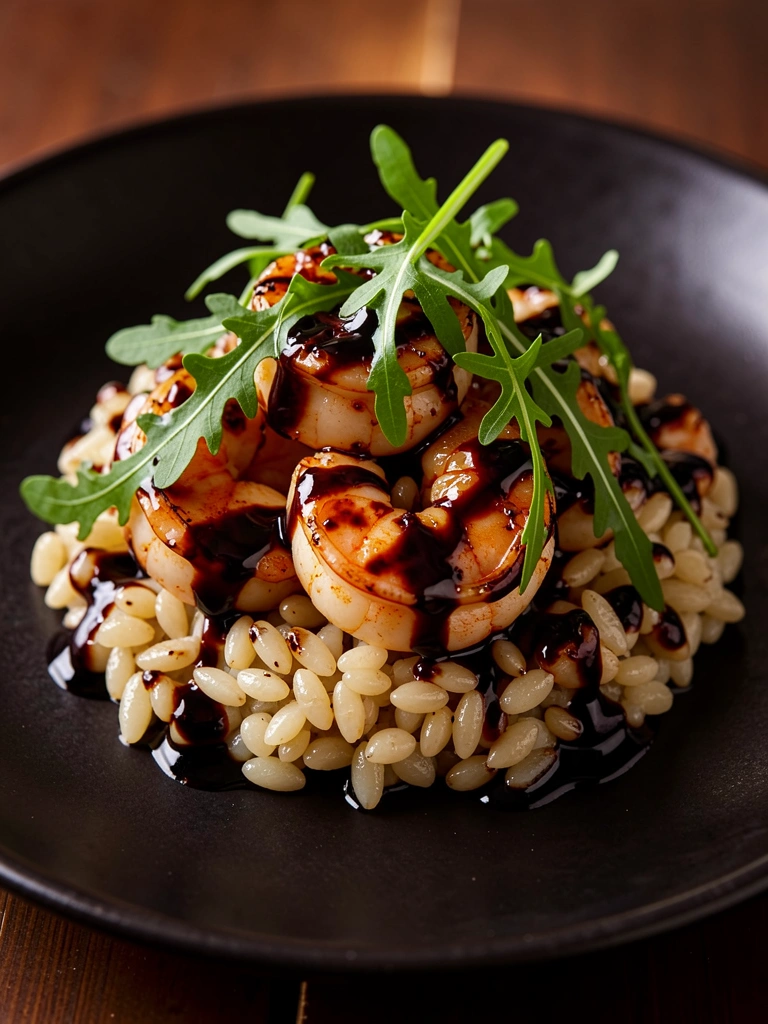
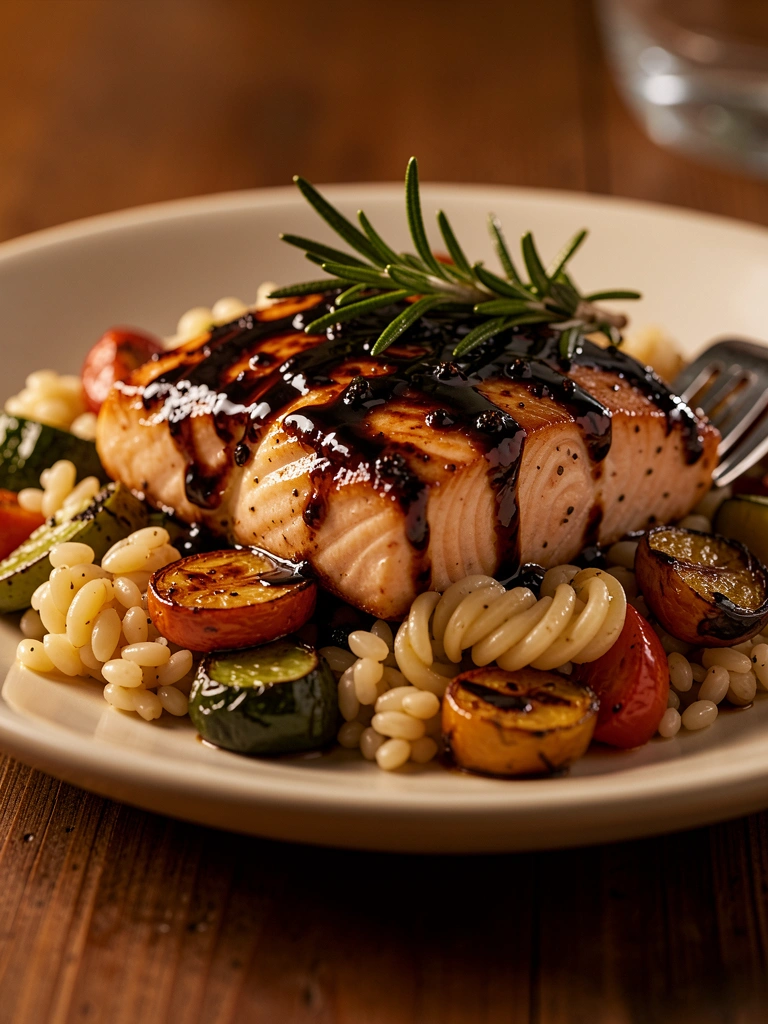
12. Balsamic Glazed Orzo Salmon
Sweet-tangy balsamic glaze caramelizes salmon beautifully over herbed orzo. Rich, glossy, and full of depth.
Ingredients
- 4 salmon fillets (6 oz each)
- 1 cup orzo
- 1/4 cup balsamic vinegar
- 2 tbsp honey
- 1 tbsp Dijon
- 2 cups broth
- 1 tsp rosemary, chopped
- 2 tbsp olive oil
- Salt
Step-by-Step Instructions
Make glaze
Simmer balsamic, honey, Dijon 5 minutes until thickened.
Cook orzo
Sauté rosemary in oil, add orzo, broth; cook 10 minutes.
Glaze salmon
Brush salmon with half glaze, broil 4-5 minutes. Drizzle rest. Total time: 28 minutes.
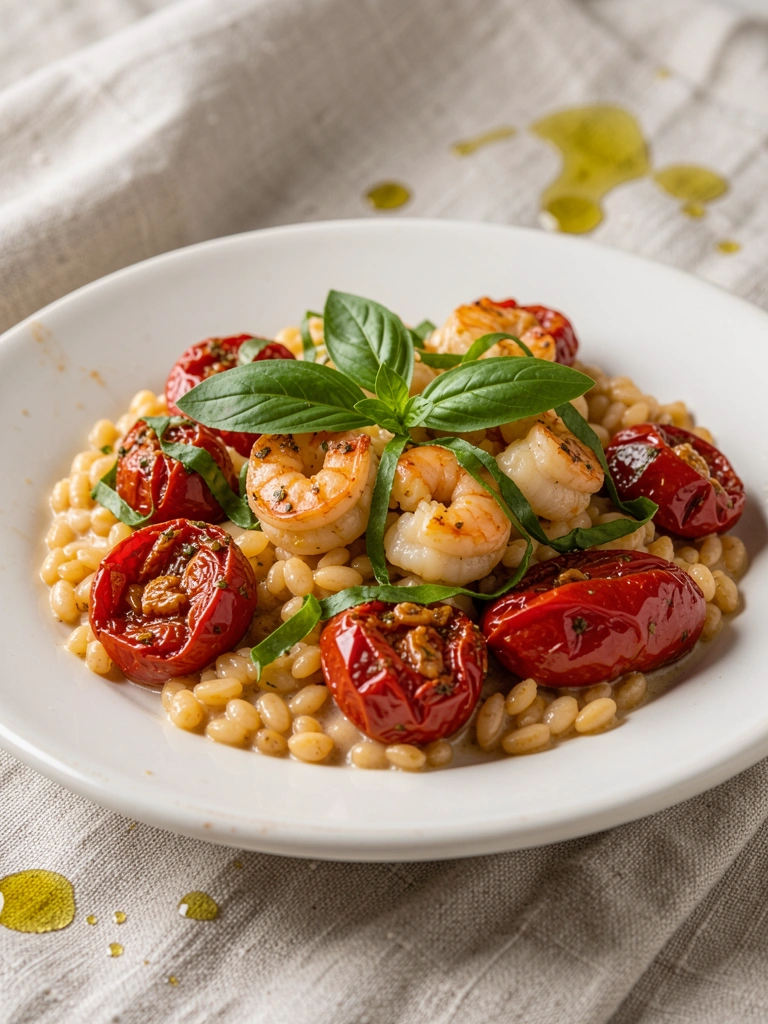
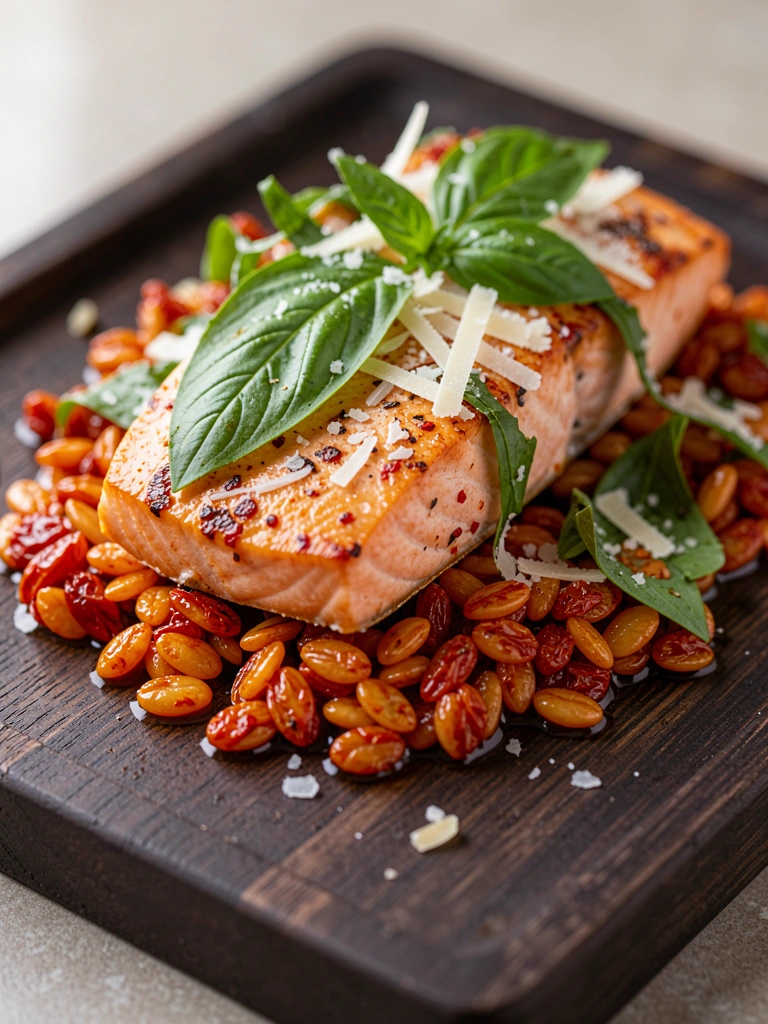
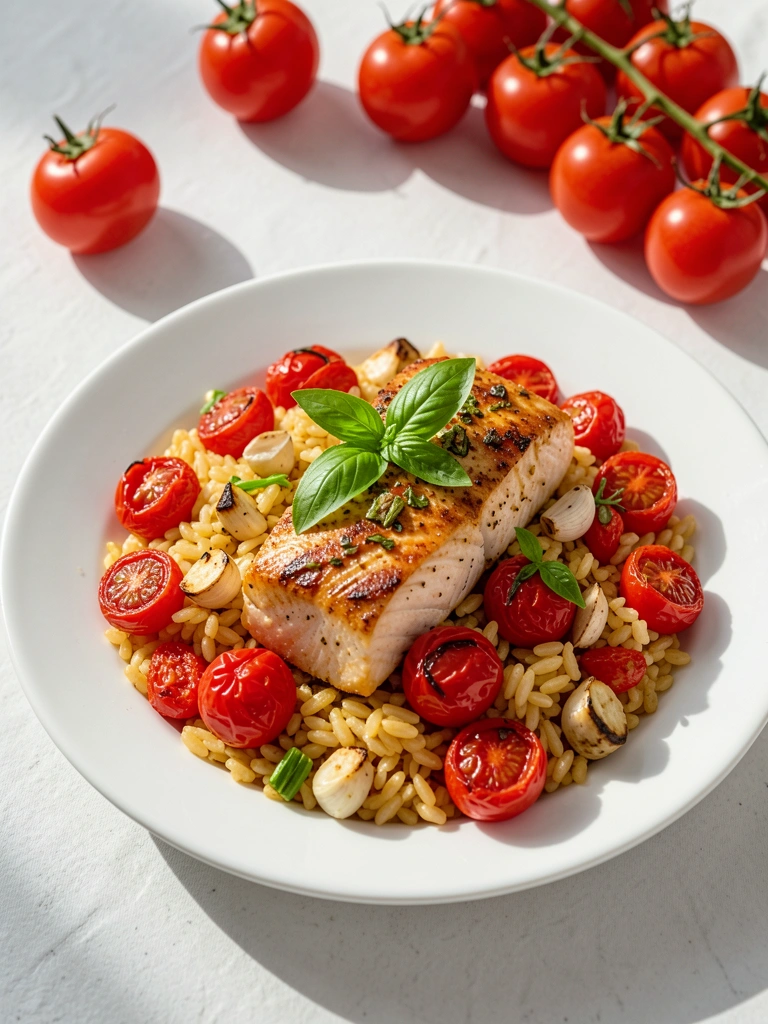
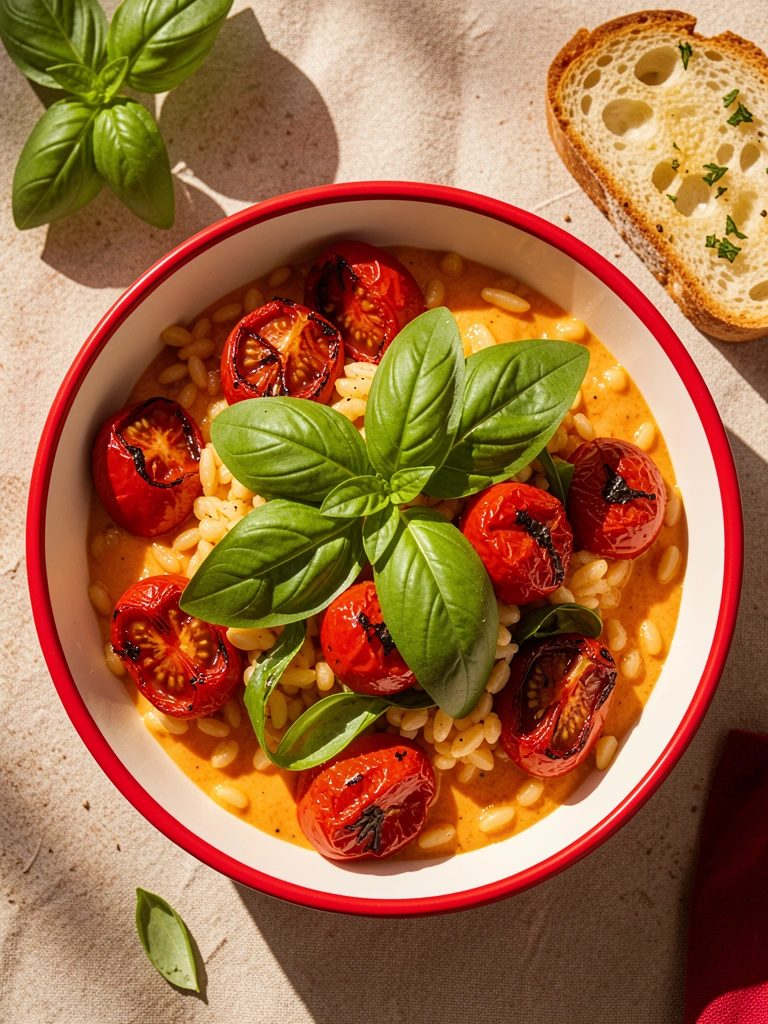
13. Roasted Cherry Tomato Orzo Salmon
Roasted cherry tomatoes burst with sweetness over garlicky orzo and salmon. Simple, juicy, and summery elegant.
Ingredients
- 4 salmon fillets (6 oz each)
- 1 cup orzo
- 2 pints cherry tomatoes
- 4 garlic cloves, smashed
- 3 tbsp olive oil
- 2 cups broth
- Fresh basil
- Balsamic reduction
Step-by-Step Instructions
Roast tomatoes
Toss tomatoes, garlic, oil; roast at 400°F 15 minutes.
Cook orzo
Boil orzo in broth 9 minutes. Stir in tomatoes.
Bake salmon
Season salmon, bake 12 minutes alongside. Total time: 30 minutes.
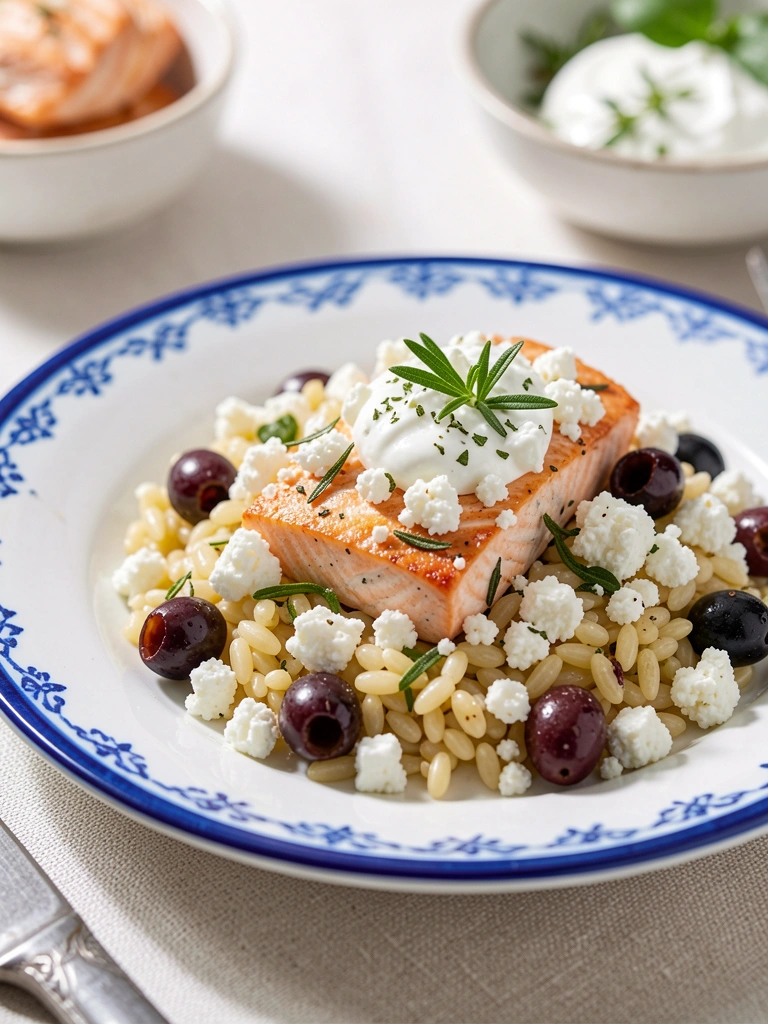
14. Feta Orzo Salmon
Salty feta crumbles add punch to lemon-orzo and salmon. A Greek vibe that's bright and briny.
Ingredients
- 4 salmon fillets (6 oz each)
- 1 cup orzo
- 1/2 cup feta, crumbled
- 1/4 cup olives, sliced
- Juice of 2 lemons
- 2 tsp oregano
- 2 cups broth
- 2 tbsp oil
Step-by-Step Instructions
Cook orzo
Sauté oregano in oil, add orzo, broth, lemon; simmer 10 minutes.
Pan salmon
Sear salmon 4 minutes per side.
Mix and top
Stir olives, feta into orzo. Serve with salmon. Total time: 25 minutes.
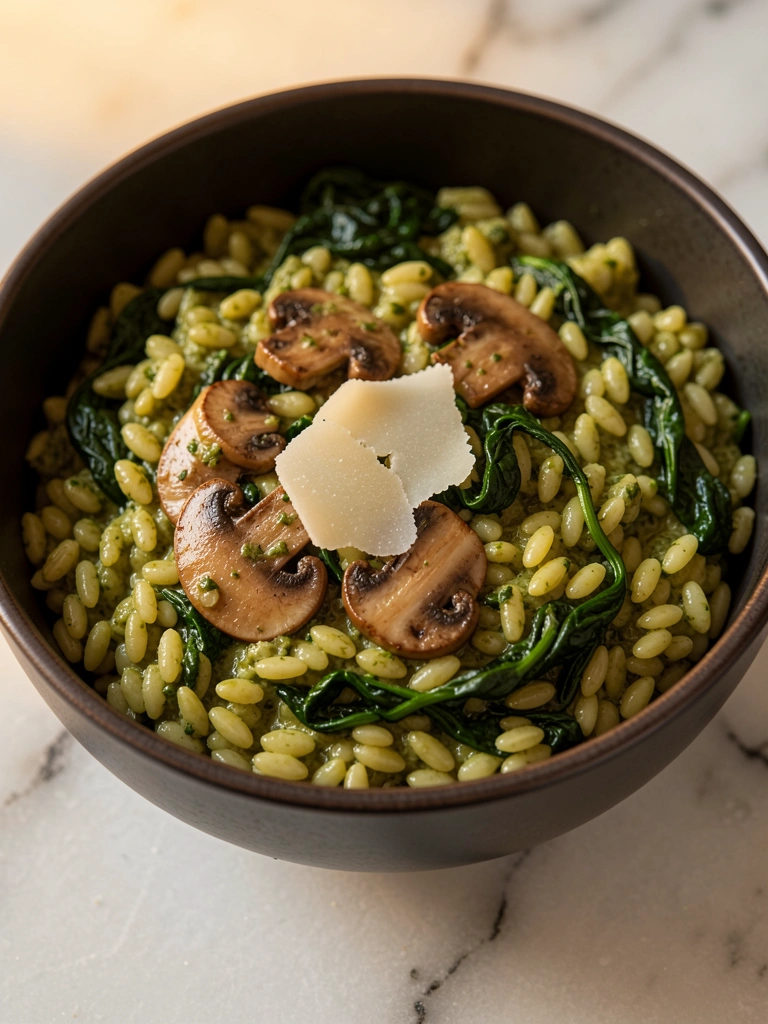
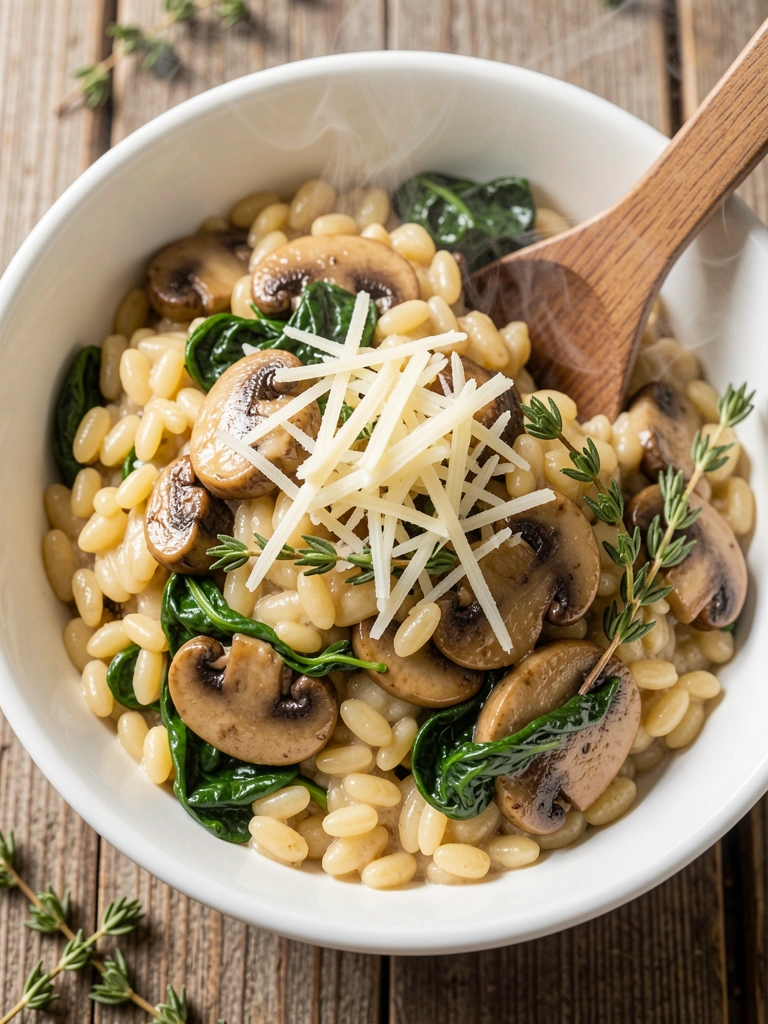
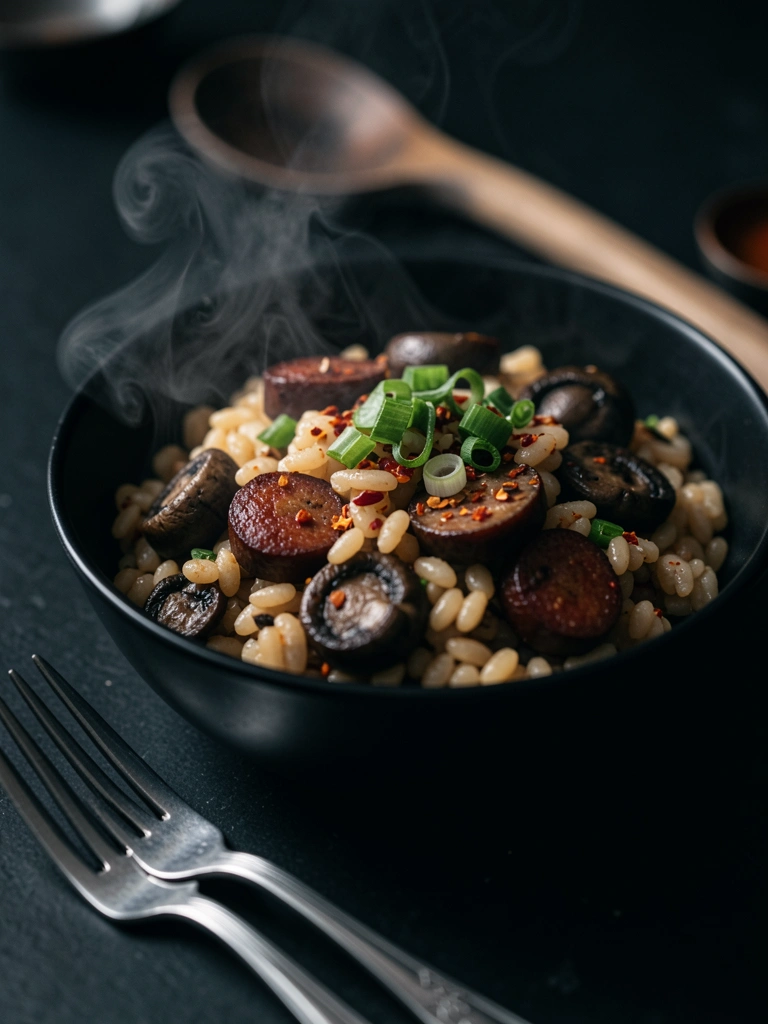
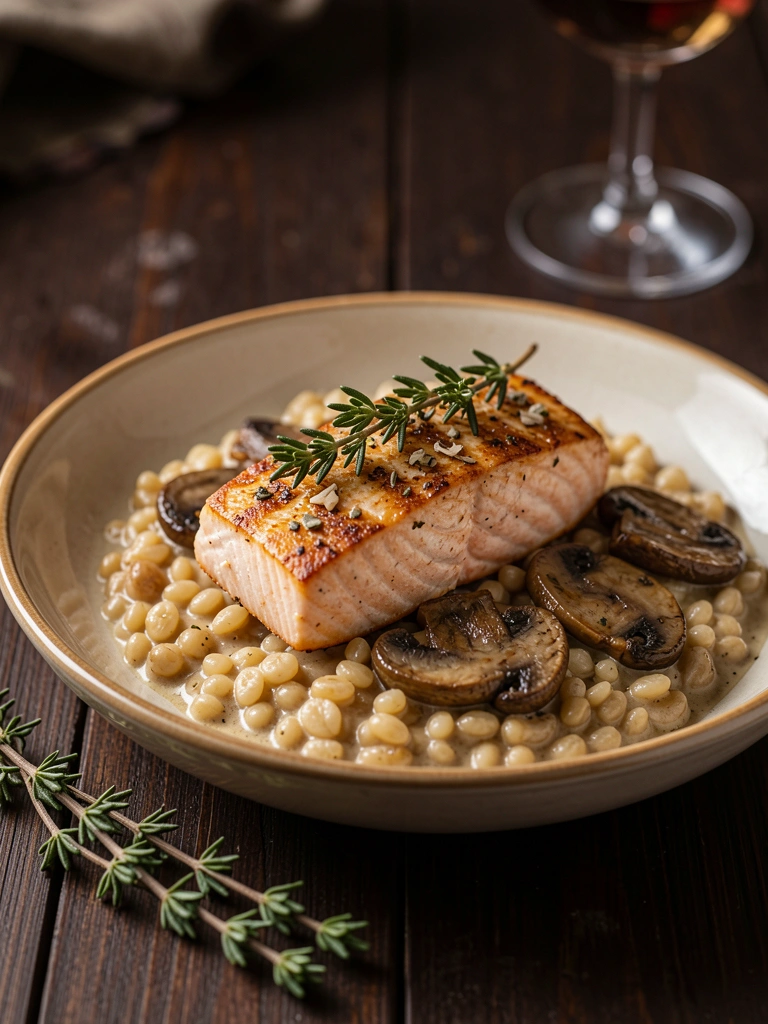
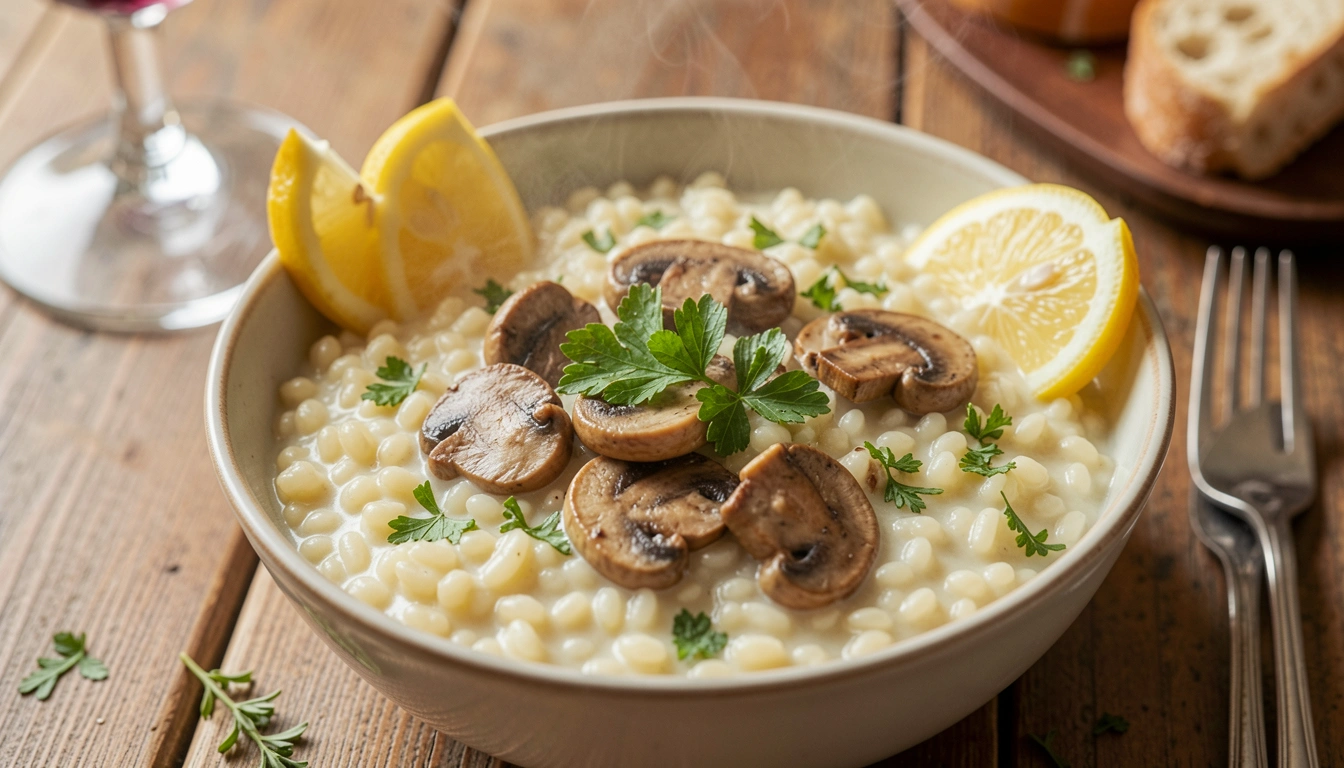
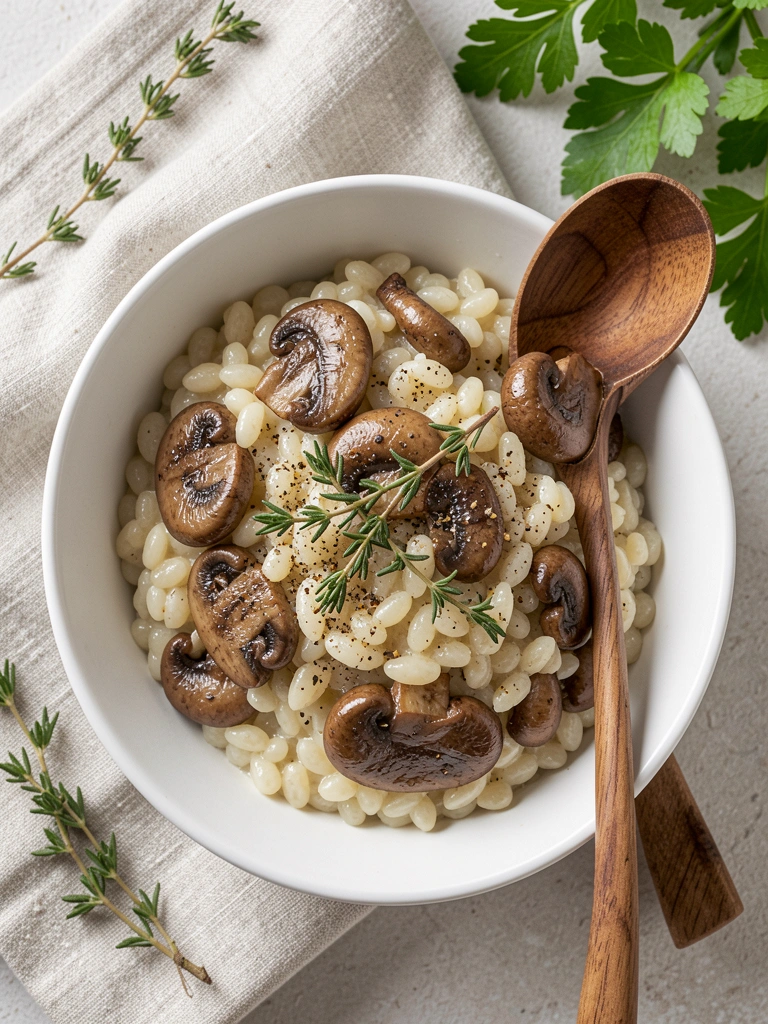
15. Mushroom Orzo Salmon
Umami-packed mushrooms create a risotto-like orzo that hugs tender salmon. Woody, savory elegance.
Ingredients
- 4 salmon fillets (6 oz each)
- 1 cup orzo
- 8 oz mushrooms, sliced
- 1/2 cup white wine
- 1 cup broth
- 1/2 cup cream
- 2 tbsp butter
- Thyme sprigs
- Garlic
Step-by-Step Instructions
Sauté mushrooms
Melt butter, cook mushrooms and garlic 5 minutes. Deglaze with wine.
Add orzo
Stir in orzo, broth, cream; simmer 12 minutes.
Top with salmon
Sear salmon separately, plate over orzo. Total time: 30 minutes.
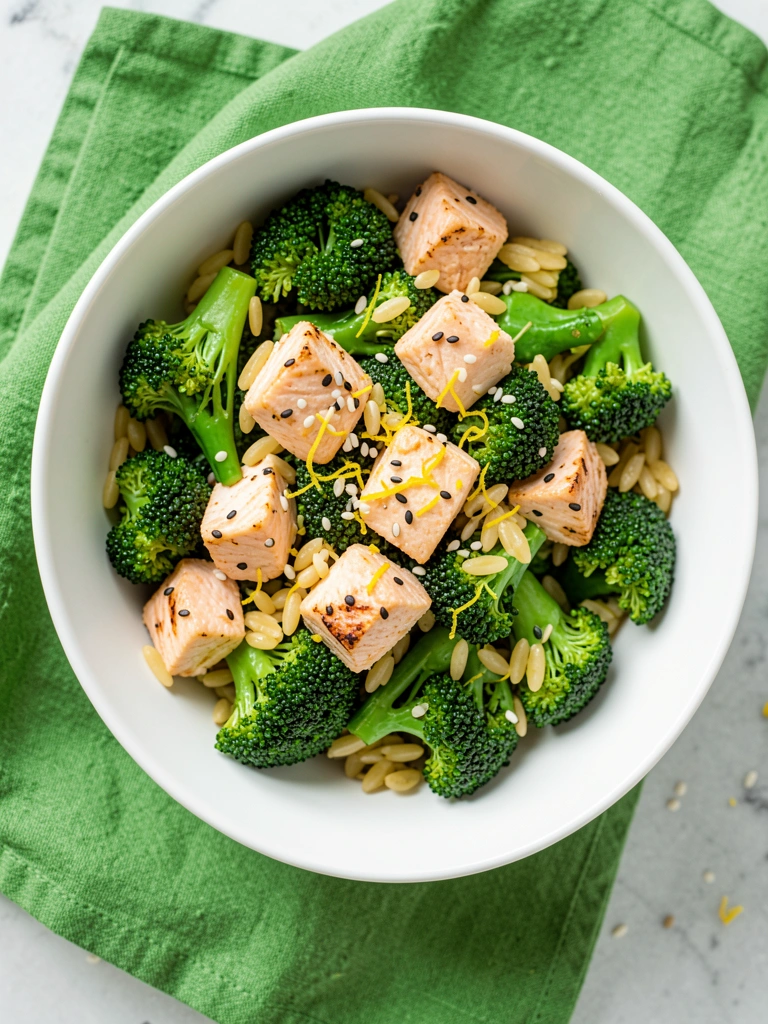
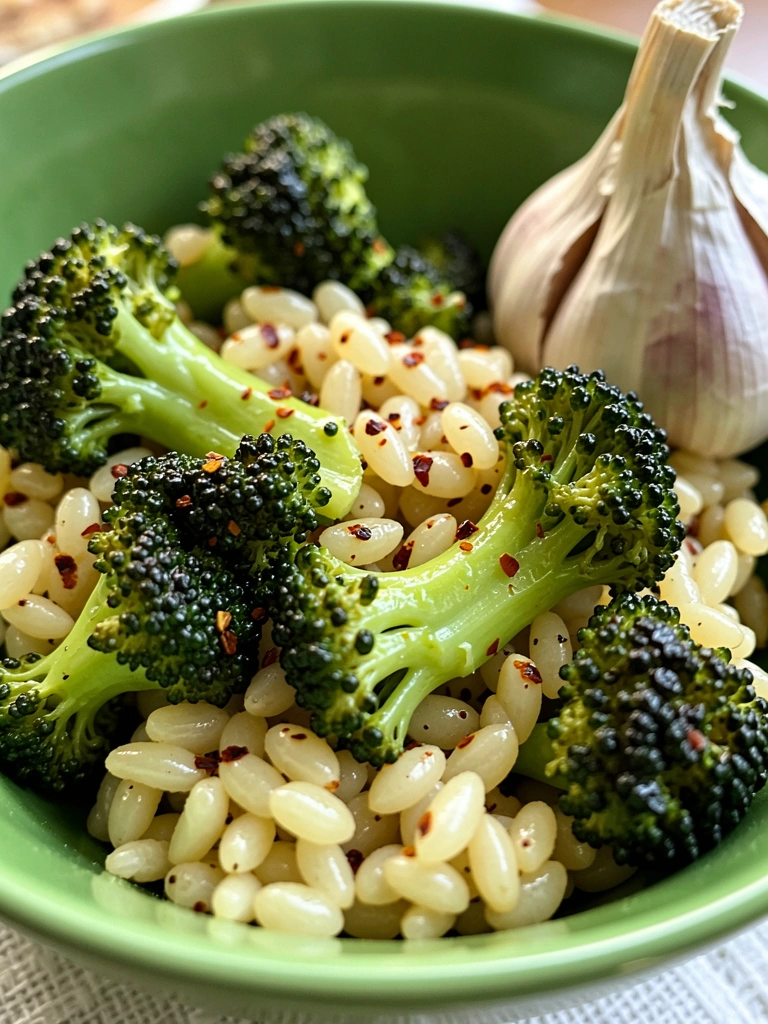
16. Broccoli Orzo Salmon
Nutritious broccoli adds crunch and color to cheesy orzo and salmon. Healthy yet indulgent.
Ingredients
- 4 salmon fillets (6 oz each), cubed
- 1 cup orzo
- 2 cups broccoli florets
- 1/2 cup cheddar
- 2 cups broth
- 1 lemon, zested
- 2 tbsp oil
- Salt
Step-by-Step Instructions
Cook broccoli
Blanch broccoli 3 minutes, shock in ice.
Make orzo
Cook orzo in broth 9 minutes. Stir in cheese, broccoli.
Stir in salmon
Sauté salmon cubes 5 minutes, combine. Total time: 25 minutes.
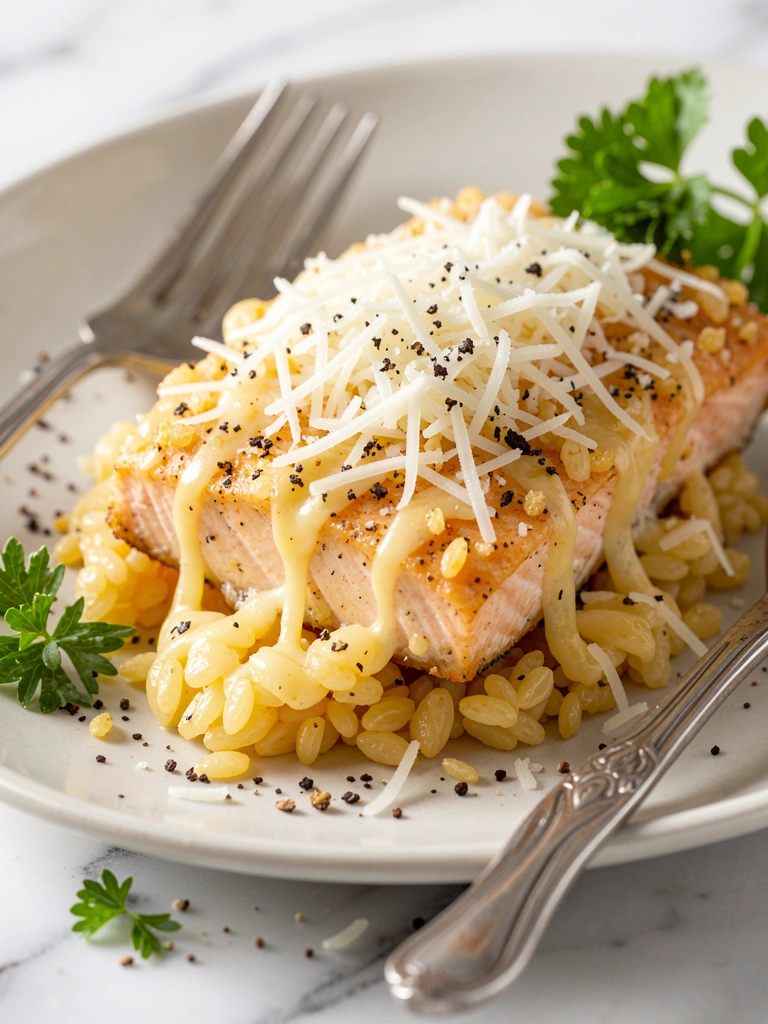
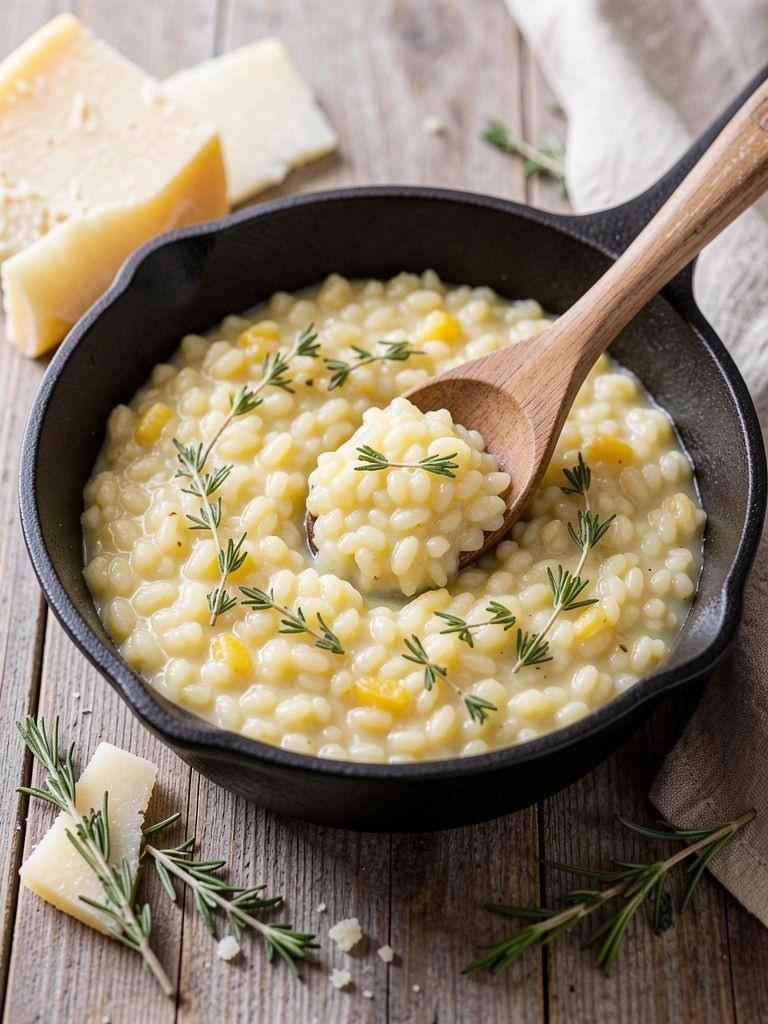
17. Parmesan Orzo Salmon
Nutty Parmesan coats creamy orzo and crisps on salmon for cheesy perfection.
Ingredients
- 4 salmon fillets (6 oz each)
- 1 1/2 cups orzo
- 1 cup Parmesan, grated
- 2 cups broth
- 1/2 cup cream
- 2 garlic cloves
- 2 tbsp butter
- Pepper
Step-by-Step Instructions
Cook orzo
Sauté garlic in butter, add orzo, broth, cream; simmer 10 minutes. Stir most Parmesan.
Broil salmon
Top salmon with remaining cheese, broil 4 minutes.
Combine
Serve salmon on orzo. Total time: 28 minutes.
18. Honey Mustard Orzo Salmon
Sweet honey tempers tangy mustard in a glaze that pairs with herby orzo. Balanced and addictive.
Ingredients
- 4 salmon fillets (6 oz each)
- 1 cup orzo
- 2 tbsp honey
- 2 tbsp Dijon mustard
- 1 tbsp soy sauce
- 2 cups broth
- 2 tbsp chives, chopped
- Oil
Step-by-Step Instructions
Glaze salmon
Mix honey, mustard, soy. Brush on salmon, bake 400°F 12 minutes.
Cook orzo
Boil orzo in broth with chives 10 minutes.
Drizzle extra
Plate with extra glaze. Total time: 25 minutes.
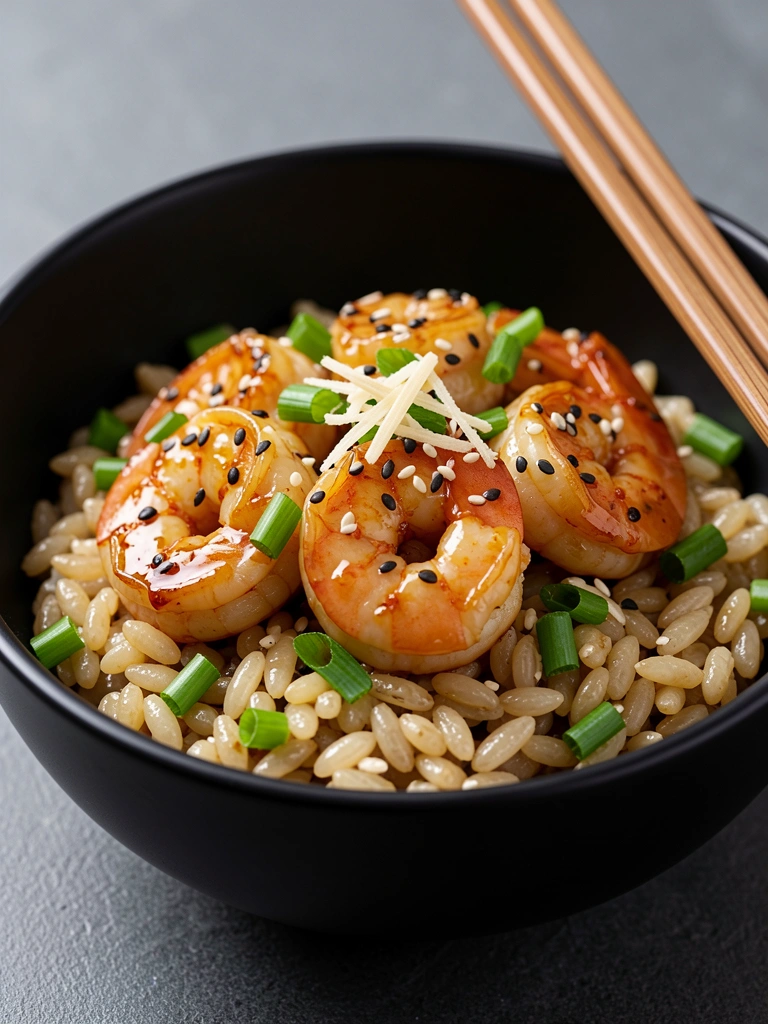
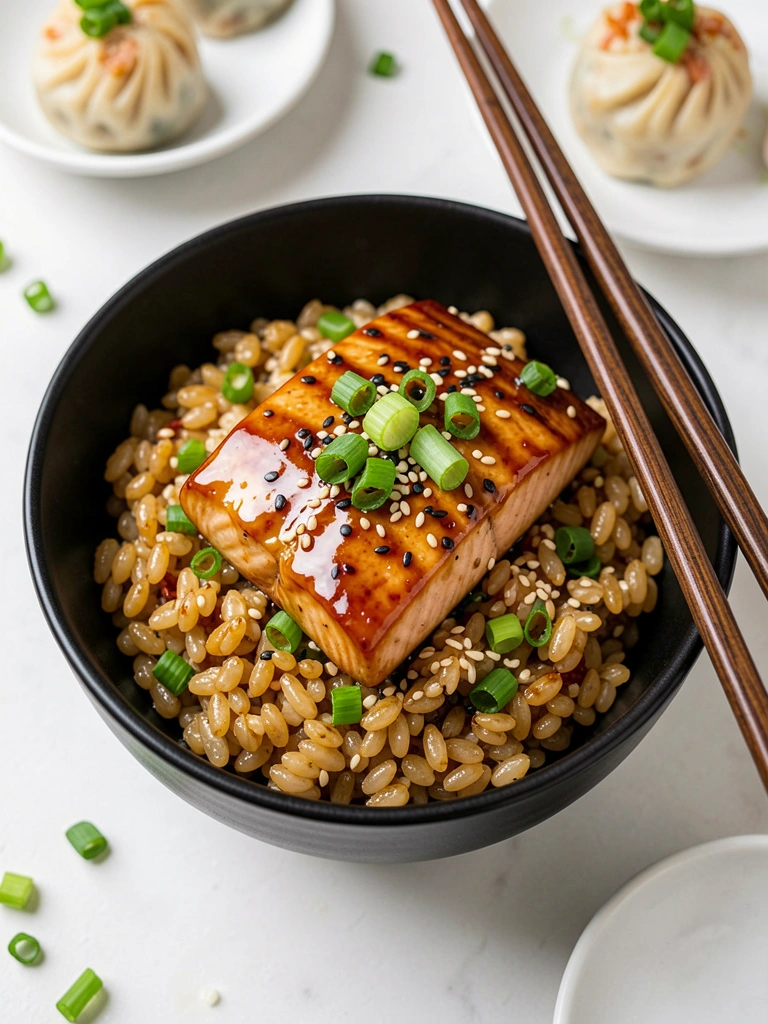
19. Teriyaki Orzo Salmon
Umami teriyaki glaze on salmon shines over soy-sesame orzo. Bold Asian flavors for date night.
Ingredients
- 4 salmon fillets (6 oz each)
- 1 cup orzo
- 1/4 cup teriyaki sauce
- 2 tbsp soy sauce
- 1 tbsp sesame oil
- 2 green onions, sliced
- 2 tbsp sesame seeds
- 2 cups broth
Step-by-Step Instructions
Glaze and cook
Marinate salmon in teriyaki 10 minutes. Pan-sear 4 minutes per side.
Cook orzo
Boil orzo in broth with soy, sesame oil 10 minutes. Toast seeds.
Garnish
Top orzo with salmon, onions, seeds. Total time: 30 minutes.
20. White Wine Orzo Salmon
White wine reduction adds subtle elegance to garlicky orzo and seared salmon. Light, refined, wine-pairing perfect.
Ingredients
- 4 salmon fillets (6 oz each)
- 1 cup orzo
- 1 cup white wine
- 1 cup broth
- 3 garlic cloves, minced
- 2 tbsp butter
- 1/4 cup cream
- Fresh dill
- Lemon
Step-by-Step Instructions
Sear salmon
Cook salmon in 1 tbsp butter 4 minutes per side. Remove.
Deglaze
Add garlic, wine to pan; reduce by half. Add orzo, broth; simmer 10 minutes.
Creamy finish
Stir cream, return salmon. Garnish dill, lemon. Total time: 30 minutes.
FINAL THOUGHTS
These orzo salmon recipes make date night effortless and memorable. Pick one that matches your mood—light and fresh or creamy and cozy.
You'll feel like a pro chef with these simple steps. Swap herbs or veggies to suit your taste.
Light a candle, pour some wine, and enjoy creating something special together. Your kitchen adventures await!